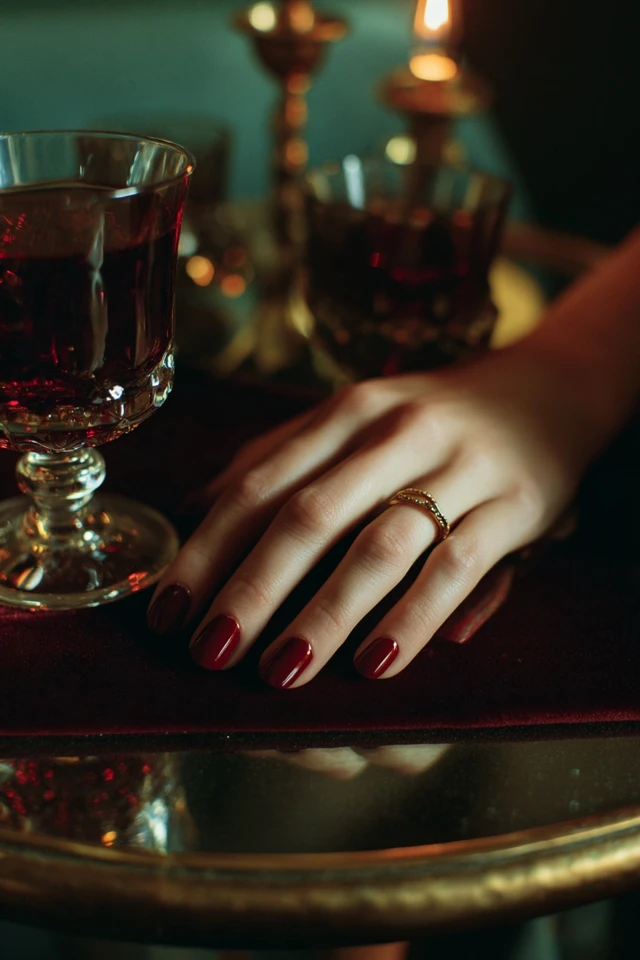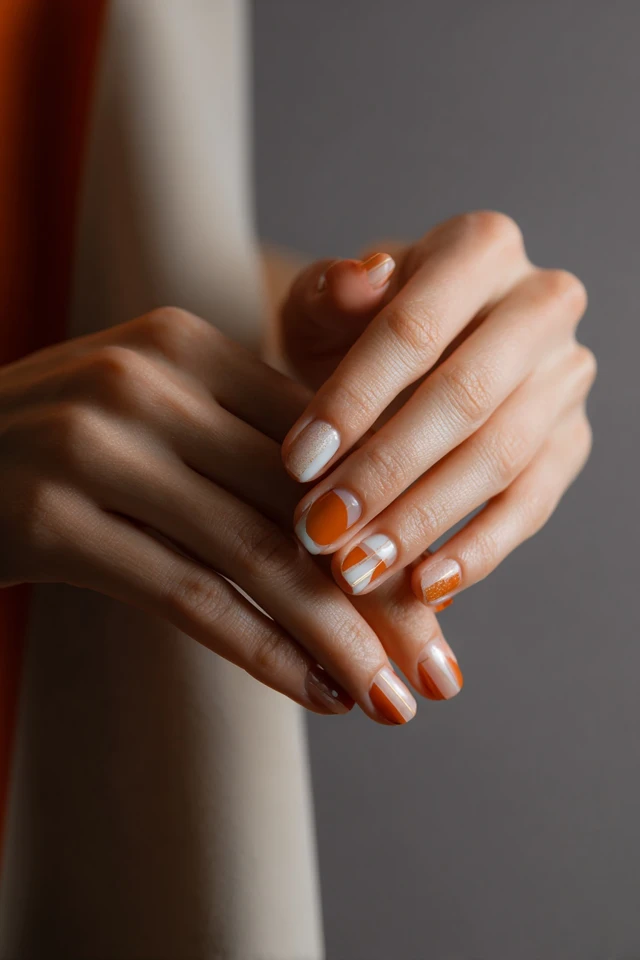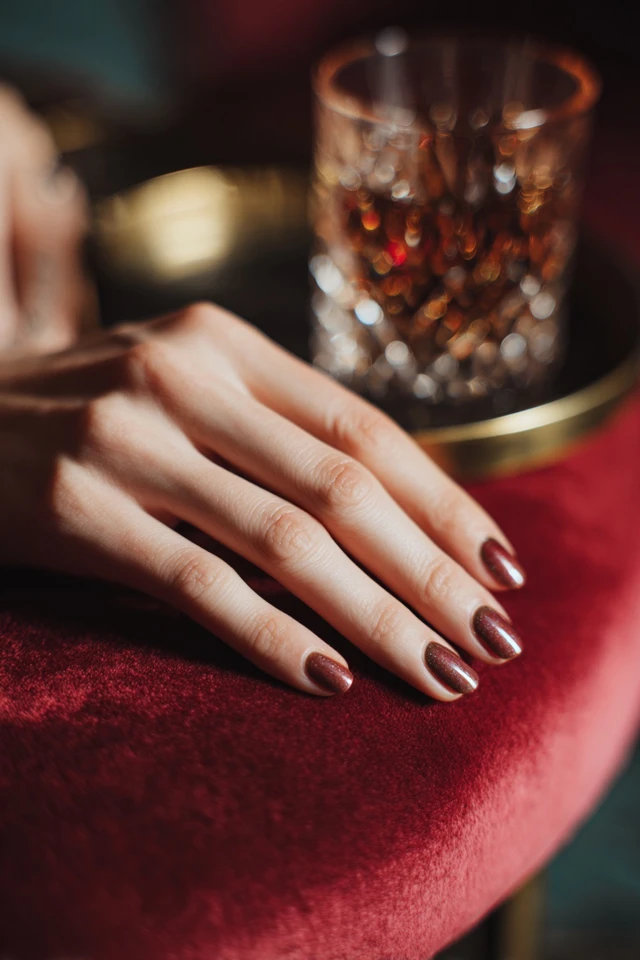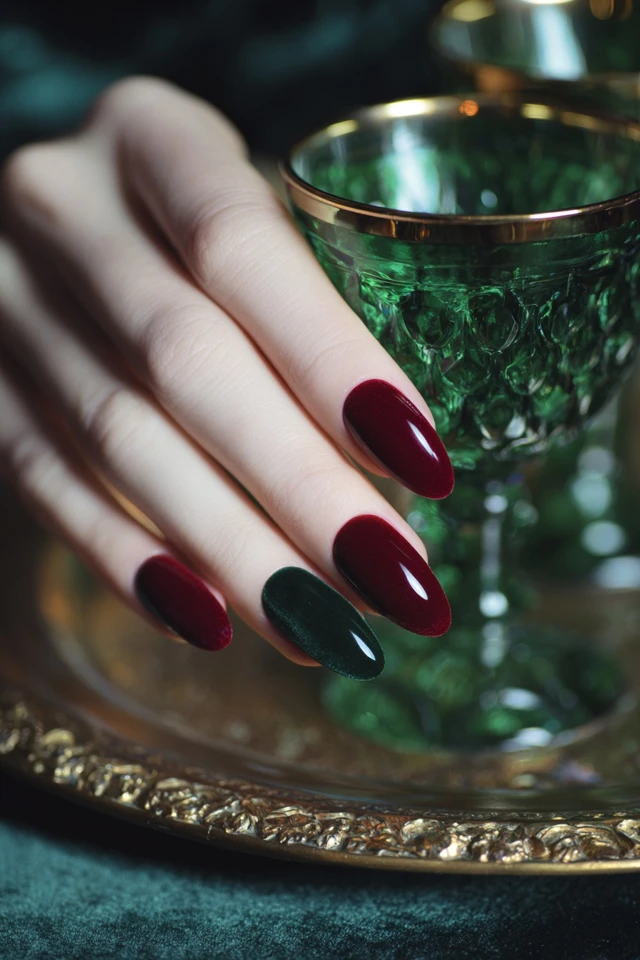
Nail Texture Techniques: Velvet Acrylic and Beyond
- Words by
- Julio Arco
- Published
- Reading
- 4 min
Velvet acrylic nails are a regular acrylic set finished with a soft, matte, flocked surface instead of a glossy top coat. The velvet comes from a fine fiber powder pressed into a tacky layer, then brushed clean. If you want texture on your nails, this is one of the easiest finishes to ask a technician for.
Below: how textured nails are made, how to pair matte and gloss, what works on short nails, and how to keep the set comfortable and your natural nails in good shape.
How to do textured nails
Most textured manicures follow the same logic: build the shape, add a layer that has grip, then apply the texture while that layer is still tacky. Only the texture material changes.
- Shape the acrylic or gel extension and smooth the surface first. Texture shows every bump underneath, so a clean base matters.
- Apply a color layer or a tacky no-wipe layer and keep it uncured.
- Press or sprinkle in the texture: flocking powder for velvet, fine glitter, caviar beads, or a gel built up with a brush.
- Cure, then brush off the loose excess.
- Seal only where the design needs it. A velvet finish stays velvet only if it is left without a glossy top coat.
Flocking is easiest to see in a few of our velvet looks, such as magnetic flocking velvet nails and luminous flocking velvet nails.
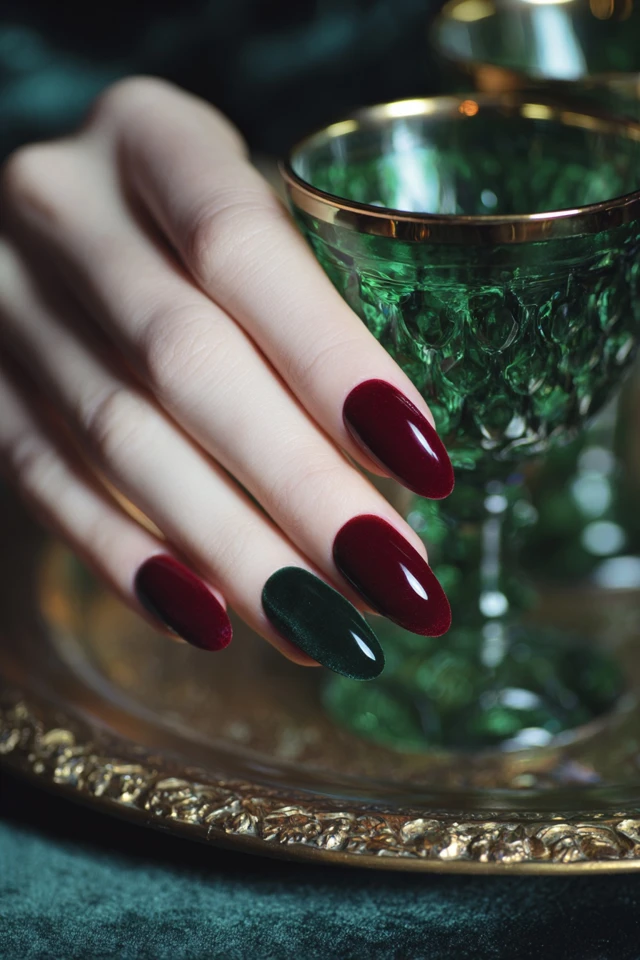
Why velvet reads as a different color
Through the lens of evidence-based design, I'd think about texture before color. A velvet surface scatters light in many directions, so the same shade looks deeper and softer than it does as a glossy polish. That is why a swatch can surprise you.
Check your color in daylight before you commit. A dark velvet usually looks nearly black indoors and shows its real shade near a window. Pale velvets look chalkier than their gloss versions.
Matte and glossy nail contrast
Pairing finishes is the simplest way to add texture without adding thickness. A few combinations work reliably:
- Velvet on four nails and a glossy accent nail in the same color.
- A glossy French tip over a velvet base.
- A velvet nail with a thin glossy line, a small shape or a single stone.
Keep the two finishes in the same color family and the look stays calm. Mixing finishes and colors at once gets busy fast. Pairing velvet with a shiny stone is a good middle path, as in velvet ice frost nails.
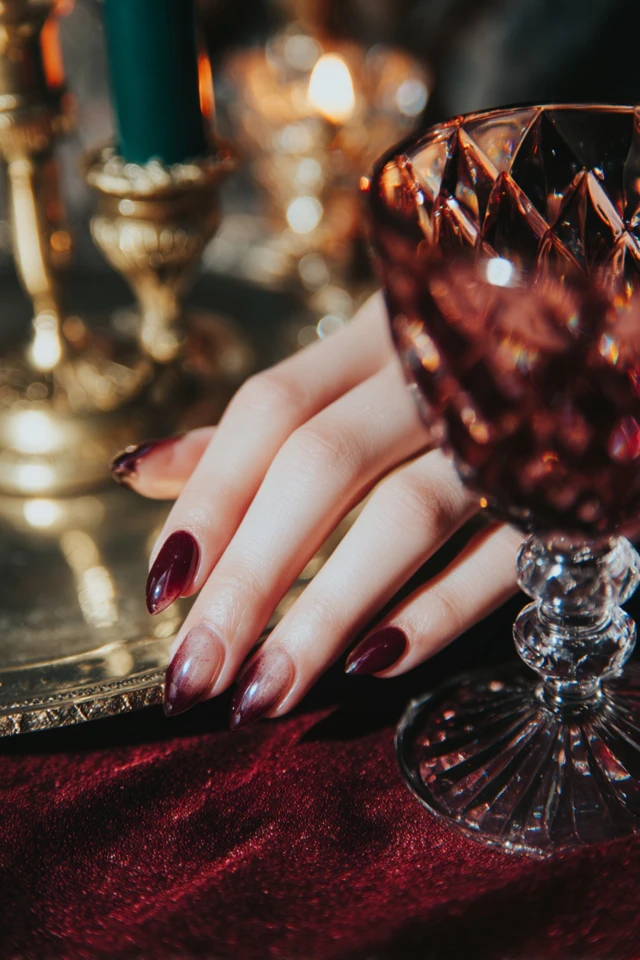
Nail texture techniques for acrylic
Acrylic is a sturdy base for texture because it can be shaped and smoothed before anything is added. Velvet, 3D sculpted details and embedded beads all sit well on it. Gel overlays, polygel and press-ons can carry the same finishes; see velvet polygel nails and velvet press-ons if acrylic is not for you.
One caution. The American Academy of Dermatology notes that to get acrylic nails to stick, the natural nail surface must be filed until it feels rough, which thins the nail and makes it weaker. If your nails already feel thin, consider press-ons or ask your technician how much prep is needed.
Nail texture techniques for short nails
Short nails handle texture well if you keep it flat. Heavy 3D pieces can catch on fabric and make a short nail look crowded.
- Choose velvet or a fine sugar finish over chunky beads.
- Put texture on one or two nails and leave the rest smooth.
- Use a soft neutral or a deep shade, which looks tidy on a small surface.
- Keep any stones tiny and placed near the cuticle or the tip, not across the whole nail.
As an architect trained in evidence-based design, I'd treat a textured nail like a textured wall: one feature surface reads as intentional, while texture on every surface starts to compete.
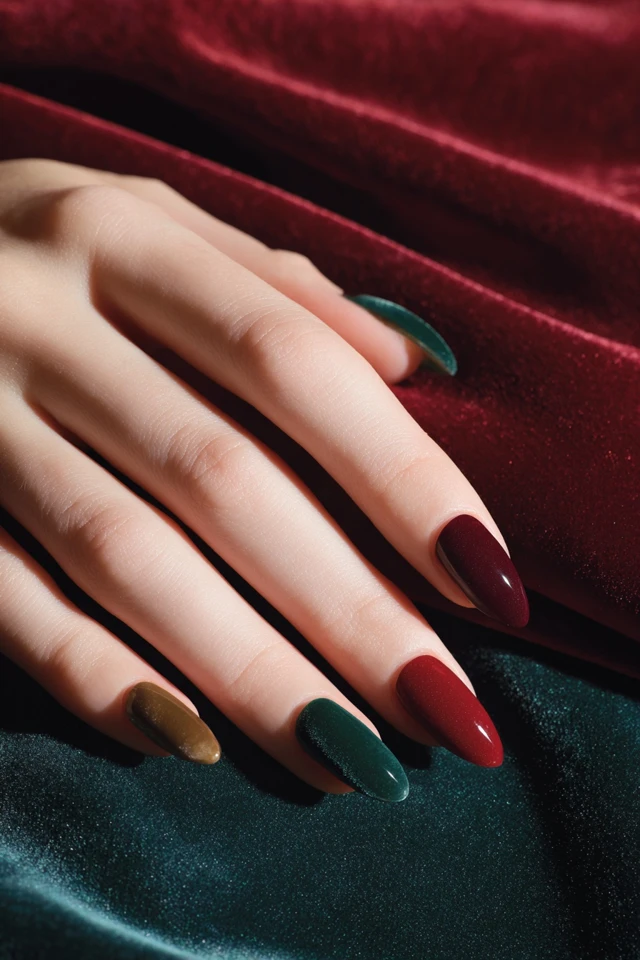
Other ways to add texture to a manicure
Velvet is only one option. Others you can ask for:
- Embossed or sweater-knit patterns sculpted in gel.
- Caviar beads or pearls placed in a small cluster.
- Rhinestones set on a matte base, where they stand out more.
- Chrome powder used on one nail against a velvet set.
For a darker, evening take, see velvet night look nails.
Care, upkeep and removal
Velvet picks up oils and dirt more than glossy nails do, so wear gloves for dishes and cleaning. A soft brush clears dust from the surface.
The AAD says that if you wear artificial nails for more than a few weeks, you'll need touch-ups every 2 to 3 weeks to fill the gaps as your nails grow.
Removal is where nails get damaged. The Cleveland Clinic says that removing gel polish carelessly can temporarily damage your nails, with cracking and peeling the most common issues. Let a technician remove acrylic rather than peeling it off. Board-certified dermatologist Chris Adigun, MD, FAAD, says that looking closely at your nails after removing the color helps you spot a problem early. If something looks wrong, check with a dermatologist.
Frequently asked questions
How do you do textured nails?
Apply a tacky layer over a smooth base, press in the texture (flocking powder, beads or sculpted gel) before curing, then brush off the excess. Leave velvet without a glossy top coat.
How do I stop ridges on my fingernails?
Ridges are common and usually cosmetic, and a buffer or ridge filler can smooth the look under polish. If they change suddenly or come with pain or color changes, check with a dermatologist.
What velvet nail color works for most outfits?
Soft neutrals such as taupe, mocha or dove gray go with most wardrobes. Test the shade in daylight, since velvet looks different from glossy polish.
Filed under Nail Design