Velvet Nail Stickers Glam
- Words by
- Julio Arco
- Published
- Reading
- 4 min
The easiest way to start with nail texture techniques is a velvet sticker: a flocked, soft-looking finish you apply like a decal, with no curing lamp and no sculpting. If you want more depth, you can add a matte topcoat over a glossy design, raise a few 3D details, or layer gel. Pick one textured element per hand and keep the rest smooth.
Below: how to do textured nails with stickers and polish, which finishes work on short nails, and how to take everything off without punishing your natural nail.
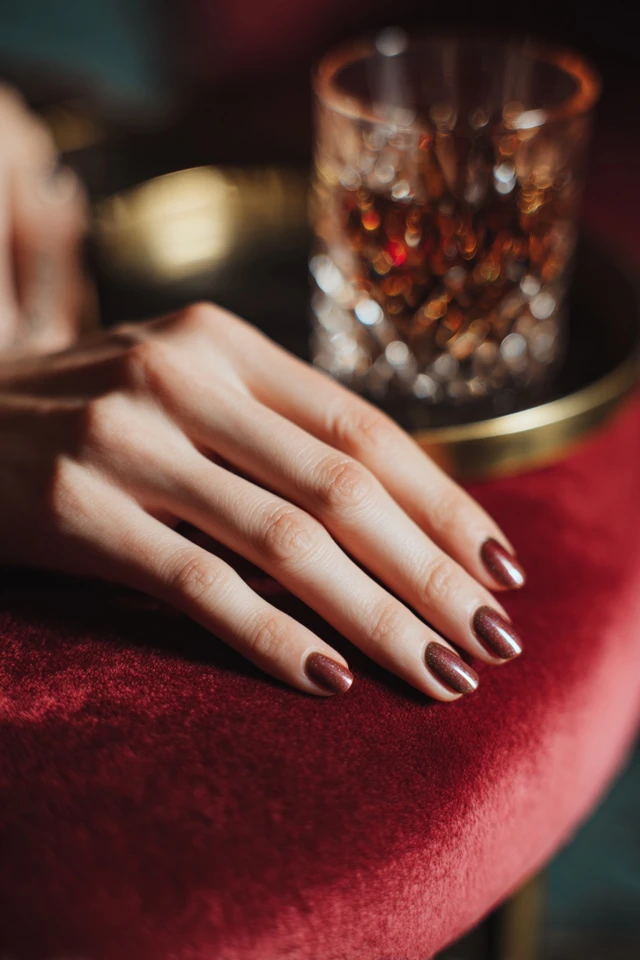
How do you do textured nails?
There are two routes. The first is a ready-made texture, such as velvet stickers, flocking powder or press-ons. The second is building texture yourself with topcoats, gel layers or small embellishments.
For velvet stickers, the steps are simple:
- Wash your hands, push back the cuticle gently and wipe each nail clean of oil.
- Lightly buff the shine off the surface if the sticker brand suggests it.
- Size each sticker to the nail before peeling it, so you are not guessing with a sticky decal in your hand.
- Press from the cuticle outward to push out air bubbles, then file the free edge down.
Skip heavy buffing. A healthy nail has a smooth glossy surface, according to a paper in the National Institutes of Health's PMC archive, and you want to keep as much of that as possible under the decoration.
Why velvet reads so differently from polish
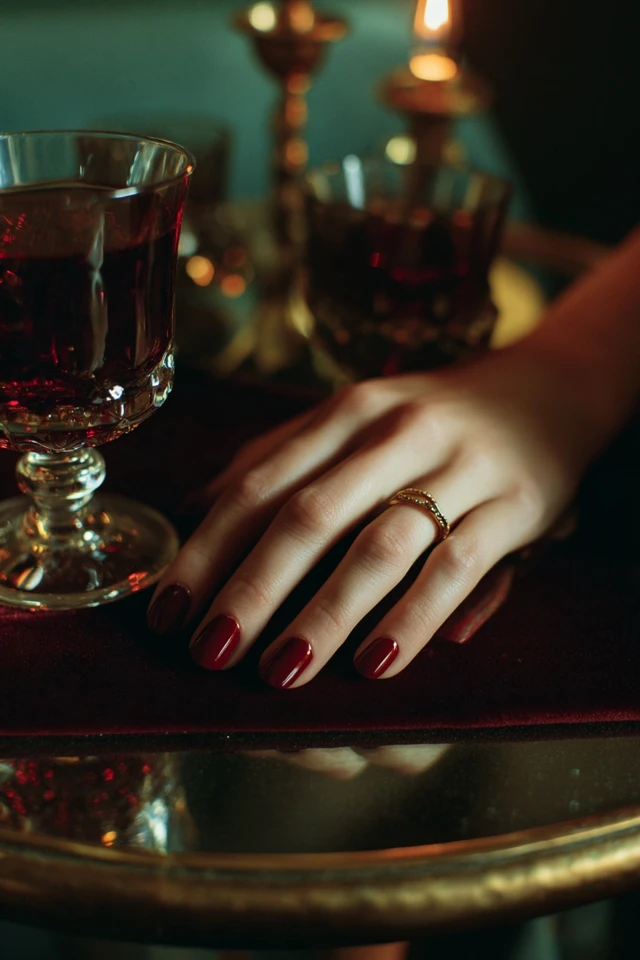
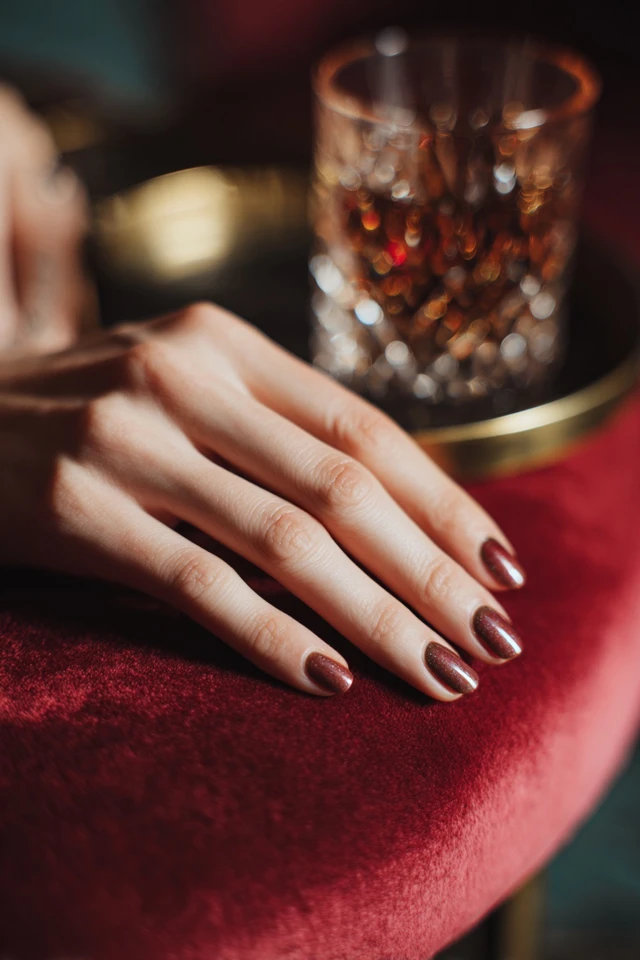
Through the lens of evidence-based design, I'd think about texture before color. A flocked surface scatters light in every direction, so a deep burgundy velvet looks softer and darker than the same burgundy in glossy polish. Your eye reads it as warm and quiet rather than shiny.
That is also why velvet suits dim light and evening outfits. In bright daylight it looks more muted, so pair it with knits, suede or wool if you want the nails and the outfit to feel related.
Matte and glossy nail contrast
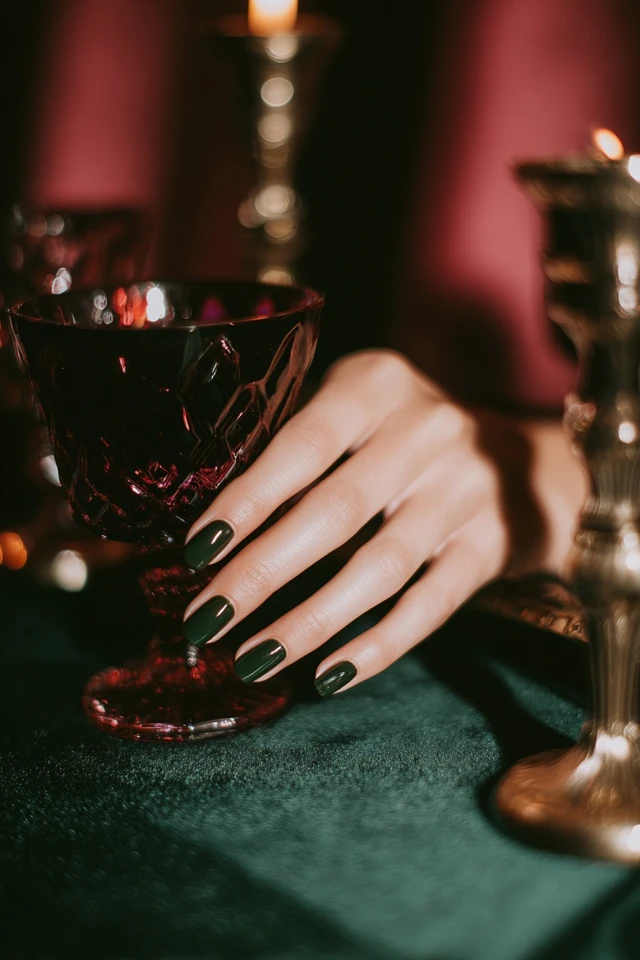
Matte and glossy nail contrast is the simplest texture idea if you already own polish. Paint a design in a glossy finish, then brush a matte topcoat over everything except one detail: a thin stripe, a half moon or a single accent nail. The detail catches light while the rest absorbs it.
Keep the palette tight. One color in two finishes looks deliberate, and it works well in navy, forest green and plum. If you want to see the velvet side of this look in other forms, the velvet night look is a good reference for deep, low-shine shades.
3D nail designs and other ways to add texture
If you want ways to add texture to a manicure beyond stickers, these are the common options:
- Flocking powder pressed into tacky gel, which gives a similar finish to velvet. See magnetic flocking velvet nails for that approach.
- Sheer or frosted layers with raised detail, as in velvet ice frost nails.
- Small rhinestones, pearls or caviar beads set in a dot of gel or builder gel.
- Sculpted or embossed shapes, such as a knit-sweater pattern, which usually need a technician.
- Polygel or acrylic building, covered in velvet polygel artistry and velvet acrylic nails.
For 3D nail designs, I'd keep raised elements to one or two nails. Anything that snags on knitwear or hair gets old fast.
Texture on short nails
Nail texture techniques for short nails work best when the texture is flat or low. Velvet stickers, matte topcoat and a fine-grain flocked finish add interest without adding bulk. A single bead near the cuticle also works, because it sits where it will not catch on things.
Avoid piling several raised elements on a narrow nail bed. They crowd the surface and make the nail look shorter. A plain, glossy nude with one velvet accent nail is usually more flattering than a full set of heavy decoration.
Choosing a velvet color
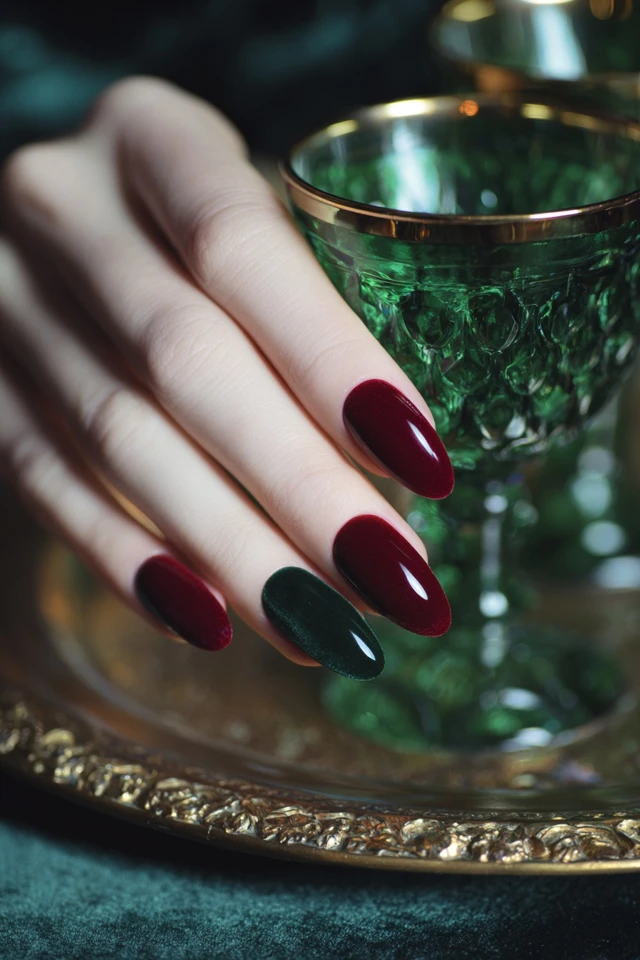
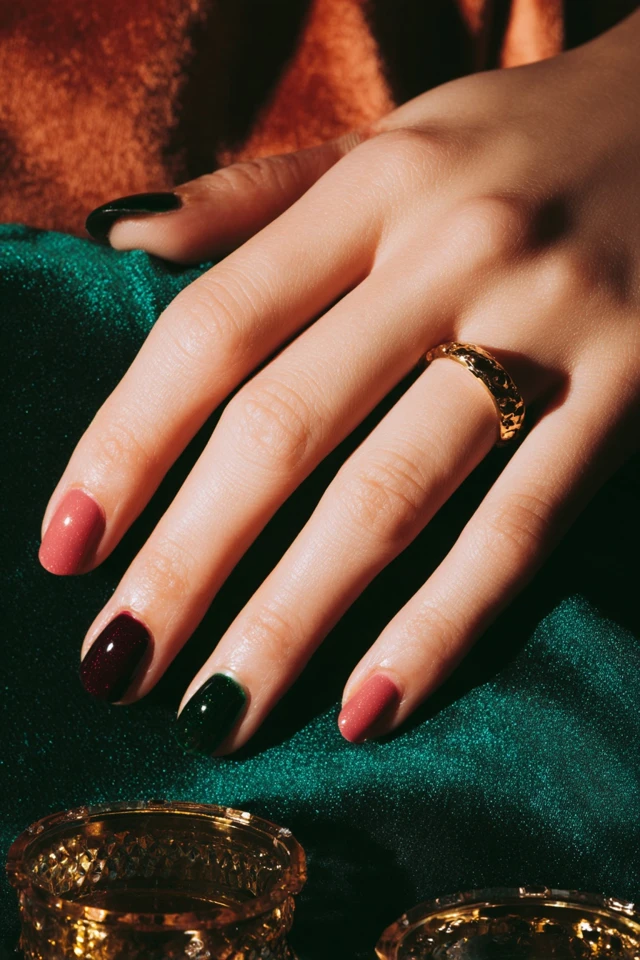
Color still matters, and texture changes how it behaves. Deep shades such as burgundy, emerald or navy look richest in velvet because the finish absorbs light. Pale shades turn chalky if the flock is thick, so test a blush or lavender on one nail first.
Match undertone loosely. Warm skin tends to look good with golden brown, cognac or deep red. Cooler skin often suits plum, sapphire and emerald. Neutral skin can go either way. Then pair the nails with something in the same family, like a camel coat with plum nails, or a cream sweater with maroon.
For a wider range of options, browse velvet press-on glam nails if you want a quick, no-salon option.
Keep textured nails comfortable and remove them safely
Texture adds layers, and layers have to come off eventually. If you use acrylics for a raised look, the American Academy of Dermatology notes that the natural nail must be filed until it feels rough, which thins it and makes it weaker. Stickers and press-ons ask less of your nails for that reason.
For gel-based texture, the AAD explains that acetone is the most effective way to remove gel polish at home. The Cleveland Clinic adds that careless removal can temporarily damage nails, with cracking and peeling the most common issues.
Dermatologist Chris Adigun, MD, FAAD, says "Looking closely at your nails after removing the color helps you spot a problem early." If you notice ridges, pitting or lasting changes, check with a dermatologist rather than covering them up with more texture.
Frequently asked questions
How do I stop ridges on my fingernails?
Ridges can have several causes, so a quick check with a dermatologist is the safest first step. Buffing them heavily to smooth the surface can thin the nail, so avoid overdoing it.
What are the top 10 nail art techniques?
Common ones include matte and gloss contrast, velvet or flocking, chrome powder, encapsulation, 3D gel, rhinestones and beads, stamping, ombre, hand-painted lines and sticker decals. Start with the one that matches the effort you want to spend.
Can you do textured nails at home without a lamp?
Yes. Velvet stickers, matte topcoat and press-ons need no curing lamp. Gel, flocking powder and builder gel do need one.
Filed under Nail Design