Nail Embellishments: Velvet Ice Frost Ideas and How-To
- Words by
- Julio Arco
- Published
- Reading
- 4 min
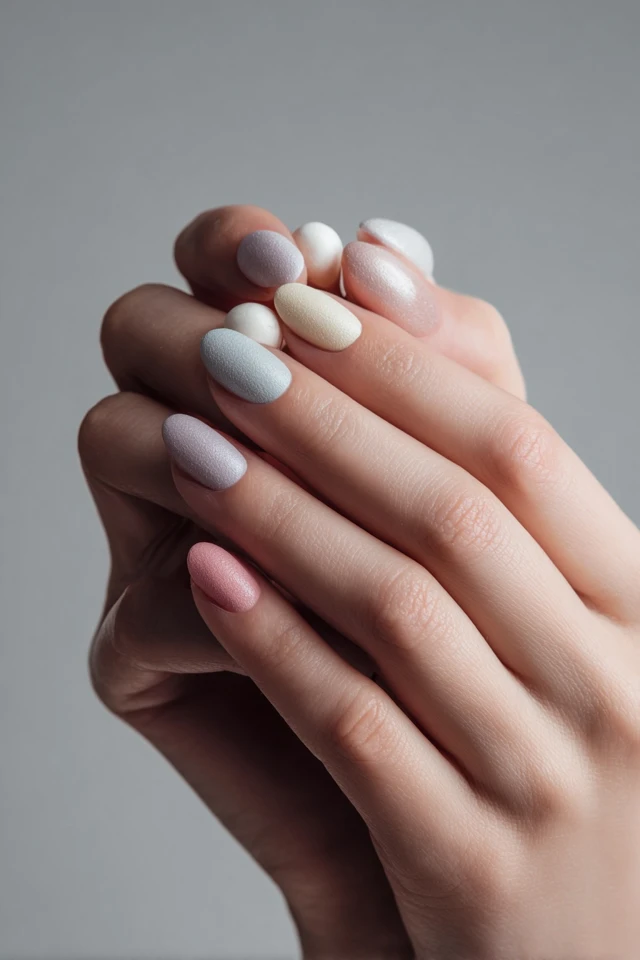
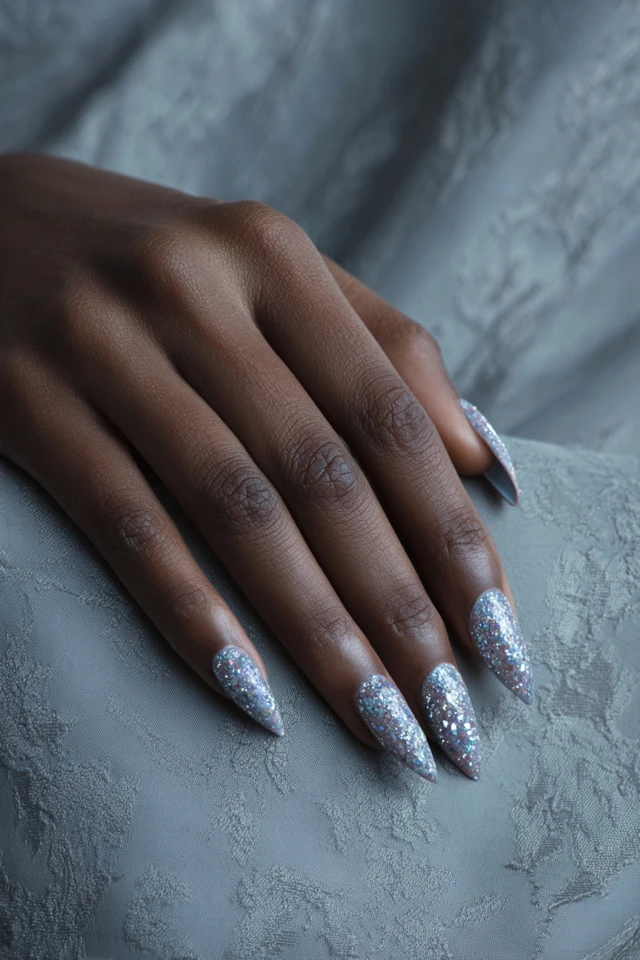
Velvet ice frost nails are a soft matte finish in icy blue, gray, lavender or white, with a fine frosted shimmer. The best nail embellishments for them are small and cool-toned: a few clear or silver rhinestones, tiny pearls, or one flat charm on the ring finger. Keep the count low and the sparkle placed on purpose.
Below: which embellishments work, how to attach them, and how to take everything off without hurting your nails.
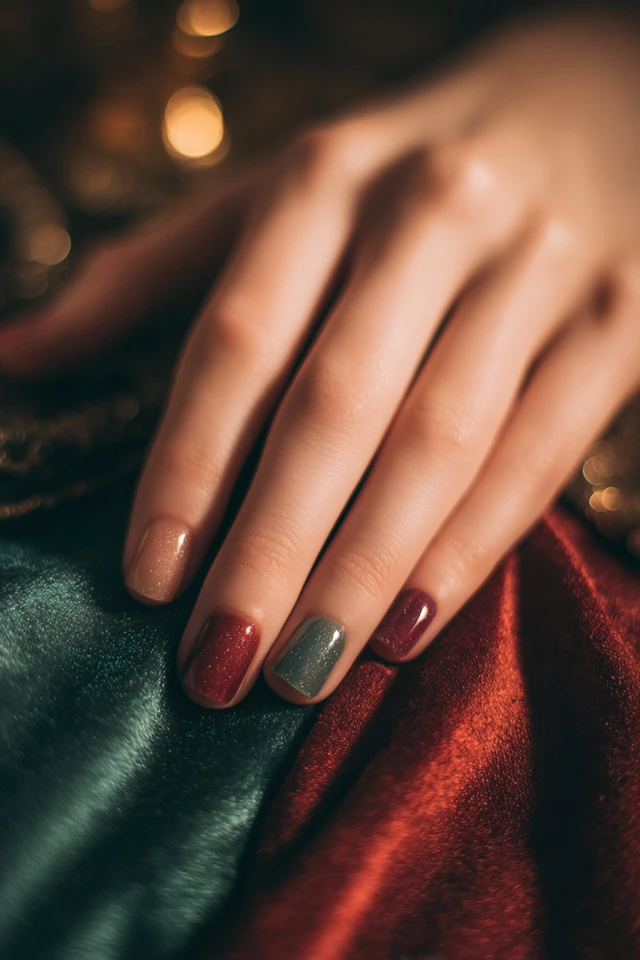
Which nail embellishments suit a velvet frost finish?
A velvet finish absorbs light, so anything glossy next to it reads as a bright point. That contrast is the whole appeal, and it is also why restraint works. Through the lens of evidence-based design, I'd treat the matte surface as the quiet background and let one or two reflective pieces carry the eye.
Rhinestones and gems
Nail rhinestones and gems are the easiest place to start. Clear, silver or pale blue stones keep the palette icy. Small sizes sit flatter and snag less on knitwear. Larger stones suit one accent nail only.
Pearls and sequins
Tiny pearls add a softer glow than crystal and pair well with lavender and misty gray. Flat holographic sequins echo the frost shimmer without adding height.
Charms and 3D accents
Nail charms and gems with a raised shape, like a metal bow or snowflake, look best in silver. They add bulk, so keep them to one nail and skip them if you type a lot or wear gloves often.
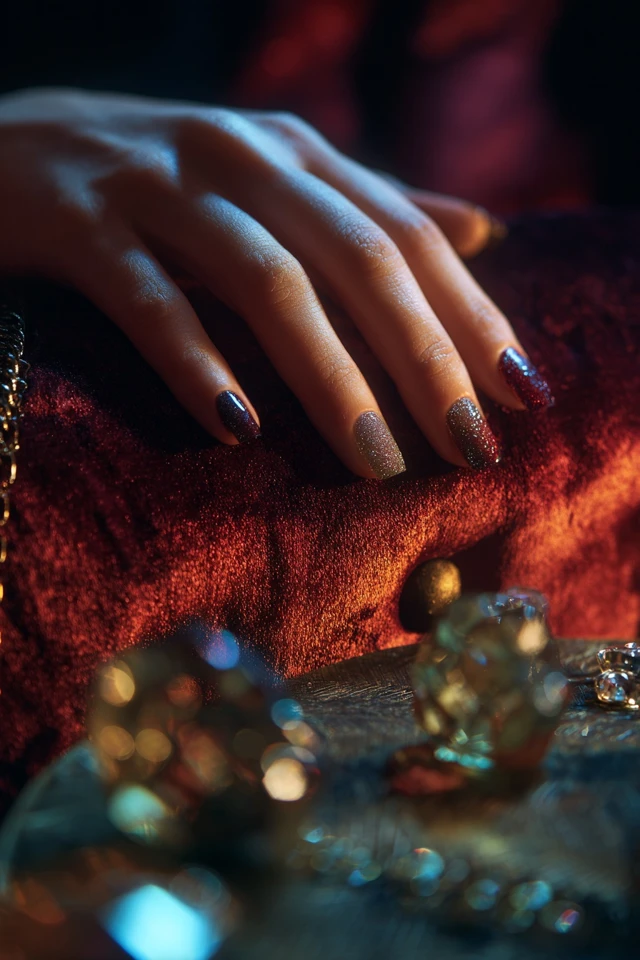
Nail embellishments ideas for placement
- One accent nail: a cluster of three to five small stones at the cuticle of the ring finger.
- A single line of stones along the free edge for a subtle outline.
- Scattered micro-stones on two nails, leaving the rest plain velvet.
- A pearl and rhinestone pair at the base of the thumb nail for a lighter, asymmetrical look.
If you want the most elegant version, choose one metal tone and one stone color. Mixing silver, gold and colored gems works against the calm of the finish.
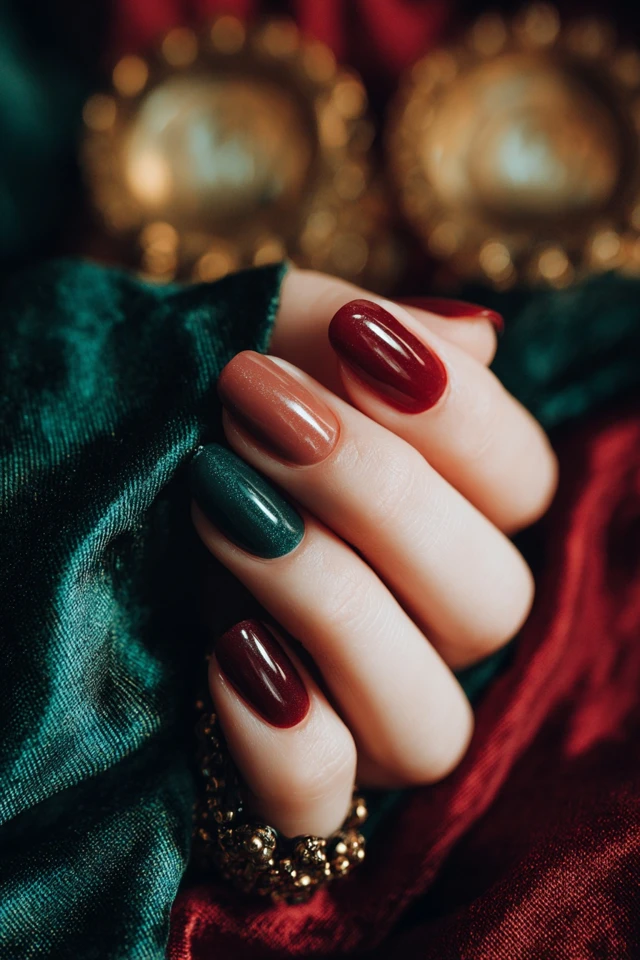
How to apply nail decorations
The steps below suit gel polish, which is the most common base for embellishments. Place stones before the final cure when you want them sealed in.
- Shape and lightly buff your nails, then apply the velvet color and cure it according to the polish directions.
- Brush a thin dot of builder gel or gel adhesive where each piece will sit. Plain top coat can hold very small stones, but it is weaker.
- Pick up each stone or pearl with a wax pencil or a damp dotting tool and set it in the gel. Nudge it flat.
- Cure the nail. Heavy charms may need a second layer of gel around the base.
- Brush a thin line of top coat around, not over, the stones if you want to keep them sparkling, then cure again.
For how to attach crystals to nails that last, the base matters more than the glue. Wipe dust off the nail, and avoid getting adhesive on your skin.
Do you need acrylic?
Not for stones. On acrylic, you can bury the embellishment in the product for a very secure hold, but getting acrylic to stick means filing the natural nail until it feels rough, which the American Academy of Dermatology says thins your natural nails and makes them weaker. Gel with a small amount of adhesive is gentler for most people.
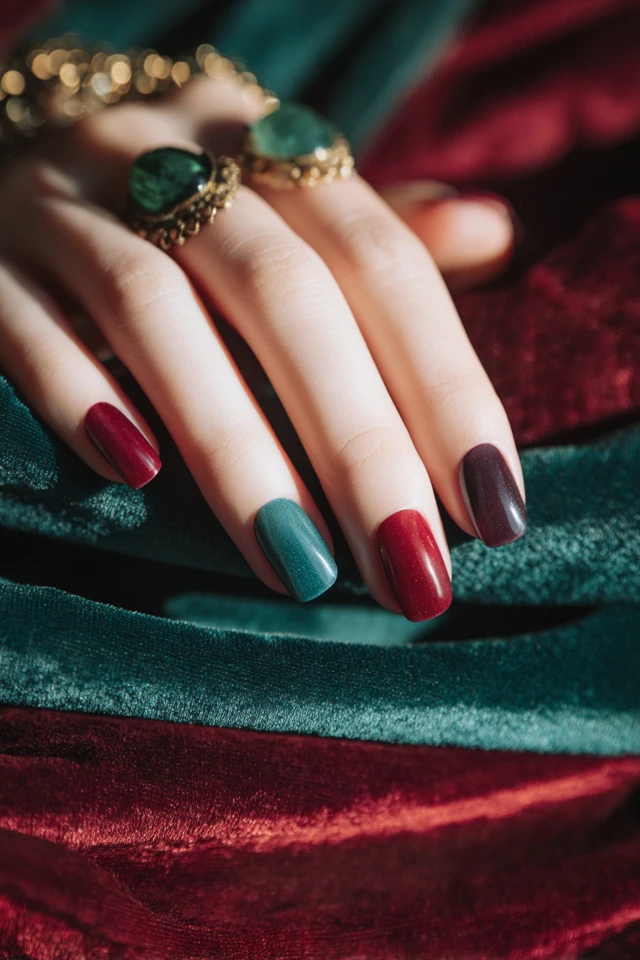
What to buy as a beginner
A short kit covers most designs: a matte top coat or velvet polish, builder gel or gel adhesive, a wax pencil, a fine brush, a mixed pack of small rhinestones and pearls, and a lamp suited to your gel. Buy stones in one color family first so every piece works with the others. I'd avoid choosing a brand by price alone, and check that a lamp matches the gel you buy.
How to remove embellished nails safely
Soak off, don't pry. The AAD notes that acetone is the most effective way to remove gel polish at home, and that with the plastic wrap method, most or all of the gel should be gone after 10 minutes. Stones and charms usually slide off once the gel softens.
Removal done carelessly can cause damage; Cleveland Clinic lists cracking and peeling as the most common issues. Dermatologist Chris Adigun, MD, FAAD, says: "Looking closely at your nails after removing the color helps you spot a problem early." If something looks wrong, check with a dermatologist.
Styling the look
Silver or white gold jewelry echoes the cool palette, and neutral clothing such as charcoal, navy or cream keeps the nails as the accent. For more icy ideas, see vivid ice frost design nails, prismatic ice frost nails, spectrum ice frost glam nails or the colder frost winter vibes nails.
Frequently asked questions
What to get for nail art?
A beginner kit needs a base and top coat, gel adhesive, a wax pencil or dotting tool, a fine brush, and a mixed pack of small rhinestones and pearls. Add a lamp that matches your gel.
What is the most elegant nail design?
Usually the restrained one: a single soft color with one accent nail of a few small stones or pearls in one metal tone.
How to apply nail decorations?
Apply a thin dot of gel adhesive on a cured color layer, set the piece with a wax pencil, cure, and seal around it with top coat.
How long can I keep embellished nails on?
Gel and acrylic sets typically need attention every 2 to 3 weeks as the nail grows out, per the American Academy of Dermatology. Give your nails a break between sets.
Filed under Nail Design