Nail Embellishments: Chains, Gems and How to Apply Them
This post covers the main types of nail embellishments, how to apply them, how to place them so they look intentional, and how to take them off without hurting your nails.
- Words by
- Julio Arco
- Published
- Reading
- 6 min
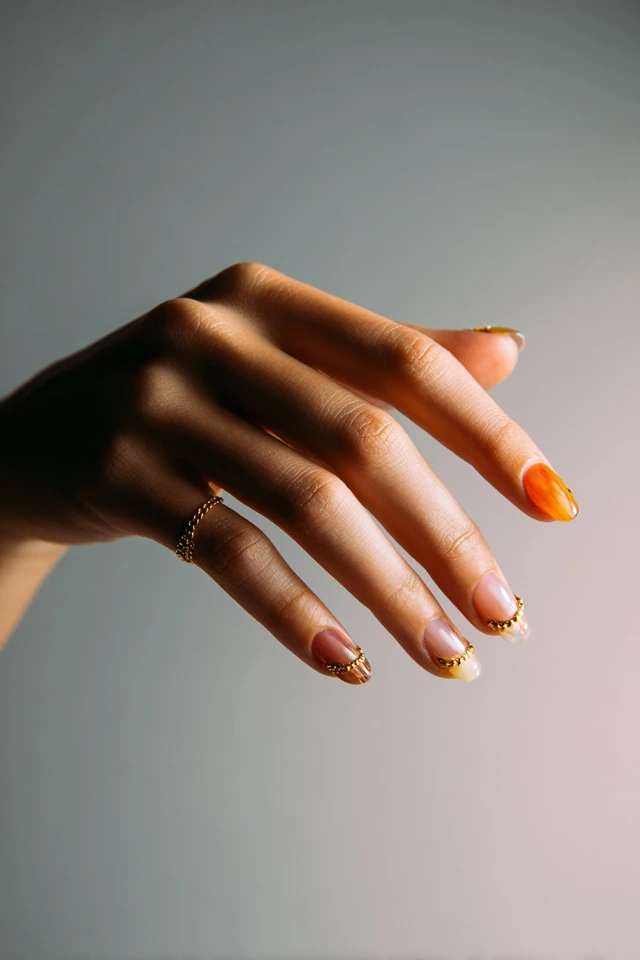
Nail chains are thin metal strands that loop from one nail to another, or from a nail to a ring, and they are the quickest way to make a manicure look finished. Press-on or gel-set, they work best when you keep everything else simple: one chain, one or two charms, a clean base color.
What types of nail embellishments are there?
Most nail embellishments fall into a few groups, and each one catches light differently.
Rhinestones, gems and crystals
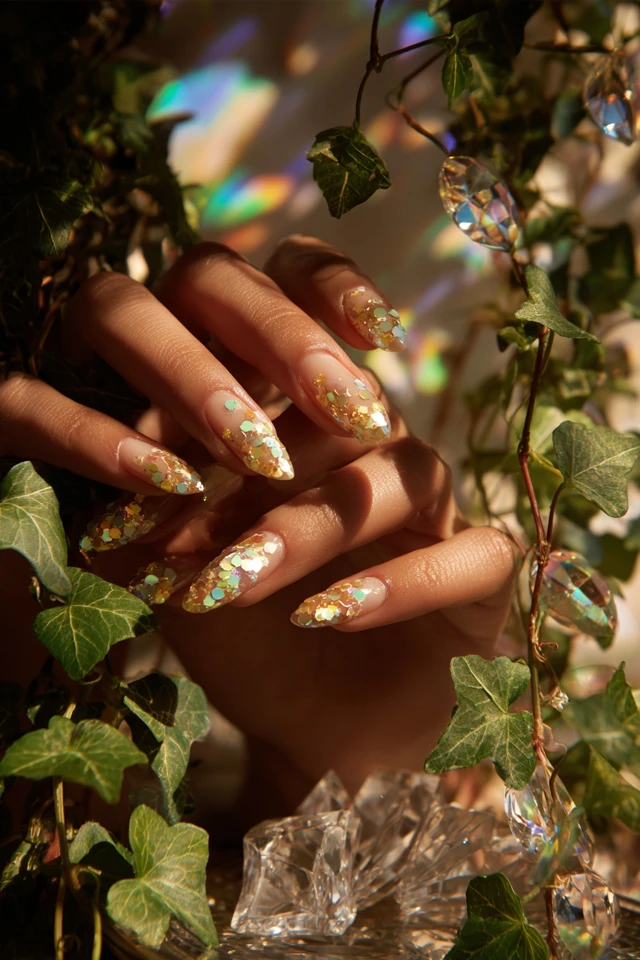
Flat-backed nail rhinestones and gems are the easiest place to start. They sit close to the nail, snag less on sleeves and hair, and come in sizes small enough to line a cuticle or mark a single accent nail. Faceted stones sparkle more than smooth ones because each facet bounces light in a different direction.
Charms and 3D accents
Nail charms and gems with height, such as bows, hearts, drops or small metal shapes, add dimension but also catch on things. Keep them to one or two nails. A raised charm on every finger reads as heavy and gets in the way when you type or reach into a bag.
Chains
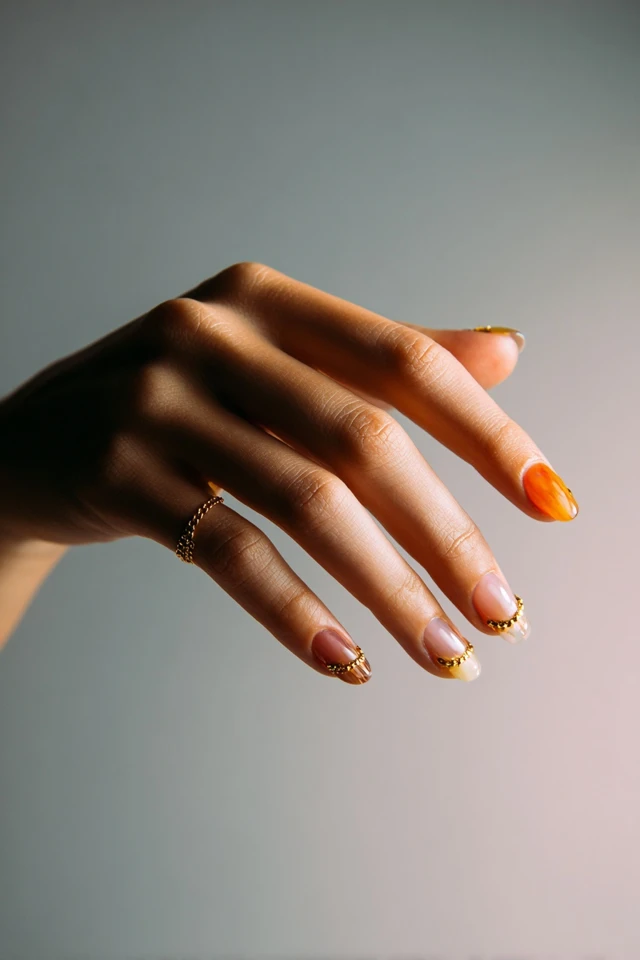
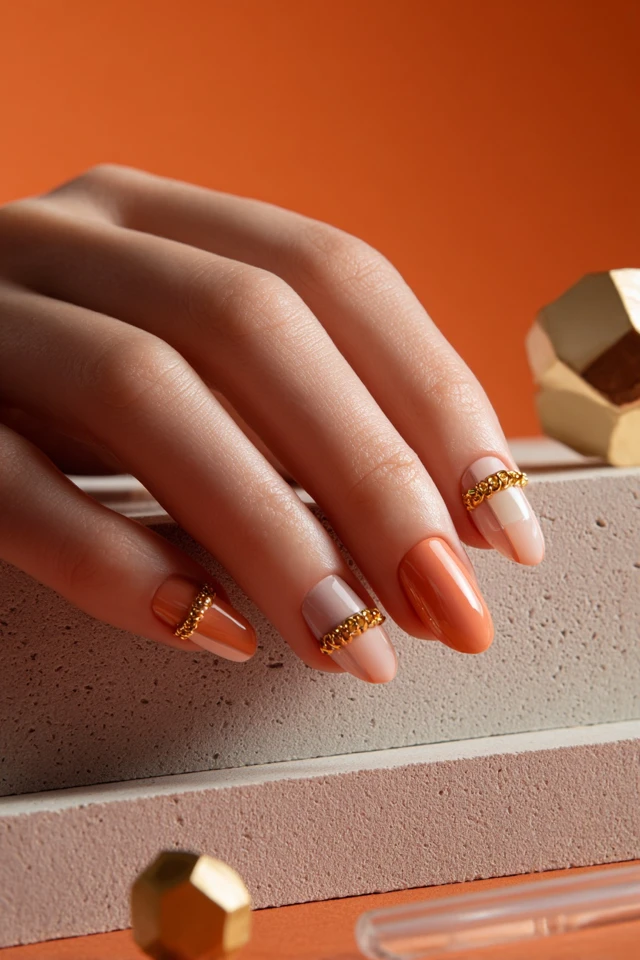
Fine chains drape between nails or across a single nail. Gold and rose gold tones look warm against most skin, while silver reads cooler and more modern. Through the lens of evidence-based design, I'd choose the metal by how it sits next to your skin and your base color, because a shiny surface reflects its surroundings and shifts in tone from room to room.
Pearls and sequins
Pearls give a softer glow than crystals, which is why they suit bridal and minimal looks. Sequins and flat foils lie almost flush, so they are the lowest-maintenance option if you are nervous about snagging.
What supplies do beginners need?
A short kit is enough for nail art supplies for beginners:
- Gel or nail glue made for embellishments (regular polish will not hold a stone)
- A dotting tool or wax pencil to pick up small stones
- Tweezers for charms and chains
- A clear top coat, plus a curing lamp if you use gel
- A buffer and cuticle pusher to prep the nail
Buy a mixed pack of rhinestones and a few charms before investing in anything large. You will learn quickly which sizes you like.
How to apply nail decorations
The steps below work for gel and for press-ons. Go slowly, because gel gives you time to adjust and glue does not.
- Prep the nail: push back the cuticle, lightly buffer the shine, and wipe off dust.
- Apply your color and let it finish curing or drying completely.
- Add a small dot of builder gel or embellishment glue where the stone or charm will go.
- Pick up the piece with the dotting tool or wax pencil and press it into place for a few seconds.
- For gel, cure the piece for the time on your product's label. Check that it is firmly set before moving on.
- Seal around the edges (not over the top of the stones, which dulls them) with a thin line of top coat, then cure again.
For chains, secure each end on its own nail first, then lay the chain with a slight slack so it does not pull when you bend your fingers.
How to attach crystals to nails so they last
Use a little less adhesive than you think you need, set the stone fully, and make sure the gel wraps the base without covering the facets. If a stone pops off within a day, the nail was usually oily or the glue layer was too thin.
Is acrylic a good base for embellishments?
Acrylic gives a sturdy surface for heavier charms, which is why many salons use it for bigger pieces. Keep in mind the trade-off: the American Academy of Dermatology explains that to get acrylic nails to stick, the surface of your natural nails must be filed until they feel rough, which thins them and makes them weaker. If your nails are already fragile, a gel or press-on base with lighter stones is gentler.
Where should you place nail embellishments?
Placement does more for the look than the stones themselves. The eye goes first to whatever breaks the pattern, so one decorated nail among plain ones becomes the focal point.
- Accent nail: decorate the ring finger and keep the rest plain.
- Cuticle line: a row of tiny stones follows the curve of the nail and stays low-profile.
- Chain across two nails: anchor on the index and ring fingers so the chain does not catch on the middle one.
- Tips only: a few stones at the free edge lengthen the nail visually.
As an architect trained in evidence-based design, I'd treat the nail like a small canvas: leave some empty space around each piece, because clutter makes both the stones and the nail look smaller. For more nail embellishments ideas that lean on negative space, see minimalist design nails and minimalist canvas nails.
How to match embellishments to your outfit
Match the finish to your clothes. Matte leather and knits sit well beside polished metal. With sequins or satin, keep nail pieces smaller and sparser so the two do not compete.
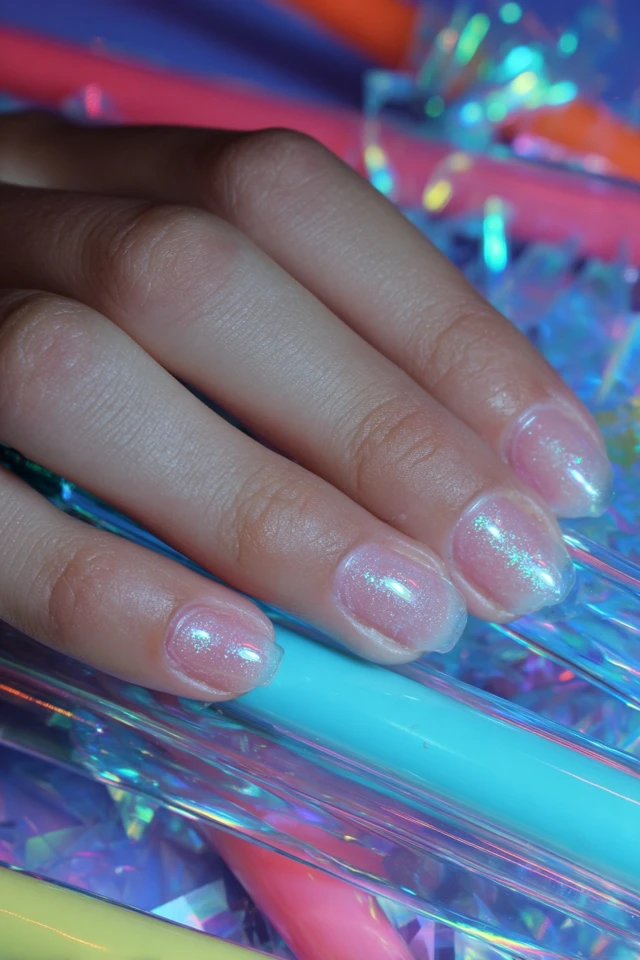
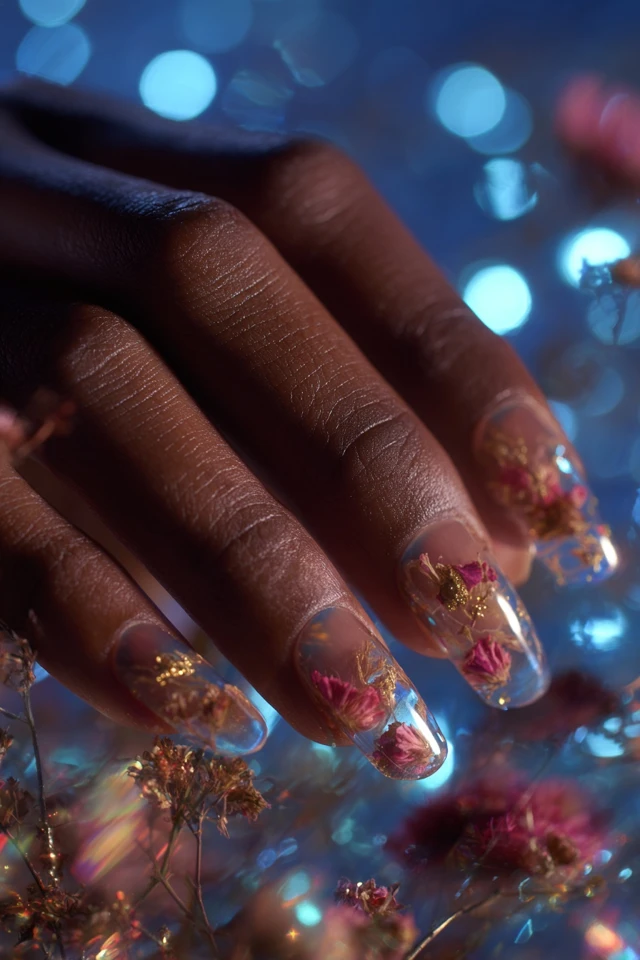
A neutral or sheer base lets stones and chains stand out. A jelly finish works well because it lets the gems look like they float. For something quieter, a matte base makes metal chains look brighter by contrast.
How to remove embellished nails safely
Do not pry stones or chains off. That peels layers from your natural nail. The American Academy of Dermatology says acetone is the most effective way to remove gel polish at home, according to board-certified dermatologist Shari Lipner, MD, PhD, FAAD. Soak cotton in acetone, wrap each nail in foil or plastic wrap, and wait. The same page notes that after 10 minutes under plastic wrap, most or all of the gel should be gone.
Careless removal has a cost. Cleveland Clinic notes that removing gel polish without care can temporarily damage nails, with cracking and peeling the most common issues.
Give your nails time to recover too. Dermatologist Shari Lipner, MD, PhD, told the American Academy of Dermatology: "After removing the color, wait one month before getting another one of these manicures." That advice was given about dip powder, but the idea of a break applies to any heavy manicure. If you notice changes in your nails, check with a dermatologist.
How long do embellished nails last?
Chains and charms tend to loosen sooner than flat stones because they move. If you wear artificial nails for more than a few weeks, the AAD says you'll need touch-ups every 2 to 3 weeks to fill in the gaps that appear as your nails grow. Check each piece at that point and replace any that look lifted.
Want a different shape to carry the decoration? Try a squoval for sturdy edges that snag less, or look at nail wraps if you prefer a flatter finish.
Frequently asked questions
What to get for nail art?
Start with embellishment glue or builder gel, a dotting tool, tweezers, a top coat and a mixed pack of rhinestones and small charms. Add a curing lamp if you work with gel.
What is the most elegant nail design?
Elegance is subjective, but a sheer or neutral base with a few small pearls or a single fine chain is a safe choice. Fewer, well-placed pieces usually look more refined than a full set of decoration.
How to apply nail decorations?
Prep and color the nail, place a small dot of gel or embellishment glue, press the piece in with a dotting tool, and cure or let it set. Seal around the edges with top coat, not over the stone.
Can you put rhinestones on regular nail polish?
You can place them in wet polish, but they often fall off within a day or two. Gel or embellishment glue holds far better.
Filed under Nail Design