Nail Embellishments: Types, Placement and How to Apply
- Words by
- Julio Arco
- Published
- Reading
- 4 min
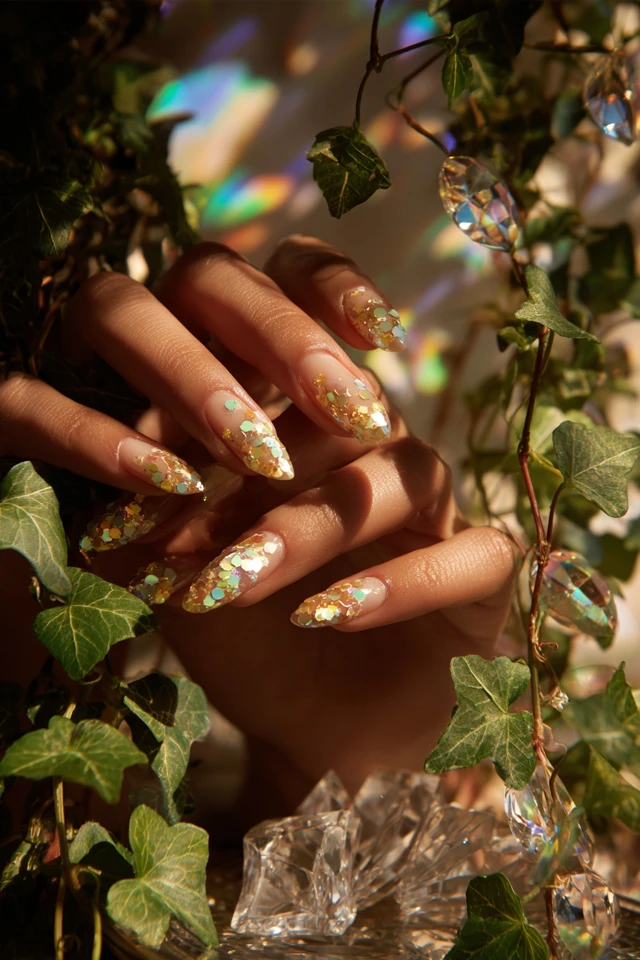
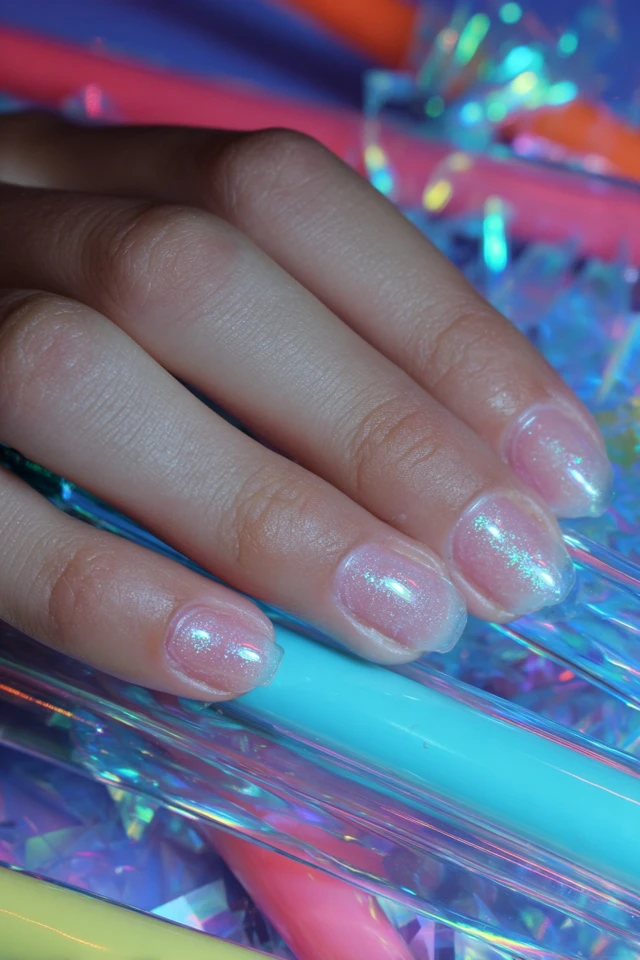
The easiest way to get a crystal pixie look is to start with a sheer, light base, then press small crystals into a layer of gel or builder gel and cure it under a lamp. Seal around the stones with a thin layer of top coat so nothing snags.
Pixie glam relies on many tiny stones scattered across the nail instead of one big statement piece. Below you will find what each type of embellishment does, how to attach it, and how to place it so it looks intentional.
What types of nail embellishments are there?
Most embellishments fall into four groups, and each one catches light differently.
Rhinestones, gems and crystals
Flat-backed stones are the core of this style. Small sizes read as sparkle, larger ones as jewelry. Faceted stones throw light in many directions, while smooth ones look softer and more like pearls. For a pixie effect, mix two or three sizes so the scatter looks random instead of patterned.
Charms and 3D accents
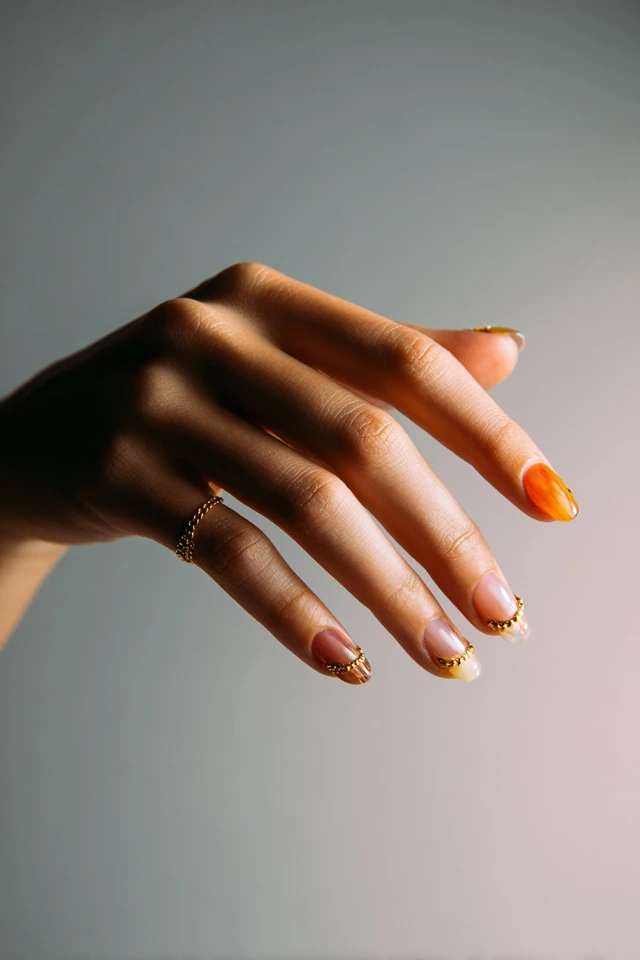
Charms stand up from the nail, so they suit one accent nail and short wear. They catch on hair and knitwear, so keep them to a single finger and choose low profiles if you type a lot.
Pearls and sequins
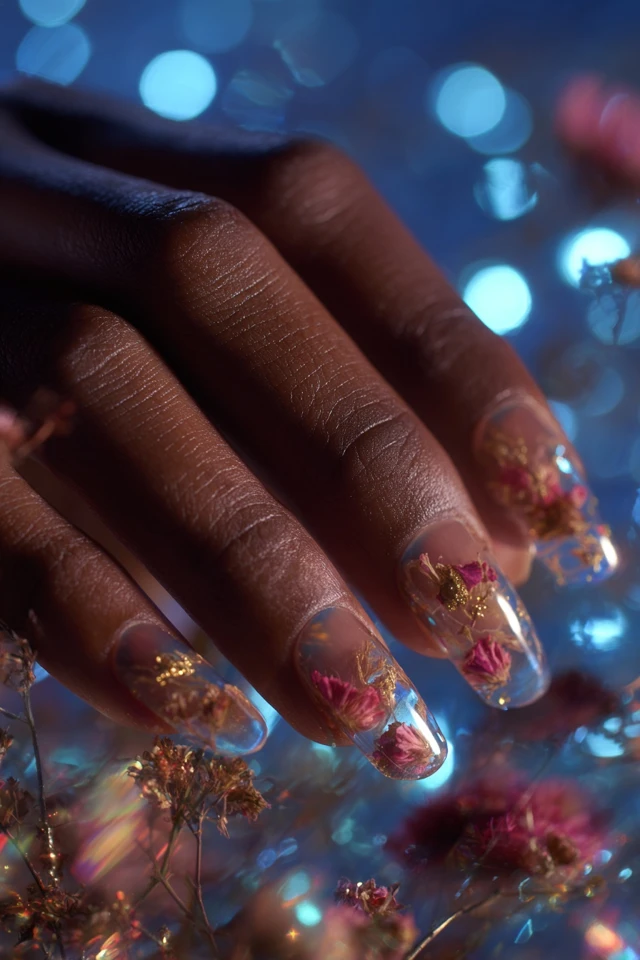
Half pearls add a creamy, matte glow that calms a very sparkly design. Sequins and flakes lie flat, which makes them the most comfortable choice for daily wear.
How do you attach crystals to nails?
This is the simplest route for beginners and works over regular gel polish.
- Finish your color and cure it, but do not wipe the tacky layer yet if you plan to set stones in gel.
- Add a small dot of builder gel or a dedicated rhinestone gel where each stone will go.
- Pick up each crystal with a wax pencil or damp dotting tool and press it in gently.
- Cure, then run a thin line of top coat around the base of each stone, avoiding the facets, and cure again.
Regular nail glue works for a short-term set, but gel holds up better to hand washing. If you are building acrylic or polygel, press stones in while the product is still workable. For more on that route, see Crystal PolyGel Artistry Nails.
What supplies do beginners need?
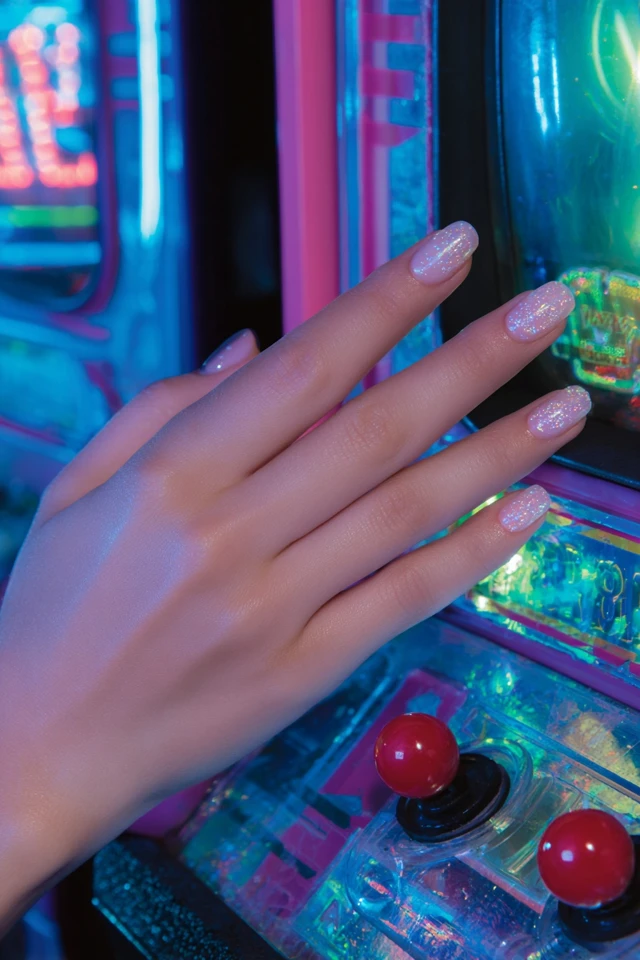
A short kit covers nearly everything: a base and top coat, a small pot of builder or rhinestone gel, a wax pencil, a dotting tool, tweezers and an LED lamp if you use gel. Buy one mixed pack of small stones first. You will learn which sizes you actually use before spending on a large set.
How do you plan placement?
Through the lens of evidence-based design, I'd think about where the eye lands first. A cluster near the cuticle or along one side draws attention to a single spot, while an even scatter reads as shimmer overall.
- Short nails: keep stones small and away from the free edge.
- Long nails: a diagonal trail of graduated stones lengthens the line.
- Minimal look: one stone on the ring finger over a sheer pastel.
- Bold look: crystals over an icy holographic base, such as the finishes in Spectrum Rainbow Holo Film Glam Nails.
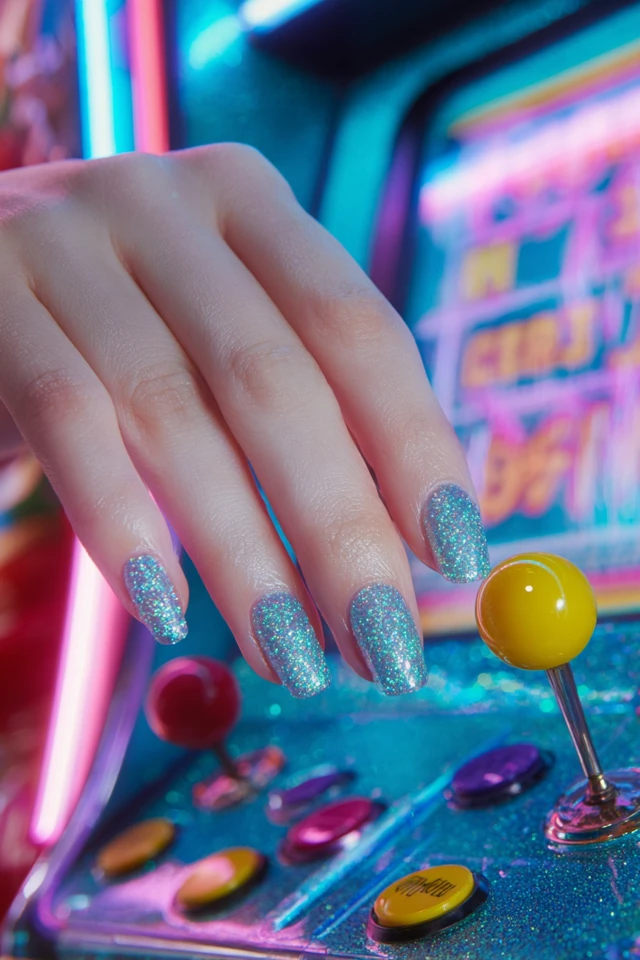
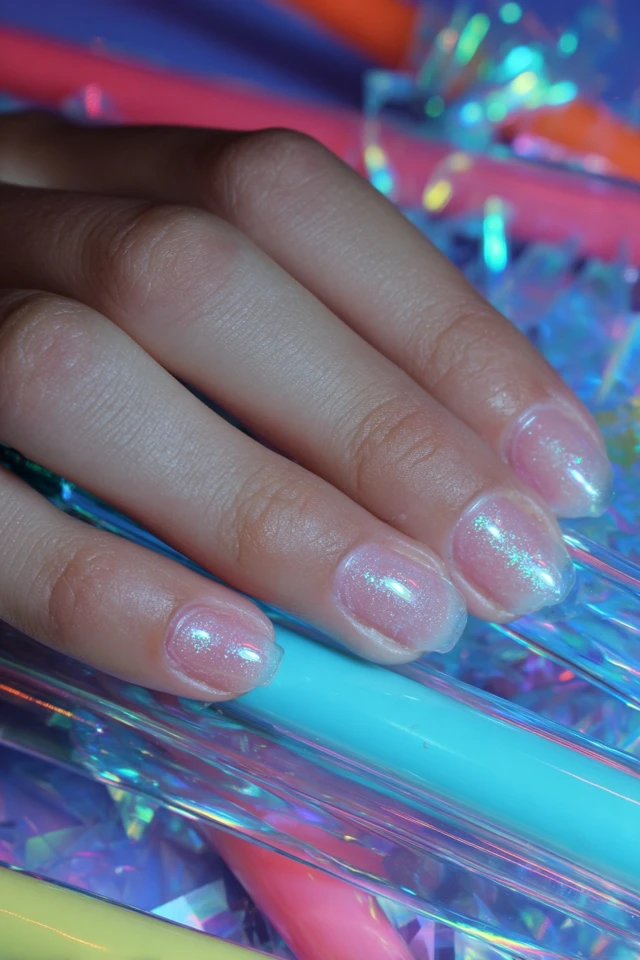
Light, sheer bases let crystals do the work. As an architect trained in evidence-based design, I'd keep the base quiet because texture and sparkle already supply plenty of visual information. For more icy options, try Spectrum Ice Frost Glam Nails or the softer Luminous Crystal Pixie Mani.
How do you make them last and remove them safely?
Seal the edges, avoid picking at stones, and wear gloves for cleaning. Plan on a fill or refresh about every 2 to 3 weeks if you wear artificial nails, since the American Academy of Dermatology says touch-ups are needed every 2 to 3 weeks to fill gaps as nails grow.
Removal is where nails get hurt. Cleveland Clinic notes that careless gel removal can temporarily damage nails, with cracking and peeling the most common issues. Do not pry stones off. Soak off with acetone as directed by the AAD's gel removal guidance, then look closely at your nails afterward. If they look thin, painful or discolored, check with a dermatologist or nail professional.
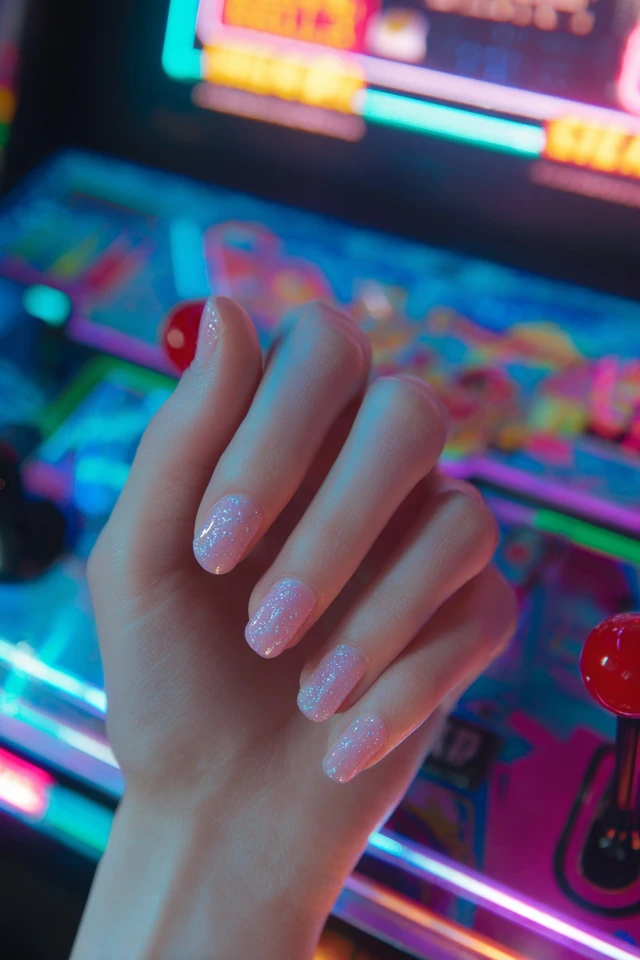
For another sparkly set that sits closer to the nail, see Crystal BIAB Design Nails.
Frequently asked questions
What to get for nail art?
For beginners, a base and top coat, a small pack of mixed rhinestones, rhinestone or builder gel, a wax pencil and tweezers are enough. Add a lamp if you use gel.
How to apply nail decorations?
Place a small dot of gel or nail glue, press the decoration in with a wax pencil, then cure or let it dry. Seal the edges with top coat, keeping it off the stone's facets.
What is the most elegant nail design?
A sheer neutral or pale base with a few small crystals near the cuticle or on one accent nail usually reads as refined. Restraint with stone count matters more than the stone itself.
Filed under Nail Design