Nail Embellishments: Dried Flower Encapsulation Nails
- Words by
- Julio Arco
- Published
- Reading
- 4 min
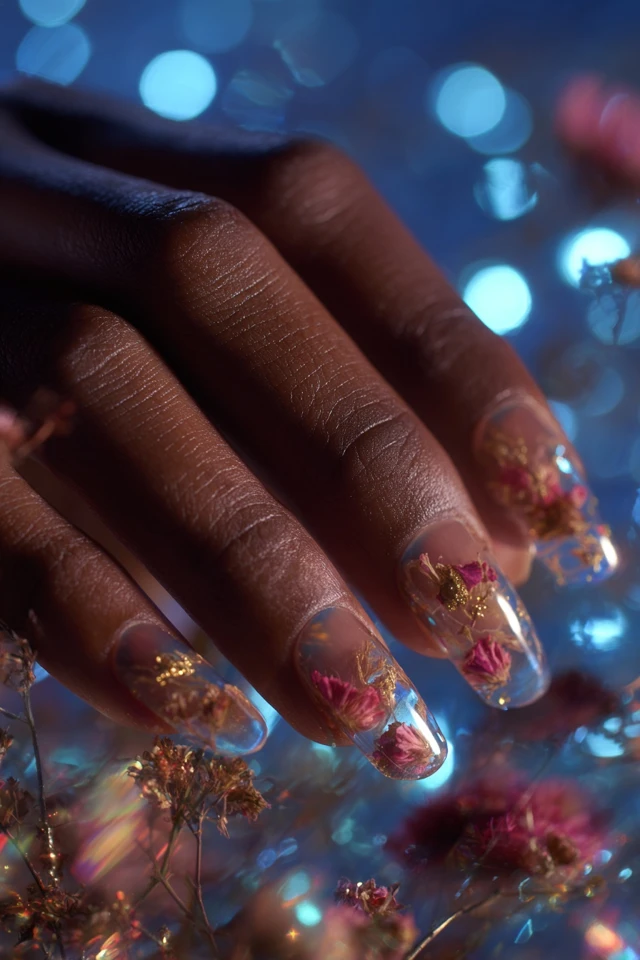
Dried flower encapsulation is one of the most delicate nail embellishments you can choose: tiny pressed blooms sealed under a clear layer of gel or acrylic, so the petals look suspended in glass. Start with one or two accent nails, keep the layer thin, and pick flowers that echo something in your wardrobe.
Below you will find how the technique works, how it compares with rhinestones and charms, a few placement ideas, and how to take it off without punishing your natural nails.
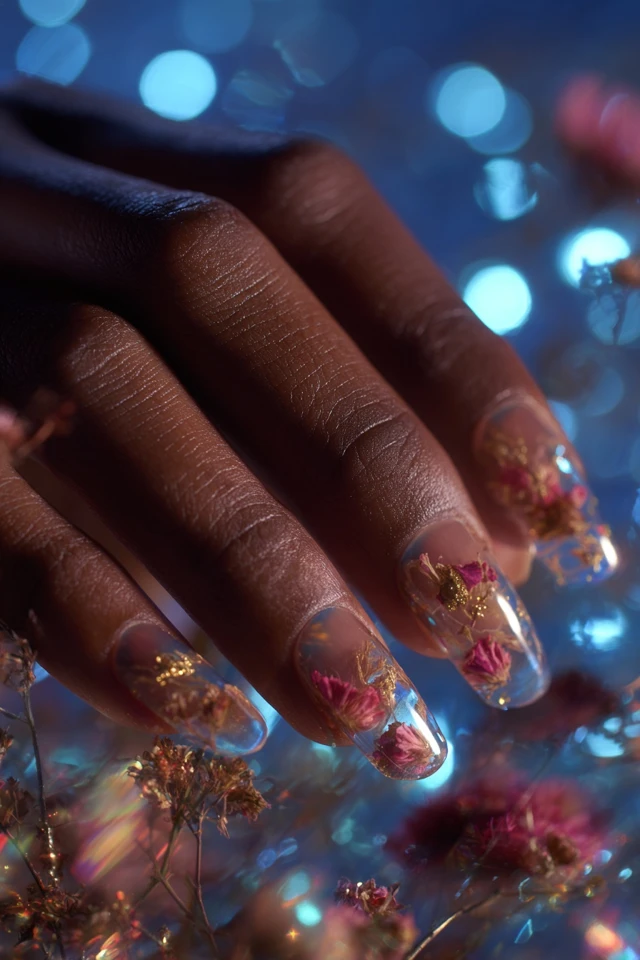
What is dried flower nail encapsulation?
A technician places small dried or pressed flowers on the nail, then covers them with clear gel or acrylic. The flower sits between layers, so it is protected and the surface can be filed smooth. Because the petals are flat and light, the finish can stay slim instead of bulky.
Compared with a raised charm, an encapsulated flower will not catch on knitwear or hair. That makes it a practical choice if you type a lot or wear delicate fabrics.
Nail embellishments ideas to pair with florals
Flowers are one option among many. Here is how the common ones differ:
- Nail rhinestones and gems add sparkle and sit slightly raised. A single small stone near the cuticle looks refined next to a floral accent.
- Charms and 3D accents give the most volume. They suit short wear and special occasions more than daily life.
- Pearls and sequins sit flatter and read soft. They pair well with pale florals.
For more raised, playful accents, see these 3-D jelly charm nails. If you want a fuller floral look, flower crown nails take the idea further.
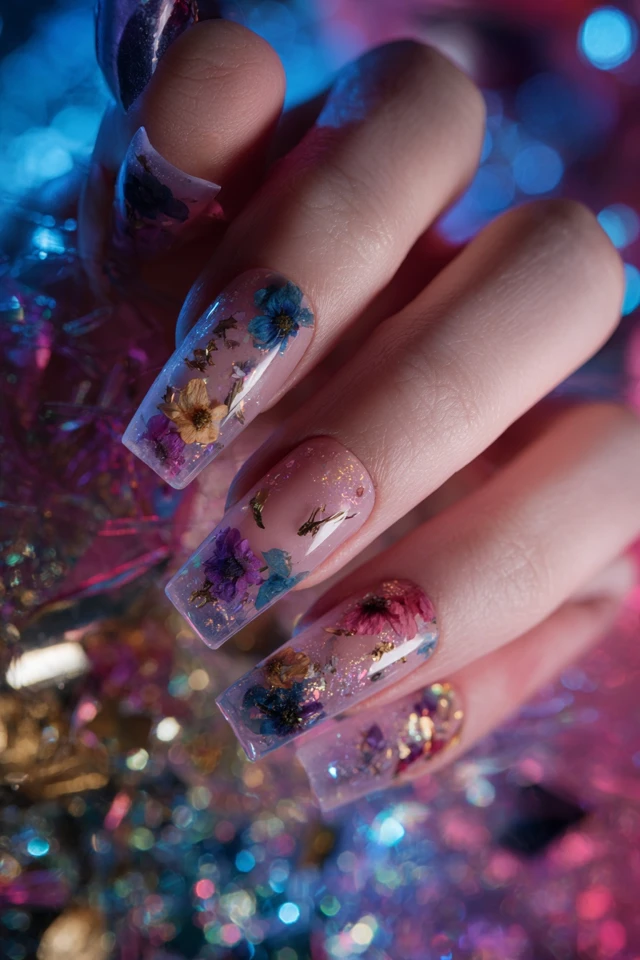
How do you choose flower colors?
Through the lens of evidence-based design, I'd think about color and surface together. A clear, glossy layer over a pale bloom reads soft and light, while the same flower on a deep base reads sharper, because contrast changes how quickly the eye finds the petal.
A few practical pairings:
- Neutral wardrobe: blush, lavender or white blooms on a sheer base.
- Black or dark outfits: yellow or coral flowers stand out cleanly.
- Minimal style: one flower on the ring finger, nothing else.
Nail length matters too. Longer nails give small flowers room to be seen, and short nails look best with one tiny bloom rather than a crowded cluster.
How to apply nail decorations
If you are learning how to apply nail decorations at home, the order is the same for most embellishments: prep, base, place, seal.
- Push back the cuticles and wipe the nail clean.
- Apply a thin base layer of gel or builder and cure it as the product directs.
- Place the flower, stone or pearl with tweezers or a dotting tool. Press petals flat.
- Cover with a clear layer, making sure the edges are sealed, then cure.
- Add a top coat. Gems and charms should be set in gel or nail glue rather than only under top coat.
Encapsulation is fussier than it looks, since petals curl and lift. If you want a clean result, a trained nail technician is a good option, and a portfolio of past encapsulation work is worth asking to see.
Do acrylic nails change anything?
With nail embellishments acrylic is a common base for encapsulation because it is firm and can be shaped. The trade-off is prep: according to the American Academy of Dermatology, the natural nail surface must be filed until it feels rough for acrylics to stick, which thins the nails and makes them weaker. The same page notes that touch-ups are needed every 2 to 3 weeks if you wear artificial nails longer than a few weeks.
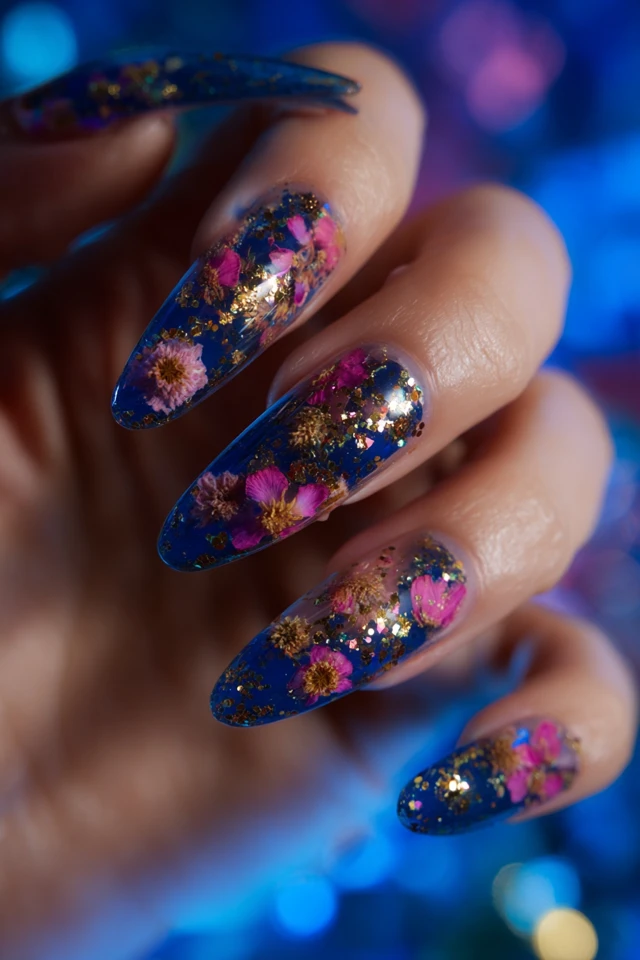
Nail art supplies for beginners
You do not need a large kit to try simple embellishments. A starter set usually covers:
- Clear gel or builder, base and top coat
- A curing lamp that matches your gel
- Fine tweezers and a dotting tool
- Dried flowers made for nails, plus a few small rhinestones
- Nail glue for stones and charms
I won't pick a brand for you, since results depend on the gel system and lamp you already use. Buy a small amount first and practice on one nail.
How to remove embellished nails safely
Removal is where nails get hurt, so go slowly. The AAD says acetone is the most effective way to remove gel polish at home, and that leaving the soaked wrap on for 10 minutes should take most or all of it off. Thick encapsulation layers may need to be filed down first, and a salon removal is simpler for those.
The Cleveland Clinic warns that careless removal can temporarily damage nails, with cracking and peeling the most common issues. Dermatologist Shari Lipner, MD, PhD, says of dip powder manicures, "After removing the color, wait one month before getting another one of these manicures." That is a sensible rhythm to borrow for any heavy set. If your nails look or feel unhealthy afterward, check with a dermatologist.
More floral and statement sets
If you like this look, buttercup nails and Cinderella nails offer other ways to keep a soft, romantic mood.
Frequently asked questions
What to get for nail art?
Start with clear gel, a base and top coat, a compatible lamp, fine tweezers, a dotting tool, and a few small embellishments such as dried flowers or rhinestones. Add nail glue for stones and charms.
What is the most elegant nail design?
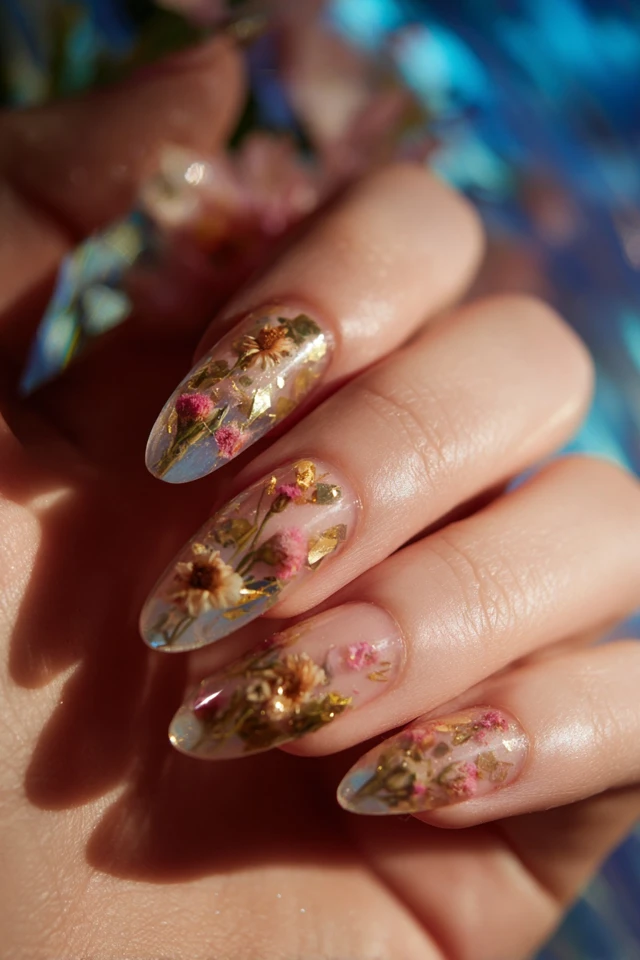
Elegance is subjective, but a sheer or nude base with one small embellishment, such as a single pressed flower or tiny gem, is a widely loved, understated choice.
How to apply nail decorations?
Prep the nail, apply a thin gel base, place the decoration with tweezers, then seal it with clear gel and cure. Heavier stones and charms hold better in gel or nail glue.
How often should you redo encapsulated nails?
The American Academy of Dermatology says artificial nails need touch-ups every 2 to 3 weeks as they grow. Gel overlays follow a similar rhythm in practice.
Filed under Nail Design