Gel Nail Art: Blooming Floral Designs and How to Do Them
- Words by
- Julio Arco
- Published
- Reading
- 4 min
Yes, you can do nail art with gel. Gel color is cured under a lamp, so you can paint a petal, wipe it, rework it and only lock it in when it looks right. That is why gel suits blooming florals: soft edges and small layered details have time to come out well.
The look in this post is a blooming floral: a few delicate flowers, soft color shifts and, if you like, a slightly raised petal. Below you will find what to buy, how to build the flower, how to match it to your outfit and how to take it off without wrecking your nails.
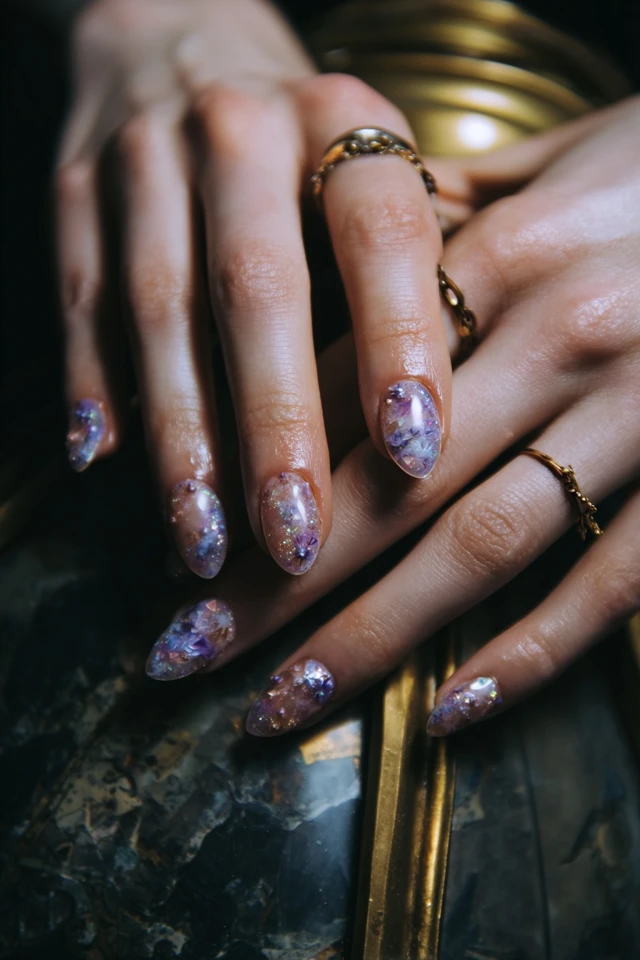
What gel nail art supplies do you need?
A basic set is smaller than most kits make it look. For blooming florals you need:
- A base coat and a no-wipe top coat
- A curing lamp that suits your gel brand
- Two or three thin gel paints in your flower colors, plus white to lighten them
- A fine detail brush and a dotting tool
- A gel nail art liner for stems, outlines and petal veins
- Lint-free wipes and cleanser
Buy gel paints and liners from the same brand as your lamp when you can. Curing times differ between products, and a mismatch is the usual reason a design stays tacky or wrinkles.
How do you paint a blooming gel flower?
- Prep the nail, apply base coat and cure it. Add a sheer nude or pale color and cure again.
- Dab a small blob of gel paint on the nail where the flower center will sit.
- Pull short strokes outward from that center with your detail brush to make petals. Press lightly at the start and lift at the tip.
- Soften the petal edges with a clean, barely damp brush. Cure.
- Add a darker center with the dotting tool and thin stems or leaves with the liner. Cure.
- Seal with top coat, cure, and wipe if your top coat needs it.
Work one or two nails at a time, and keep the gel off your skin. Uncured gel on skin is what tends to cause trouble, so clean up before every cure.
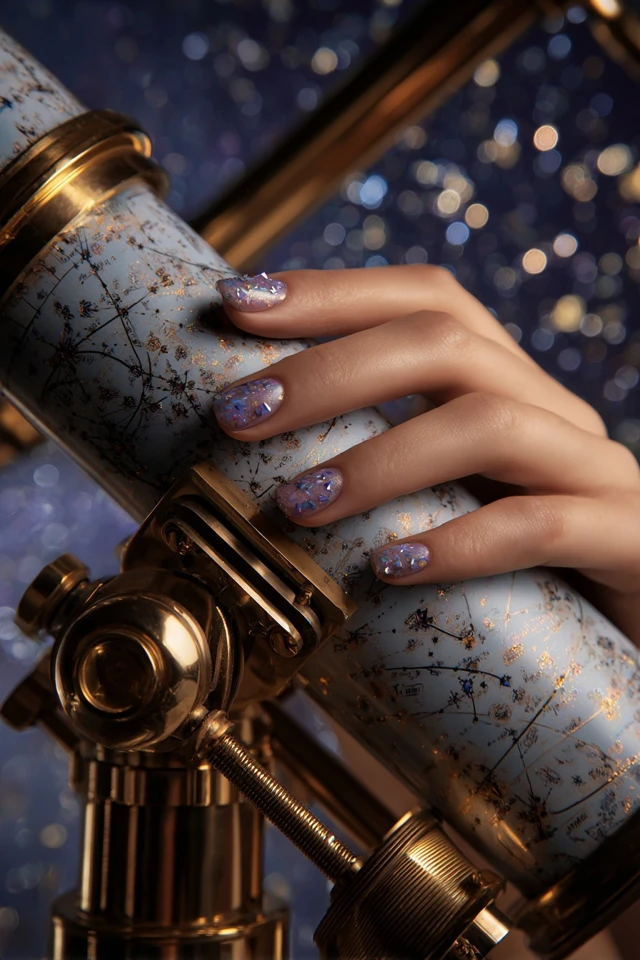
How do you add 3D gel nail art?
3D gel nail art uses a thicker gel, often sold as builder or sculpting gel, to raise a petal or dot above the surface. Place a small bead, shape it with a brush, and cure it briefly to hold the shape before adding color on top. Keep the raised part to one or two nails. Raised petals catch snags, so they work best on accent fingers and away from the free edge.
If you want a deeper look at sculpted work, see builder gel designs.
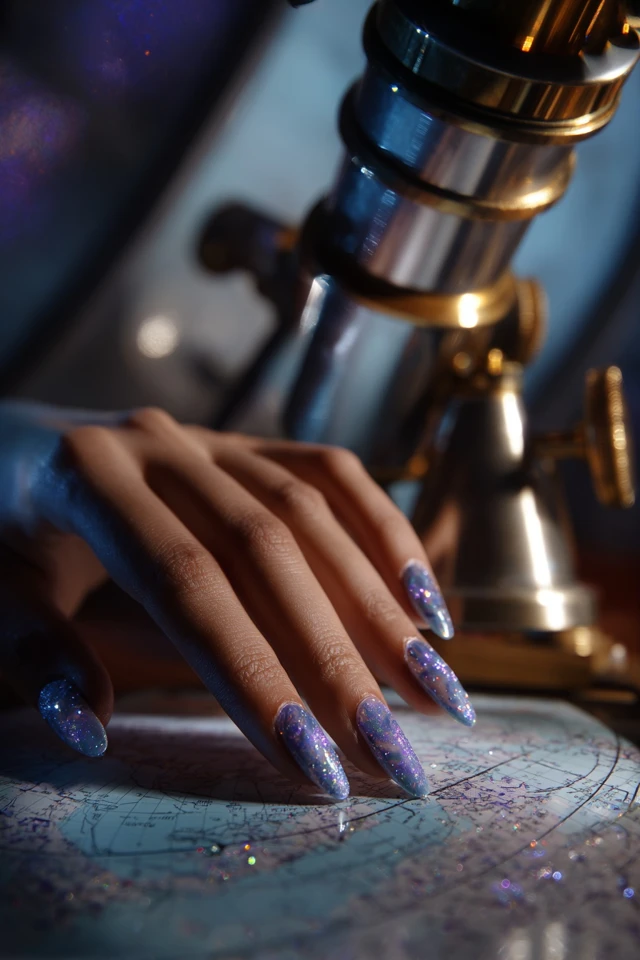
Which colors suit you, and what do current gel nail trends look like?
Through the lens of evidence-based design, I'd look at contrast first. A soft pink flower on a sheer nude base reads quietly, while the same flower on a deep base reads sharp, because the surrounding color changes how the bloom is perceived.
Among current gel nail trends, muted pastels, dusty roses, soft greens and creamy neutrals pair well with florals, and raised textures are popular. Trends move quickly, so treat these as starting points for gel nail art ideas rather than rules.
- Cool undertones usually look good with lilac, icy pink and blue-leaning shades.
- Warm undertones often suit terracotta, coral and olive green.
- Short nails take small blooms and a single flower; longer almond or oval shapes give a larger bloom room.
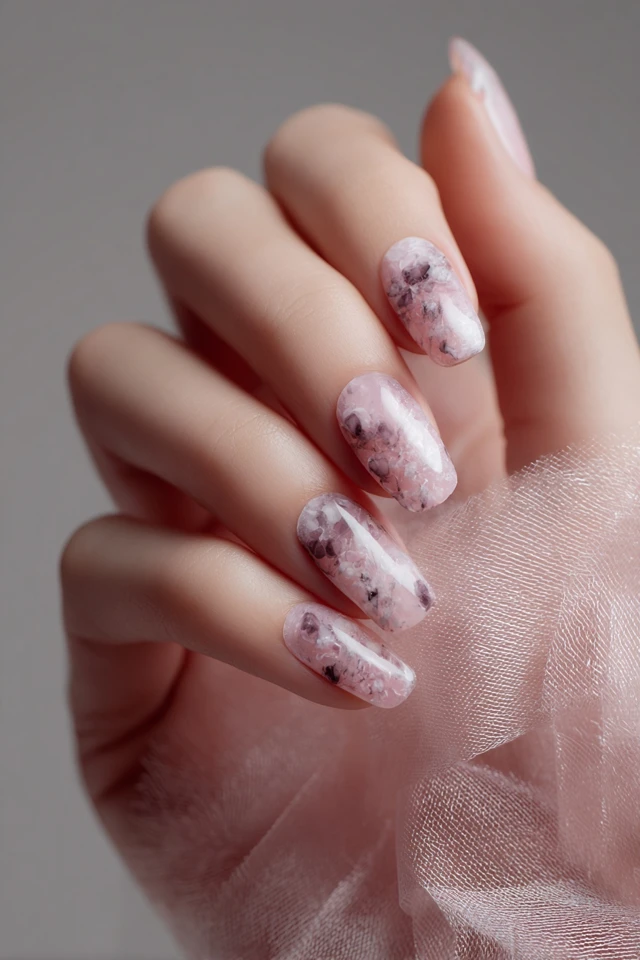
For other styles to compare, try a French tip statement set or blooming marble nails. If you prefer a softer finish, jelly nails are a sheer alternative.
What is the downside of gel nails?
Gel is durable, but it has costs. A National Institutes of Health literature review of DIY nail cosmetics reports that allergic contact dermatitis is the most common adverse event, mainly linked to (meth)acrylates found in nail glue, gel polish and acrylic nails. If your skin itches or reddens near the nail, stop and check with a dermatologist.
Removal is the other risk. Cleveland Clinic notes that removing gel polish carelessly can temporarily damage nails, with cracking and peeling the most common issues. Never peel or pick it off.
How do you remove gel nail art safely?
The American Academy of Dermatology says acetone is the most effective way to remove gel polish at home. Its guidance is to leave the plastic wrap on for 10 minutes, after which most or all of the gel should be gone. Gently file the shiny top coat first, soak cotton in acetone, wrap each nail, then wait.
Afterward, look closely at your nails. As board-certified dermatologist Chris Adigun, MD, FAAD, says in the AAD's dip powder guidance, "Looking closely at your nails after removing the color helps you spot a problem early." Moisturize your cuticles, and give your nails a break between sets if they feel thin.
Plan on a refresh about every 2 to 3 weeks as your nails grow out. Wearing it much longer leaves a visible gap at the cuticle.
Frequently asked questions
Can you do nail art with gel?
Yes. Gel paints and liners stay workable until you cure them under a lamp, so you can correct a design before it sets. Finish with a top coat to seal it.
What are the current gel nail trends?
Soft pastels, dusty roses, creamy neutrals, florals and raised 3D details are popular right now. Trends change often, so pick what suits your hands and wardrobe.
What is the downside of gel nails?
Allergic reactions to the acrylates in gel products can occur, and careless removal can leave nails cracked or peeling. Check with a dermatologist if you notice irritation.
Do I need a gel nail art kit or can I buy pieces separately?
A kit is convenient if you are starting from zero, but a lamp, a few paints, a liner and a detail brush cover most floral designs. Buy separately if you already own a lamp.
Filed under Nail Design