Gel Nail Art: Galactic Stamping Designs and How-To
- Words by
- Julio Arco
- Published
- Reading
- 4 min
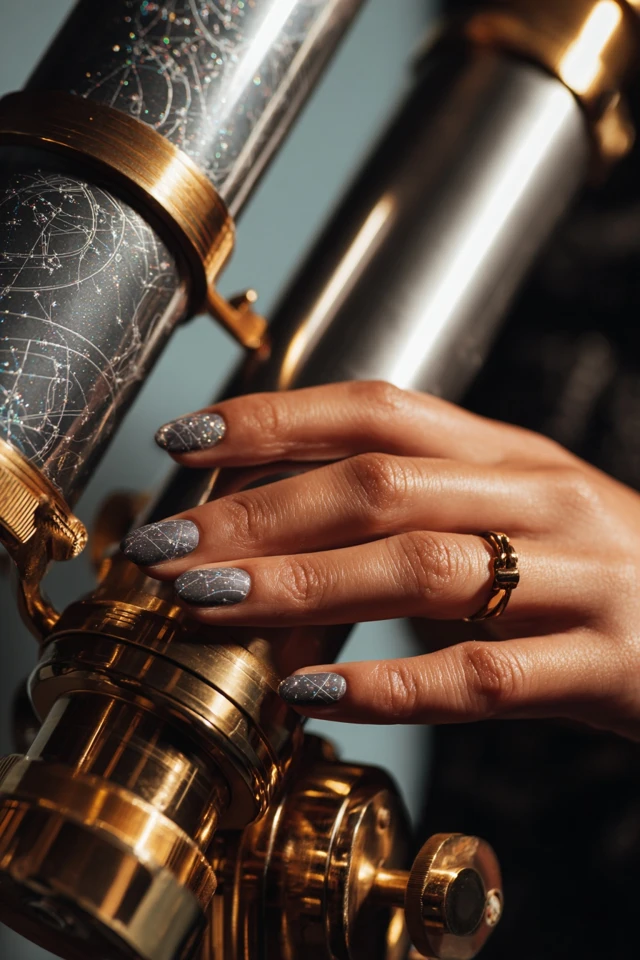
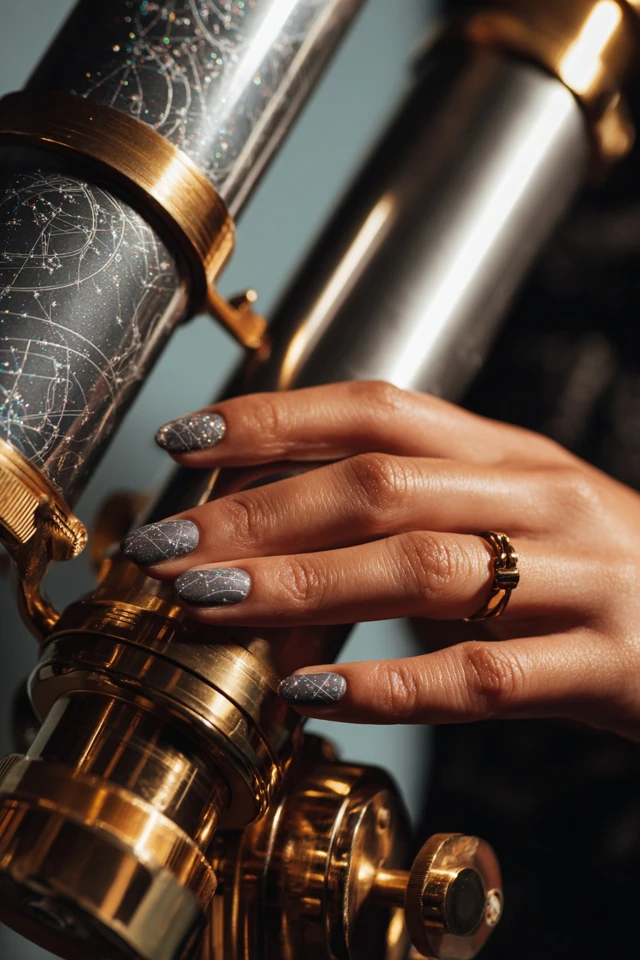
Yes, you can do galactic nail art with gel. Cure a deep navy or midnight base, stamp a star or nebula pattern over it with a plate and silicone stamper, cure again, then seal everything with a gel top coat.
Stamping is the easiest route to a cosmic look, because the plate does the fine detail that is hard to freehand. Below are the supplies, the steps, the color pairings and the care you should know about before you start.
Can you do nail art with gel?
You can, and gel suits galactic designs well. Gel stays workable until you cure it under a lamp, so you can wipe a smudged star, reposition a stamp and only then lock the design in. Regular polish starts drying as soon as it touches the nail.
Stamping adds one wrinkle: the stamping polish or stamping gel needs to be pigmented enough to pick up cleanly from the plate. Sheer colors tend to come off patchy, especially silver over a dark base.
What gel nail art supplies do you need?
A gel nail art kit can cover most of this, but it helps to know what each piece does. Here is the short list of gel nail art supplies for a galactic manicure:
- A UV or LED lamp that matches your gel brand
- Base coat and a no-wipe gel top coat
- A deep blue, navy or black gel color for the sky
- Stamping plates with stars, swirls or constellations, plus a stamper and scraper
- Stamping polish or gel in silver, white and a violet or magenta
- A thin gel nail art liner brush for tiny stars and constellation lines
- Lint-free wipes and isopropyl alcohol or the cleanser your brand recommends
If you are buying one thing carefully, make it the stamping color. Highly pigmented metallic shades transfer best, and a clear, sharp stamp is what makes the sky look deep instead of muddy.
How to make galactic gel nails with stamping
- Prep the nail, apply base coat and cure.
- Paint one or two thin coats of dark blue or black gel, curing each.
- For a nebula, tap a sponge with violet and blue gel along the nail, then cure.
- Scrape your stamping polish across the plate, roll the stamper over the design and press it onto the nail.
- Add a few dots or a fine line with a gel nail art liner for stars the plate does not give you.
- Cure, then apply top coat and cure again.
Work one hand at a time if your stamping polish air-dries quickly. If a stamp comes out half-finished, wipe it off while the base is still uncured under the stamp layer, or simply cover it with a dot of glitter.
Which colors work for a galaxy look?
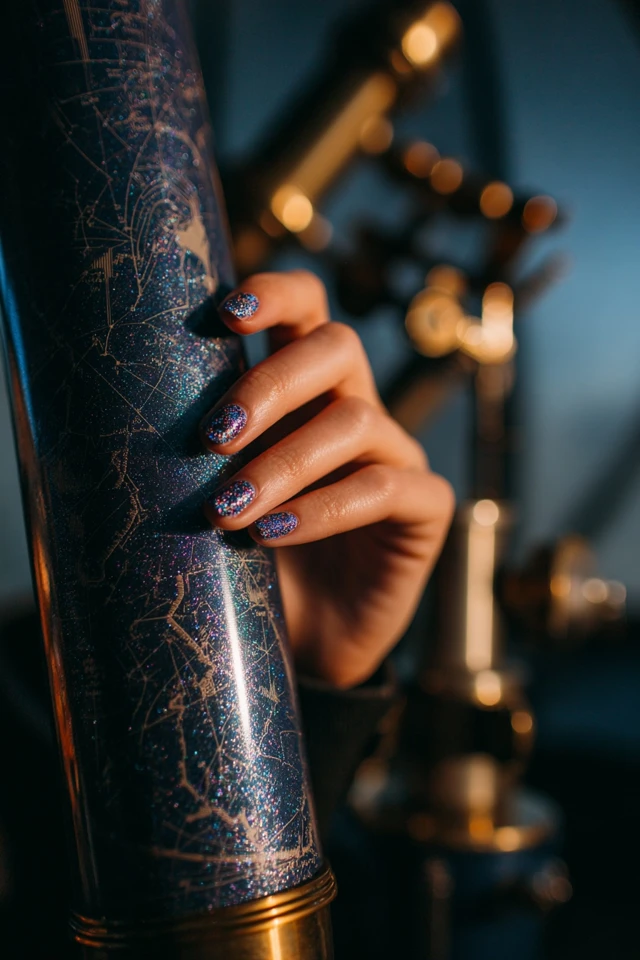
Through the lens of evidence-based design, I'd start with contrast and finish. A silver stamp on navy reads crisp and cool, while the same silver on a pale base nearly disappears. A shimmer or holographic top coat changes how the whole color reads because the surface scatters light differently from a glossy finish.
- Cool undertones: blue and violet bases with silver stamping tend to sit comfortably next to the skin.
- Warm undertones: try a plum or red-leaning purple, with gold or holographic accents.
- Neutral undertones: you can go either way, so pick the one that feels closest to your wardrobe.
To make it wearable day to day, keep clothes simple. A navy blazer, a lavender scarf or silver jewelry echoes the nails without competing with them.
Current gel nail trends that pair with a cosmic design
Chrome and holographic finishes, ombre blends and one accent nail with detailed art keep showing up in current gel nail trends, and they all fit a galaxy theme. If you want more gel nail art ideas in the same family, look at builder gel galaxy nails, a reverse French galaxy manicure or galactic marble water art.
Prefer a different pattern on the same stamping method? Spectrum stamping and graffiti stamping use the same tools.
Top coat, wear time and removal
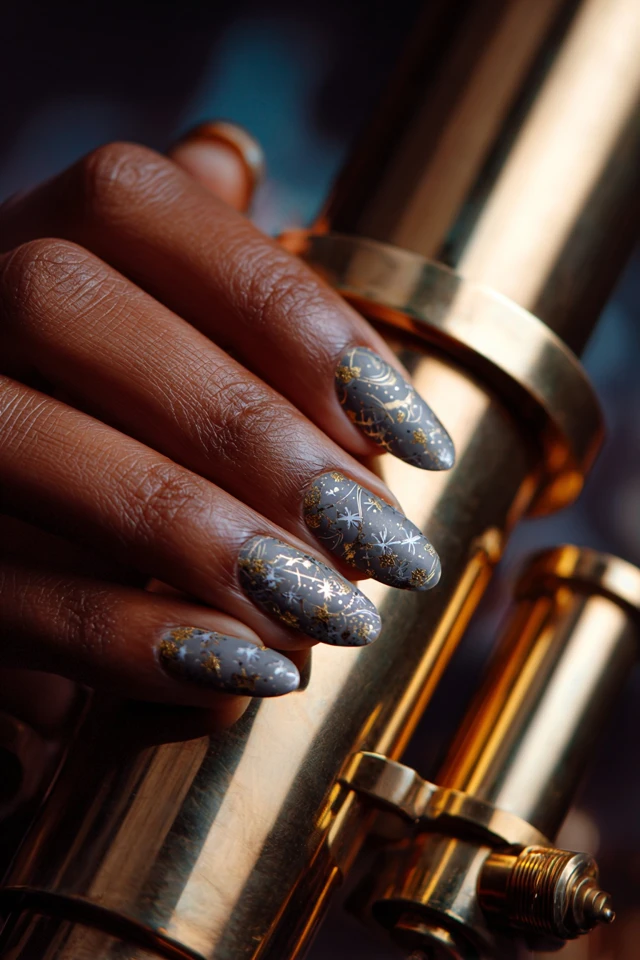
A good top coat is what protects the stamped layer, since stamping polish sits on the surface and can scratch if left unsealed. Cap the free edge of the nail when you apply it.
Gel has downsides worth knowing. A National Institutes of Health literature review of DIY nail cosmetics reports that allergic contact dermatitis is the most prevalent adverse event, primarily attributed to (meth)acrylates found in nail glue, gel polish and acrylic nails. If your skin itches or reddens around the nails, stop and check with a dermatologist.
Removal is where most damage happens. Cleveland Clinic notes that removing gel polish carelessly can temporarily damage your nails, with cracking and peeling the most common issues. The American Academy of Dermatology says acetone is the most effective way to remove gel polish at home, and that after 10 minutes under plastic wrap most or all of the polish should be gone. Do not pick or peel it off.
Give your nails a break between manicures, and look closely at them after the color comes off. Dermatologist Chris Adigun, MD, FAAD, says in the AAD's dip powder guidance: "Looking closely at your nails after removing the color helps you spot a problem early."
Frequently asked questions
Can you do nail art with gel?
Yes. Gel stays workable until cured, so you can build layers, stamp patterns and add fine lines, then lock each step under a lamp.
What is the downside of gel nails?
Allergic reactions to (meth)acrylates can occur, and careless removal can leave nails cracked or peeling. See a dermatologist if your skin reacts.
What are the current gel nail trends?
Chrome and holographic finishes, ombre blends and a single detailed accent nail are common right now, and all suit a galaxy design.
Do I need a gel nail art kit for stamping?
A kit helps, but you mainly need a lamp, gel colors, a stamping plate with stamper and scraper, a thin liner brush and a top coat.
Filed under Nail Design