Gel Nail Art: Blooming Marble Design, Step by Step
- Words by
- Julio Arco
- Published
- Reading
- 4 min
Yes, you can do blooming marble with gel. Cure a sheer, pale base, dab on a few drops of tinted gel or gel paint, soften them into soft clouds, add a hairline vein or two, and seal with a top coat. The look works because the colors bleed gently into each other, so you need very little product.
Below: what to buy, how to build the effect, which colors suit which outfits, and how to take it off without wrecking your nails.
What is a blooming marble nail?
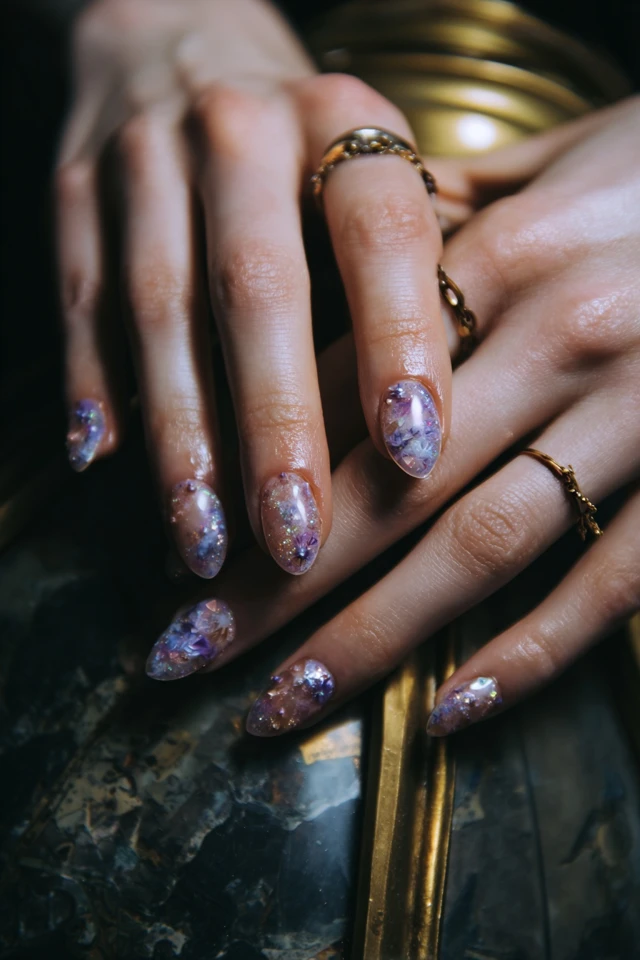
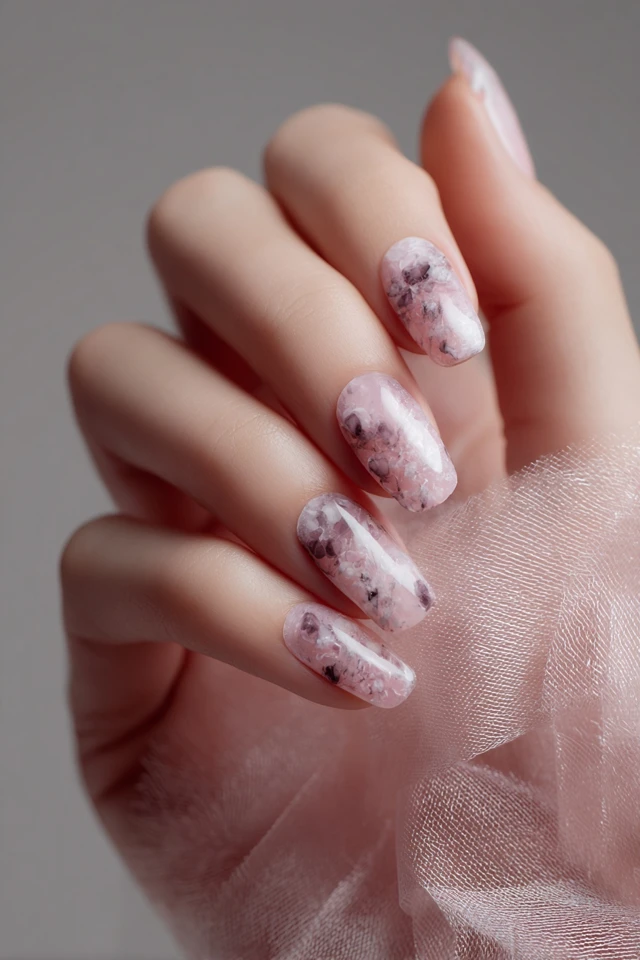
It is a marble pattern where color spreads outward like ink in water, leaving soft, cloudy edges instead of sharp stone-like veins. Think translucent nude or milky white underneath, with mauve, dusty rose, grey or taupe drifting through it.
Through the lens of evidence-based design, I'd say the softness is the whole point. Blurred edges and a sheer base read as calm and light, while hard black veins on white read as graphic and high contrast. Same technique, very different impression.
What gel nail art supplies do you need?
You can keep the list short. Most of it you may already own if you do gel manicures.
- A UV/LED lamp and a gel base coat and no-wipe top coat
- A sheer nude, pink or milky gel for the background
- Two or three gel paints or tinted gels in your marble colors
- A fine brush or gel nail art liner brush for veins
- A dotting tool, and isopropyl alcohol with lint-free wipes for cleanup
A starter gel nail art kit is fine if it includes thin-consistency paints, since thick ones are harder to blur. Buy the liner brush separately if the kit's is stiff or splayed.
How do you make gel marble nails step by step?
- Prep the nail, apply base coat and cure it.
- Apply one thin layer of your sheer background color and cure.
- Apply a second thin layer, but do not cure it yet.
- Place two or three tiny drops of paint on the wet layer. A dotting tool works well.
- Drag a clean dry brush lightly through the drops until they feather out. Stop sooner than you think you should.
- Cure, then draw one or two thin veins with the liner brush in a slightly deeper shade, and cure again.
- Seal with top coat, cure, and wipe if your top coat needs it.
Thin layers matter. Thick gel pools, wrinkles under the lamp and makes the clouds look muddy.
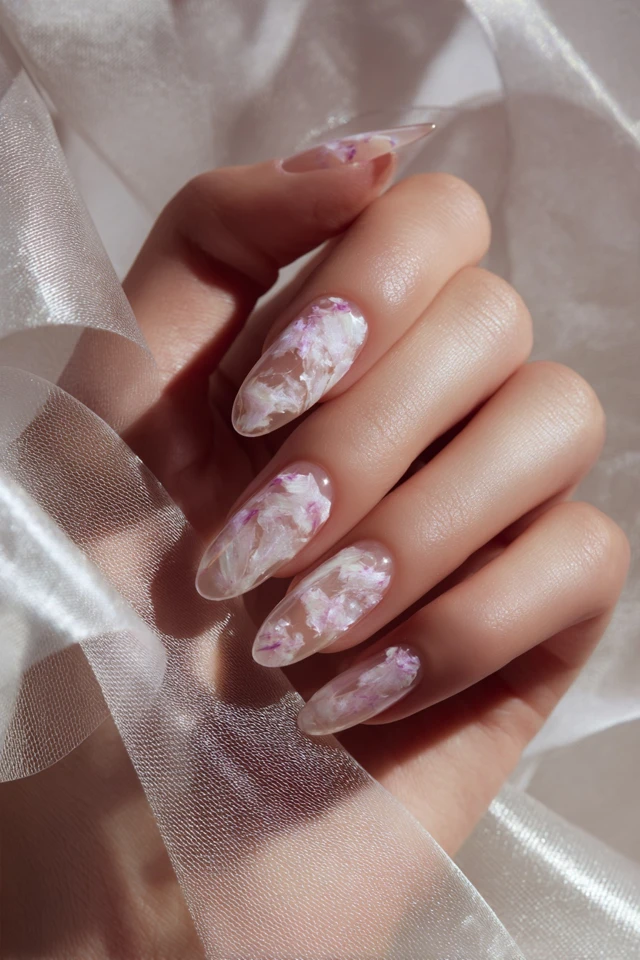
Which colors suit your skin tone and outfit?
Color reads differently next to skin, so test the shade against your hand before committing. These are starting points, not rules.
- Warm undertones: cream, amber, beige and soft coral clouds usually sit comfortably.
- Cool undertones: lavender, navy, silver-grey and cool pink tend to look crisp.
- Minimal wardrobe: neutral or pastel marble keeps the hands quiet.
- Bold wardrobe: high-contrast marble or a metallic vein gives the hands a role.
Blush marble pairs easily with cream and camel. Navy and silver marble looks sharp against black, white and grey.
What are the current gel nail trends for marble?
Soft mauve, dusty rose and muted earth tones over a translucent base are the shades I see most often in marble sets, along with metallic or holographic veins. Trends move fast, so treat these as ideas rather than a forecast. Greys, whites and soft nudes stay easy to wear with almost anything.
For more gel nail art ideas in the same family, see ultra blooming marble glam nails, smoky marble nails and stellar blooming gel artistry. If you prefer a more graphic take, sculpted marble is worth a look.
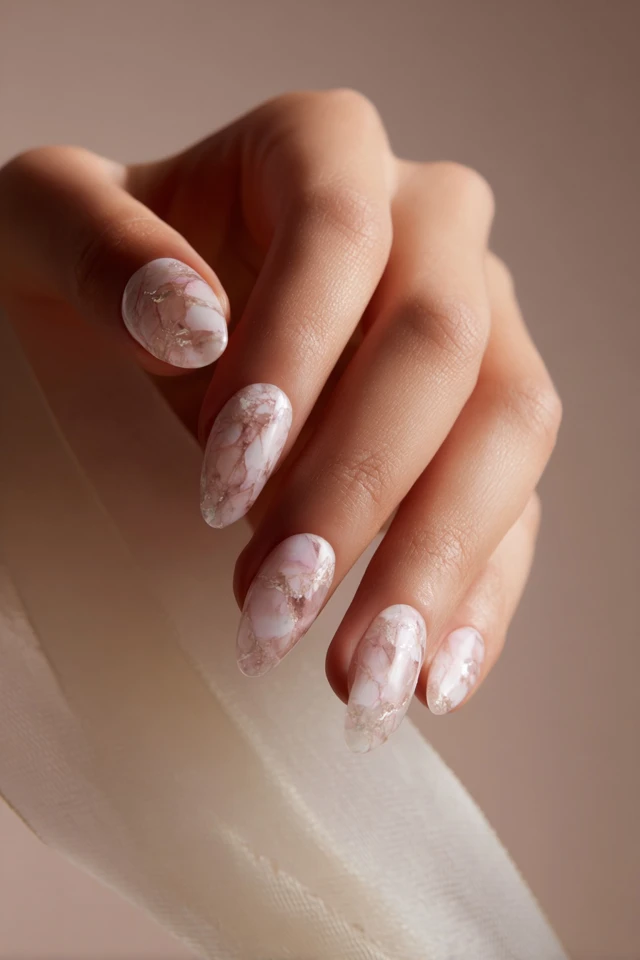
What is the downside of gel nails?
Two things are worth knowing. First, some people react to the ingredients: a review in the National Institutes of Health's PMC library found that allergic contact dermatitis is the most prevalent adverse event from do-it-yourself nail cosmetics, primarily attributed to (meth)acrylates in products such as gel polish. If your skin itches or swells, stop and see a doctor.
Second, removal is where nails get hurt. The Cleveland Clinic notes that removing gel polish, if not done carefully, can temporarily damage your nails, with cracking and peeling the most common issues.
How to remove gel safely at home
The American Academy of Dermatology says acetone is the most effective way to remove gel nail polish at home. Soak, wrap, and wait about 10 minutes, after which most or all of the gel should slide off. Do not scrape or peel stubborn bits.
Afterward, look closely at your nails. Board-certified dermatologist Chris Adigun, MD, FAAD, says "Looking closely at your nails after removing the color helps you spot a problem early." If something looks off, check with a dermatologist.
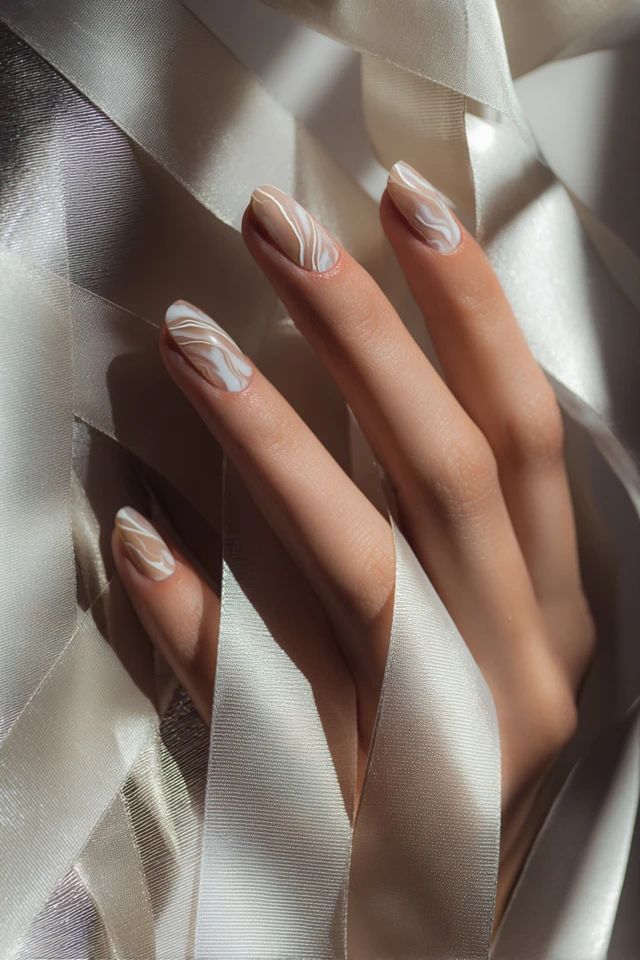
Should you do it yourself or go to a salon?
Blooming marble is forgiving, which makes it a good first nail art project. Imperfect clouds look intentional. Veins are the hard part, and a good liner brush with a steady, short stroke helps.
A salon makes sense if you want very fine detail across all ten nails. Either way, keep cuticles moisturized and plan fills or a fresh set every few weeks. A related option with a thicker finish is dip powder design.
Finish with metals that suit your colors: rose gold with blush and mauve, silver with grey and navy, gold with cream and amber.
Frequently asked questions
Can you do nail art with gel?
Yes. Gel paints, tinted gels and liner brushes all work on a cured base layer, and you cure each design step under a UV/LED lamp before sealing with a top coat.
What are the current gel nail trends?
Soft mauve, dusty rose, muted earth tones and sheer milky bases are popular, often with a metallic or holographic vein. Trends change quickly, so treat them as inspiration.
What is the downside of gel nails?
Allergic reactions to the acrylate ingredients are possible, and careless removal can leave nails cracked or peeling. If you notice irritation or damage, check with a dermatologist.
Filed under Nail Design