Nail Embellishments: Crystal Encapsulated Glitter Nails
- Words by
- Julio Arco
- Published
- Reading
- 4 min
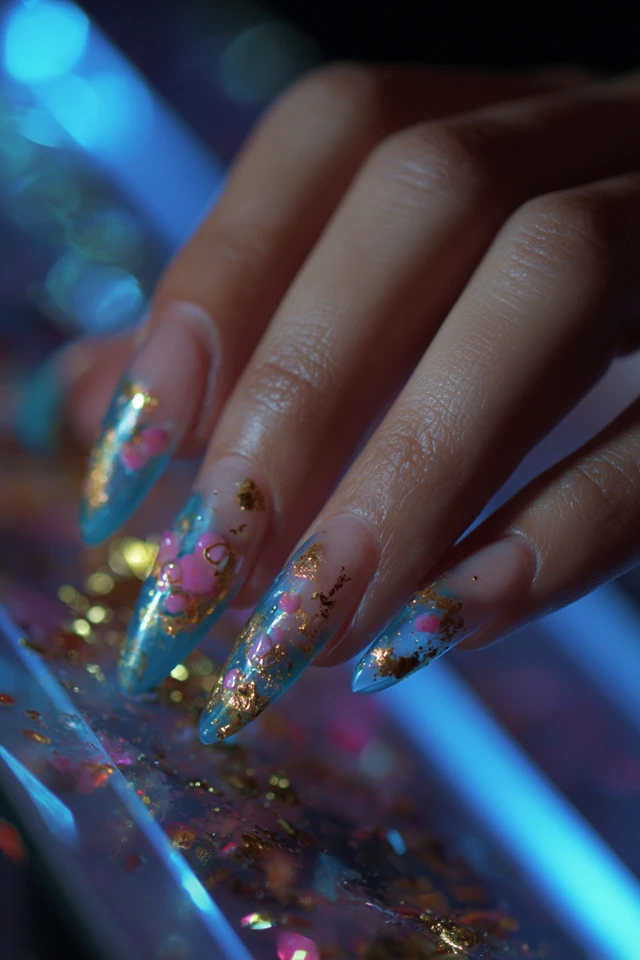
Crystal encapsulated glitter nails lock rhinestones, flakes or glitter under a clear layer of gel or acrylic, so the sparkle sits inside the nail instead of on top of it. That means a smooth surface that does not snag on sweaters or hair, and embellishments that stay put longer than glued-on ones.
Below: which nail embellishments work for this look, how to place and attach them, what to buy first, and how to remove the set without punishing your natural nails.
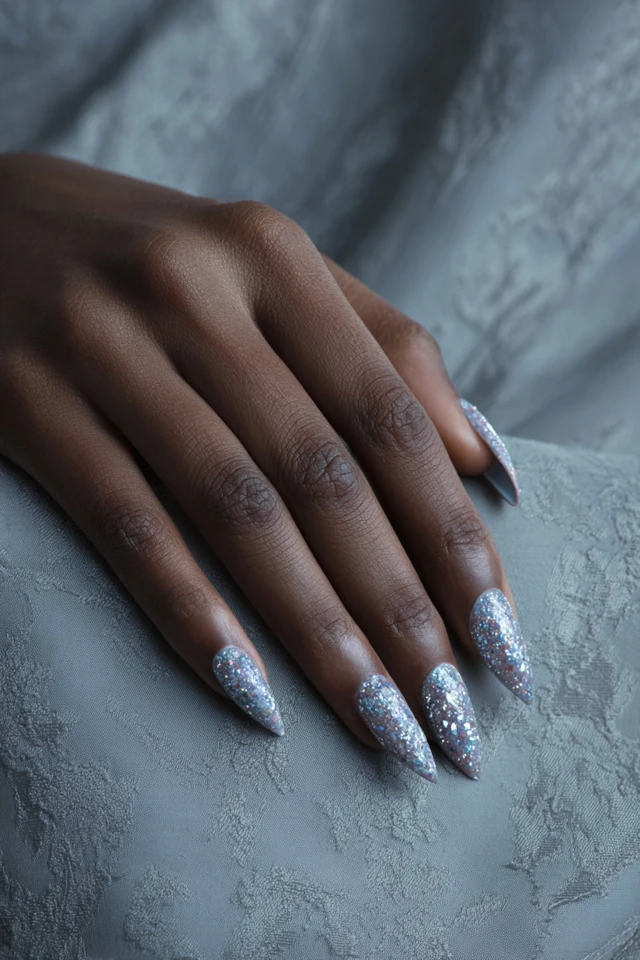
What counts as a nail embellishment?
Anything added to the nail for texture or sparkle. For encapsulation, the useful ones are flat or low-profile, because they need to be covered by a clear layer.
- Nail rhinestones and gems: flat-back crystals in many sizes. The most common choice for encapsulation.
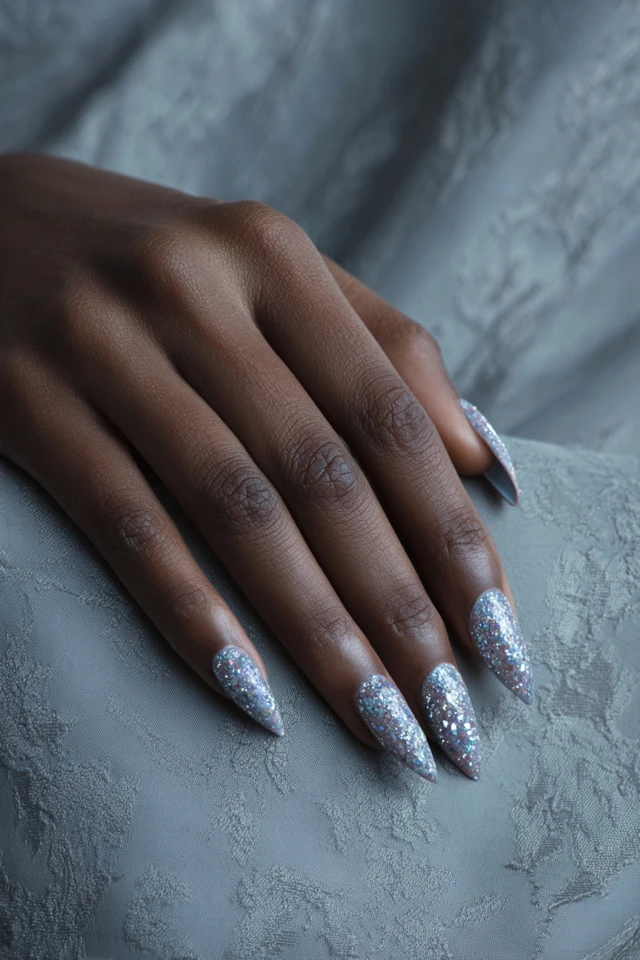
- Glitter: fine powder, chunky hex pieces or holographic flakes.
- Pearls and sequins: soft in look, but keep them small and flat so the cover layer can smooth over them.
- Charms and 3D accents: tall pieces are usually attached on top of the finished set, not buried inside it.
Nail embellishments ideas that suit encapsulated glitter
Start with the base, then decide how much sparkle you want. A few options:
- A sheer nude or blush base with three or four small crystals near the cuticle.
- A French tip where glitter sits only in the tip and a single gem marks the smile line.
- Ombre glitter that fades from bare nail to a dense sparkling tip.
- A solid color with one accent nail packed with mixed crystal sizes.
If you want more inspiration with a similar finish, see refined encapsulated glitter glam nails and crystal BIAB design nails.
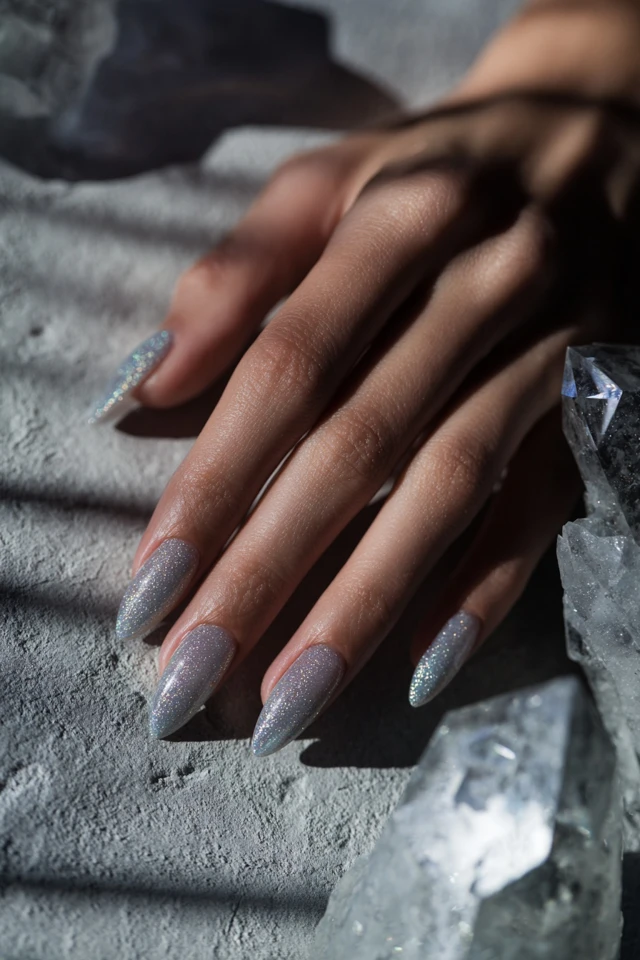
How do you choose colors for your skin tone and outfit?
Through the lens of evidence-based design, I'd look at texture and color together, because a glittery surface changes how a shade reads. A clear gem on a pale base looks icy, while the same gem over a warm peach base looks softer.
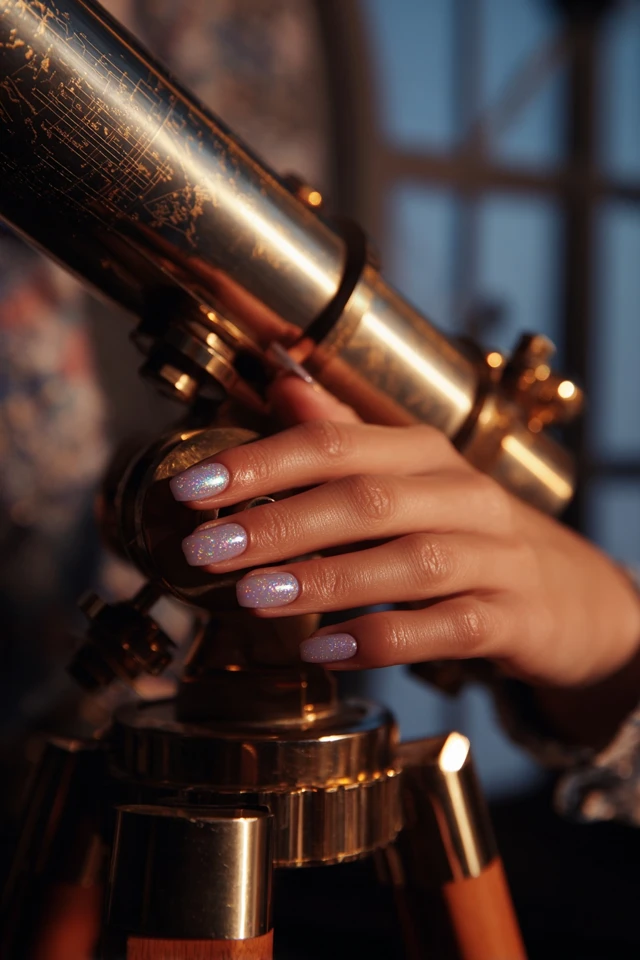
As a rough guide, gold, amber and rose tones tend to sit well against warmer skin, and silver, clear and blue crystals against cooler skin. Hold the polish or glitter next to your hand in daylight before committing. For outfits, echo one color from your wardrobe rather than matching everything.
How to attach crystals to nails
This is the general order for a gel encapsulation. Follow the instructions of your own products, and cure times vary by lamp.
- Prep: push back cuticles, lightly buff the shine, and wipe off dust.
- Apply base color or a thin clear base and cure.
- Add a small layer of clear gel, and do not cure yet.
- Place crystals and glitter with a wax pencil or fine tweezers. Plan the layout first, with larger stones nearer the center and small ones toward the edges.
- Cure, then add a thicker clear layer over the top to cover the edges of the stones. Cure again.
- Finish with a top coat if your gel needs one, and cleanse any sticky layer.
For taller gems or charms that cannot be covered, use a dab of gel designed for embellishments on a cured nail, then cure it. This is the safest way to apply nail decorations that stand up from the surface. Regular nail polish does not hold heavy stones well.
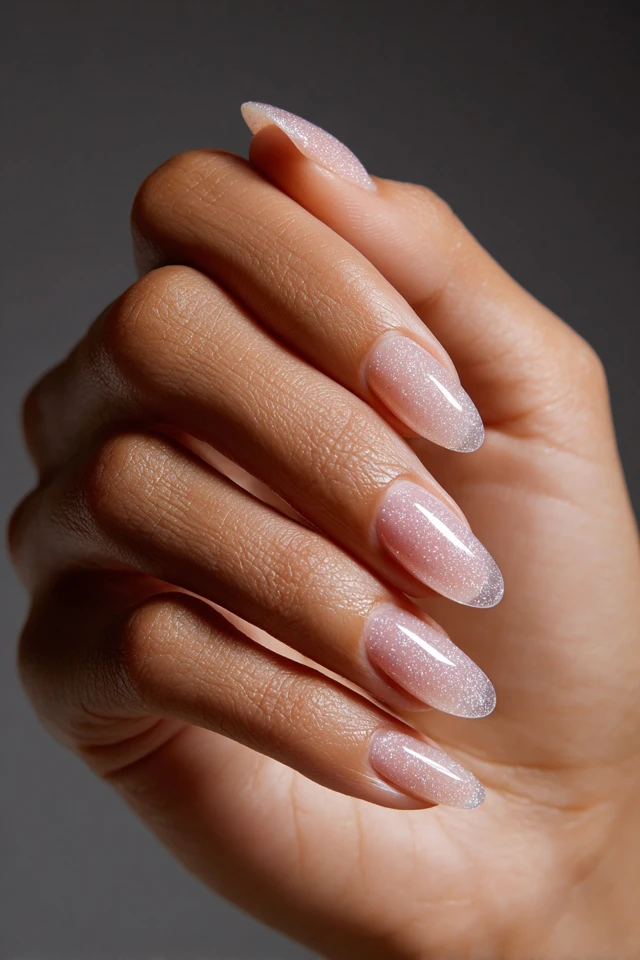
Nail art supplies for beginners
You do not need a full kit. A sensible starter list:
- A UV or LED lamp compatible with your gel
- Base coat, clear builder or thick gel, and a top coat
- A small assortment of flat-back rhinestones and glitter
- A wax pickup pencil or tweezers
- A fine detail brush, nail file, buffer and lint-free wipes
Buy mixed-size crystal packs first, so you can learn which sizes you like. Practice on a nail tip or a swatch wheel before you do your own hands. The encapsulation style also appears in crystal PolyGel artistry nails if you prefer a thicker, sculpted structure.
How long do they last, and how do you protect your nails?
Dermatologists at the American Academy of Dermatology note that if you wear artificial nails for more than a few weeks, you'll need touch-ups every 2 to 3 weeks. Plan on that rhythm for a set with embellishments.
The same source says that getting acrylic to stick means filing the natural nail until it feels rough, which thins it. So keep prep light, and take breaks between sets. For dip-style manicures, board-certified dermatologist Shari Lipner, MD, PhD, says "After removing the color, wait one month before getting another one of these manicures."
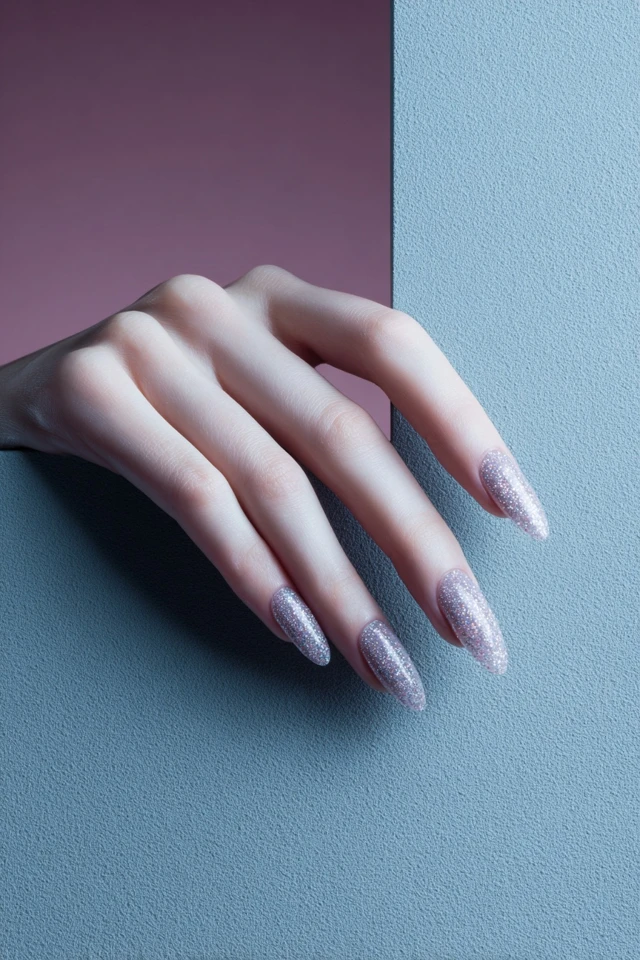
How to remove an embellished set
Do not pry off crystals. The American Academy of Dermatology says acetone offers the most effective way to remove gel nail polish at home, and that after about 10 minutes under plastic wrap, most or all of the gel should be gone. Thick encapsulated layers may need gentle filing of the top first.
Be patient, because the Cleveland Clinic notes that careless removal can temporarily damage your nails, with cracking and peeling the most common issues. If a nail looks unhealthy or painful, check with a dermatologist or nail professional.
Frequently asked questions
How to apply nail decorations?
Place flat-back crystals or glitter into a thin layer of uncured clear gel, cure, then cover with another clear layer. Taller pieces go on top of a cured nail with embellishment gel.
What to get for nail art?
A compatible lamp, base and top coat, clear gel, a mixed pack of rhinestones and glitter, a pickup tool and a fine brush cover most beginner designs.
What is the most elegant nail design?
A sheer nude or blush base with a few small crystals near the cuticle or tip is a quiet, polished choice that suits most outfits.
Can I do crystal encapsulated nails on a budget?
Yes. Use fewer crystals and a basic glitter, and buy mixed-size packs instead of single premium stones.
Filed under Nail Design