Nail Embellishments for Celestial Press-On Nails
- Words by
- Julio Arco
- Published
- Reading
- 4 min
Celestial press-on nails (deep blues, violets, silver flecks, tiny stars) already read as a night sky. A few well-placed embellishments make that sky catch light: small rhinestones as stars, a single charm as a moon, a pearl as a planet. Keep it to one or two focal nails and let the rest stay flat.
Below: the main types of nail embellishments, how to attach crystals to nails so they last, what to buy first, and how to place everything without overloading your hands.
What types of nail embellishments suit a celestial set?
Each type does a different job on a cosmic design, so pick by the effect you want.
Rhinestones and gems
Nail rhinestones and gems are the easiest way to add sparkle. Tiny sizes work as stars scattered over a navy or violet base. Clear and silver stones read cool and icy, while gold-toned ones read warmer. Flat-back stones sit closer to the nail and snag less than domed ones.
Charms and 3D accents
Nail charms and gems with a shape, such as a crescent moon or a star, give the design a focal point. They stand off the nail, so use one per hand, usually on the ring finger. Through the lens of evidence-based design, I'd treat a raised charm as the first thing the eye lands on, which is why a single one looks intentional and five look busy.
Pearls, sequins and flakes
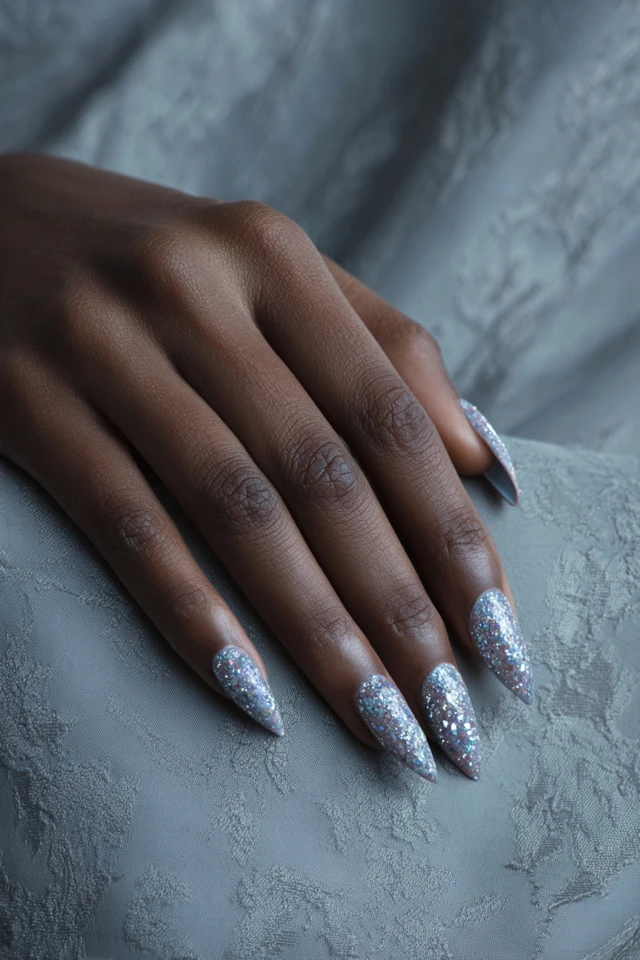
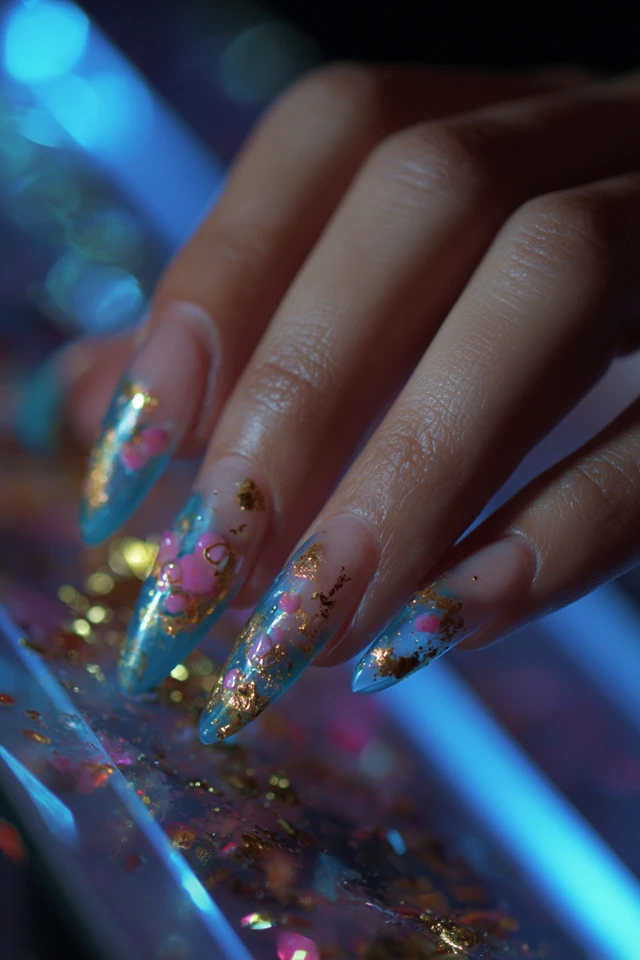
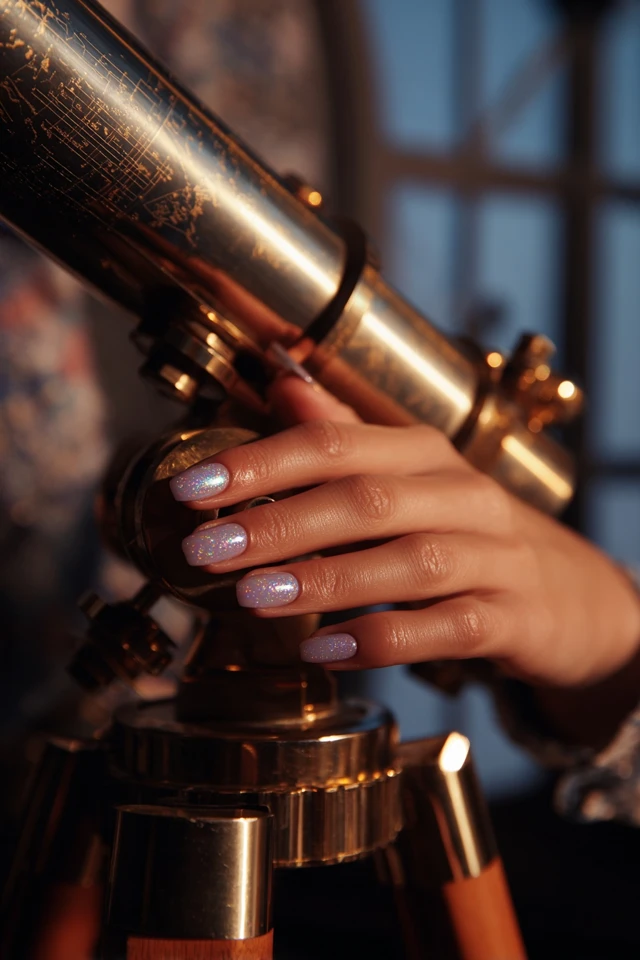
Small pearls look like distant planets against a dark base. Holographic sequins and flakes add movement because they catch light from different angles. If you like that look, see Celestial Galaxy Flake Nails and Celestial Iridescent Flake Design Nails.
How do you attach crystals to nails?
The steps are the same for most stones, and they work on press-ons as well as natural nails.
- Finish your design and, if you use gel, cure it. Add a sticky or non-wipe top coat only where stones will go, or leave the area tacky.
- Put a small dot of nail glue or builder gel where the stone will sit. A tiny dot is enough; too much creeps up the sides.
- Pick up the stone with a wax pencil or a slightly damp orangewood stick and press it down for a few seconds.
- Check the position before the glue sets. With gel, cure the stone in place.
- Seal around the edges with a thin line of top coat, avoiding the sparkly top surface so it keeps its shine.
Nail glue is fine for a press-on you will wear once. Gel holds better if you want to reuse the set.

What nail art supplies do beginners need?
You do not need a large kit. For nail art supplies for beginners, start with:
- A small assortment of flat-back rhinestones in two sizes
- Nail glue or a small pot of builder gel
- A wax pencil or dotting tool for picking up stones
- A glossy top coat
- Tweezers with a fine tip
As for the best brand, I would not name one. Look at reviews that include photos of wear after several days, and check that the stone sizes are listed so you know what you are getting.
How do you plan placement and nail embellishments ideas?
Placement matters more than quantity. A few starting points:
- Cluster three to five tiny stones near the cuticle or tip of one nail, like a constellation.
- Put one moon charm on the ring finger and keep the others flat.
- Scatter single micro-stones across all ten nails, spaced unevenly.
- Line stones along one edge of a navy nail for a clean, elegant look.
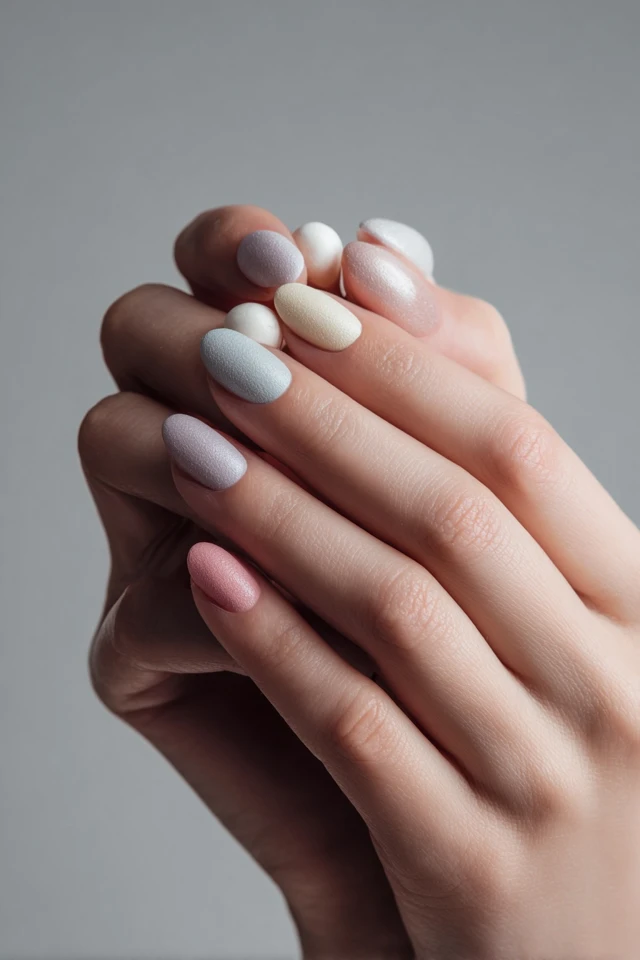
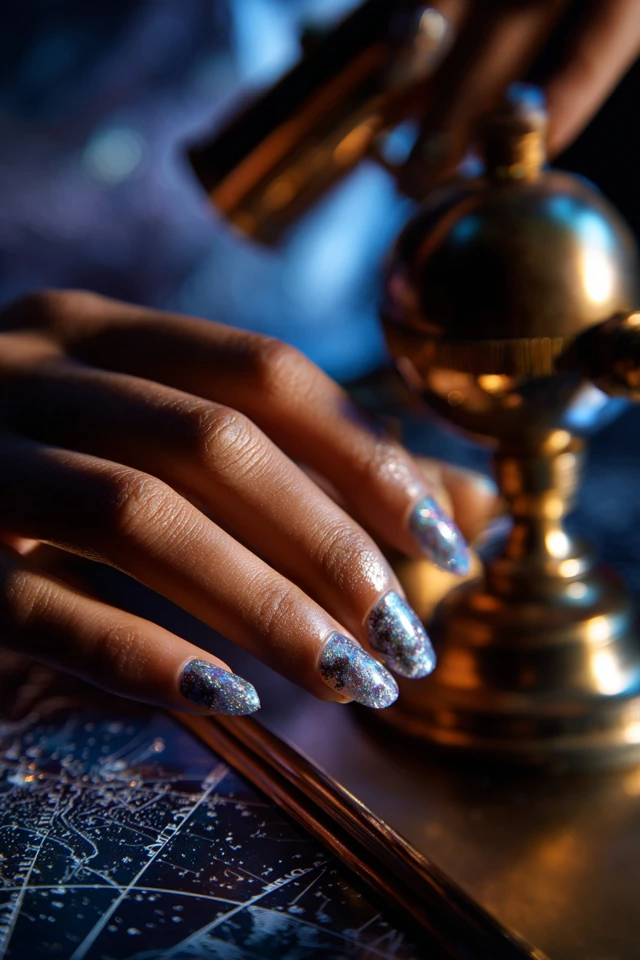
If you want an elegant result, restrained wins: one metal tone, one stone size, one focal nail. Silver on navy and gold on deep violet are reliable pairs. For more cosmic bases to decorate, try Celestial Moon Nails Inspiration or Celestial Matte Gradient Fade Glam Nails. A matte base makes stones look brighter, since the contrast in surface does the work.
Will embellishments last, and how do you remove them?
Raised pieces are the first to lift, especially if you wash dishes or type a lot. Press the edge back down quickly with a dot of glue rather than picking at it.
Be gentle with your natural nails. The American Academy of Dermatology notes that getting acrylic nails to stick means filing the natural nail until it feels rough, which thins it and makes it weaker. Press-ons applied to a lightly cleaned nail avoid that step, which is one reason they suit embellishments you want to change often.
If you use gel to secure stones, the AAD says acetone is the most effective way to remove gel polish at home. The Cleveland Clinic adds that careless removal can temporarily damage nails, with cracking and peeling the most common issues. If your nails look damaged afterward, check with a dermatologist.
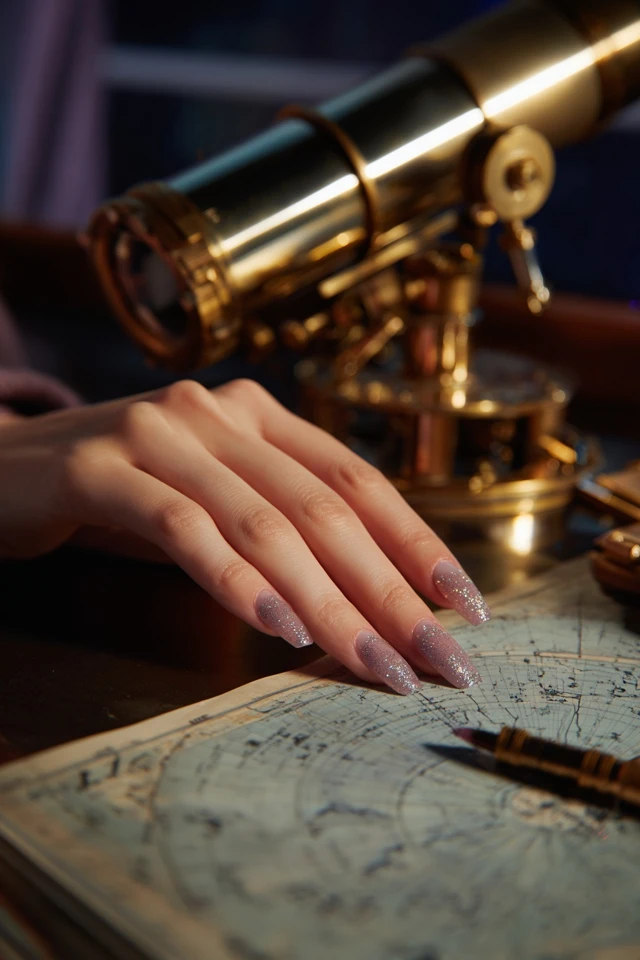
For a related look with a softer finish, Velvet Press-On Glam Nails pairs well with a single pearl or crystal accent.
Frequently asked questions
What to get for nail art?
Start with flat-back rhinestones in two sizes, nail glue or builder gel, a wax pencil for picking up stones, tweezers and a glossy top coat. Add charms and pearls later once you know which look you like.
What is the most elegant nail design?
Restraint tends to read as elegant: one metal tone, one stone size and one focal nail on a deep navy or neutral base. Clean placement matters more than the number of stones.
How to apply nail decorations?
Place a small dot of nail glue or gel where the piece will sit, press the stone down with a wax pencil, then check the position before it sets. Seal around the edges with top coat, leaving the top of the stone clear.
Can I put rhinestones on press-on nails?
Yes. Press-ons take rhinestones well, and you can decorate them before applying them to your hands, which makes placement easier.
Filed under Nail Design