Gel Nail Art With Diamond Dust: How to Get the Look
- Words by
- Julio Arco
- Published
- Reading
- 4 min
Yes, you can do nail art with gel, and diamond dust is one of the easiest finishes to start with. You press fine, light-catching glitter into a layer of gel color or tacky gel, cure it, and seal it under a top coat. The result reads as a soft, frosted sparkle rather than chunky glitter.
Below: what to buy, the order of steps, where to put the shimmer, and how to take it off without punishing your nails.
Can you do nail art with gel?
You can. Gel color stays workable until you cure it under a UV or LED lamp, so you get time to place dust, draw lines or correct a wobble. That is why it suits beginners better than regular polish, which dries while you are still deciding.
Diamond dust is a very fine, reflective glitter. Because the particles are small, they sit flat and catch light from many angles, which is why the effect looks like a sheen rather than separate sparkles.
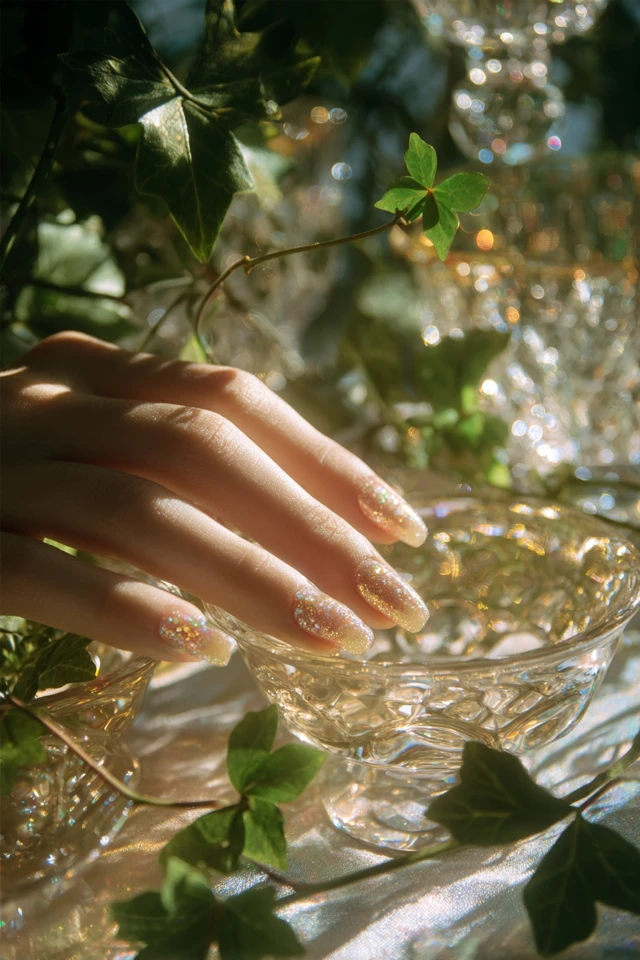
Gel nail art supplies you actually need
A gel nail art kit can be a good shortcut, but you can also build your own. The basics:
- A UV/LED lamp that matches your gel brand
- Base coat and a no-wipe top coat
- One or two sheer or pale gel colors
- Diamond dust or fine holographic glitter
- A soft, dry brush or silicone tool for placing the dust
- A fine gel nail art liner brush for tips and thin lines
- Lint-free wipes and cuticle oil
Check that your lamp and gels come from compatible systems. Under-cured gel is the usual cause of lifting and skin irritation. If you are shopping for gel nail art supplies on a budget, spend on the lamp and top coat first, and keep the glitter cheap.
How to apply diamond dust with gel, step by step
- Push back cuticles, lightly buff the shine off the nail, and wipe away dust.
- Apply a thin base coat and cure it.
- Apply one or two thin coats of color, curing each.
- On the last color coat, or a thin layer of top coat, leave the surface uncured and tacky.
- Tap or brush the dust onto the tacky layer, then tap off the excess.
- Cure, then seal with a thin top coat so the surface feels smooth.
Thin layers matter. Thick gel can wrinkle or cure unevenly underneath, and that shows up as peeling a few days later.
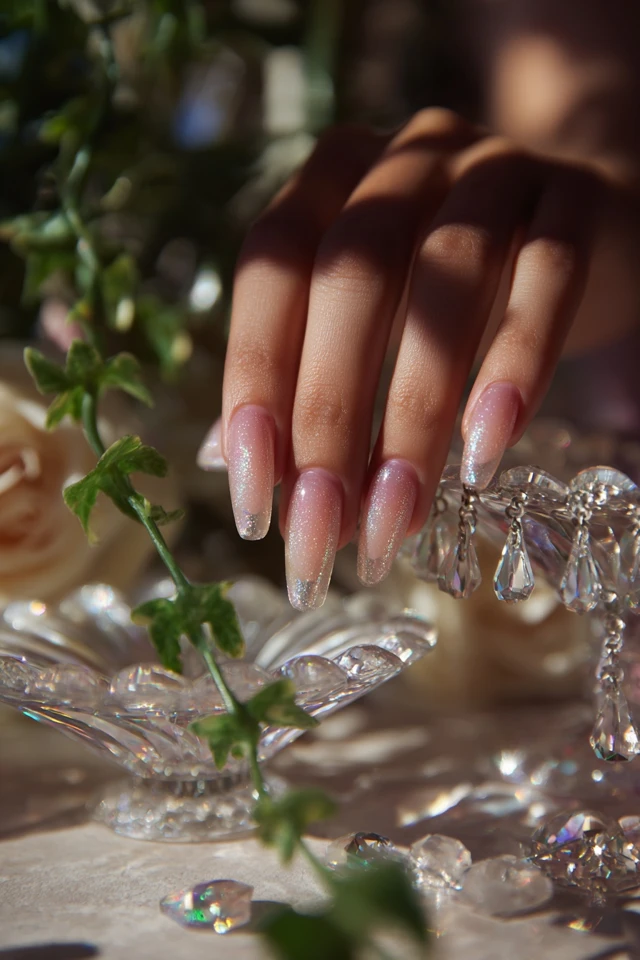
Gel nail art ideas with diamond dust
Dust looks different depending on where you put it. A few placements to try:
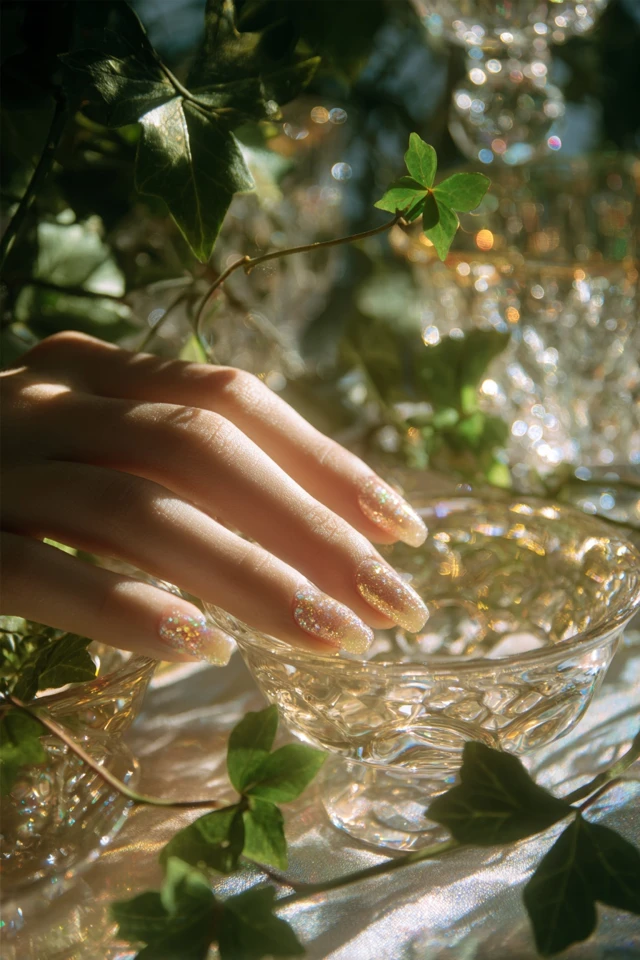
- A full-nail veil over a sheer pink or milky white, for a clean everyday shimmer.
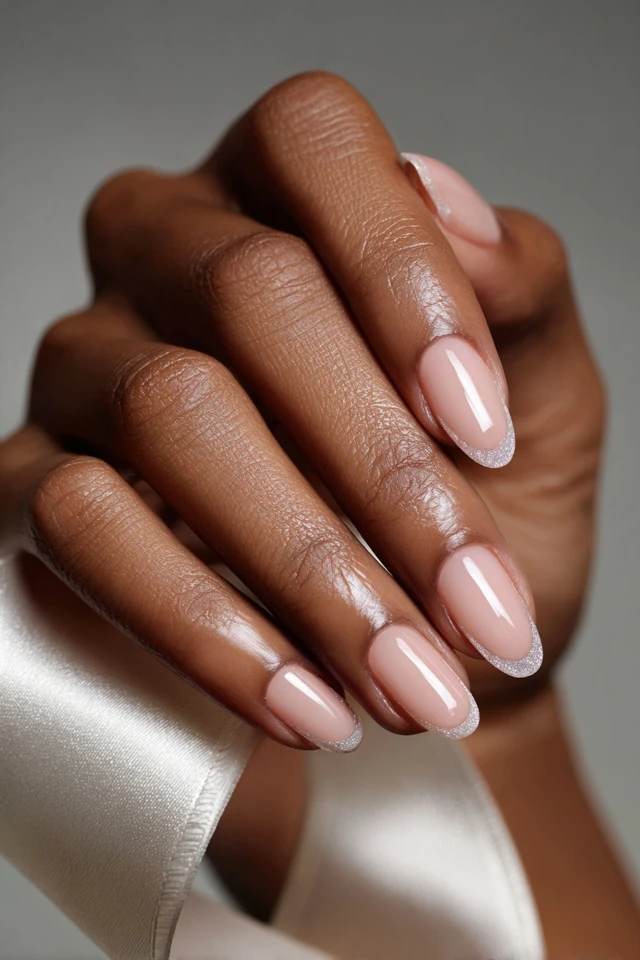
- A French tip with dust only along the tip, outlined with a liner brush.
- A fade from the cuticle or tip, where the dust thins out toward the middle.
- One accent nail with dust, the rest in plain gel color.
For more sparkle references, see luxe diamond nails and fairy dust nails. If you like glossy dimension, bubble nails take a similar finish in a different direction.
Color and light: choosing a shade
Through the lens of evidence-based design, I'd think about surface before hue. Dust scatters light, so the same base color reads lighter and cooler with a fine sparkle on top than it does plain. A pale base with dust can look nearly silver on a bright day and softer indoors.
Cool silvers and icy pearls usually sit well against pink or blue undertones. Gold or rose flecks tend to look warmer against golden or deeper skin. Hold a swatch against your hand in daylight before you commit, since lamps and phone cameras exaggerate shimmer.
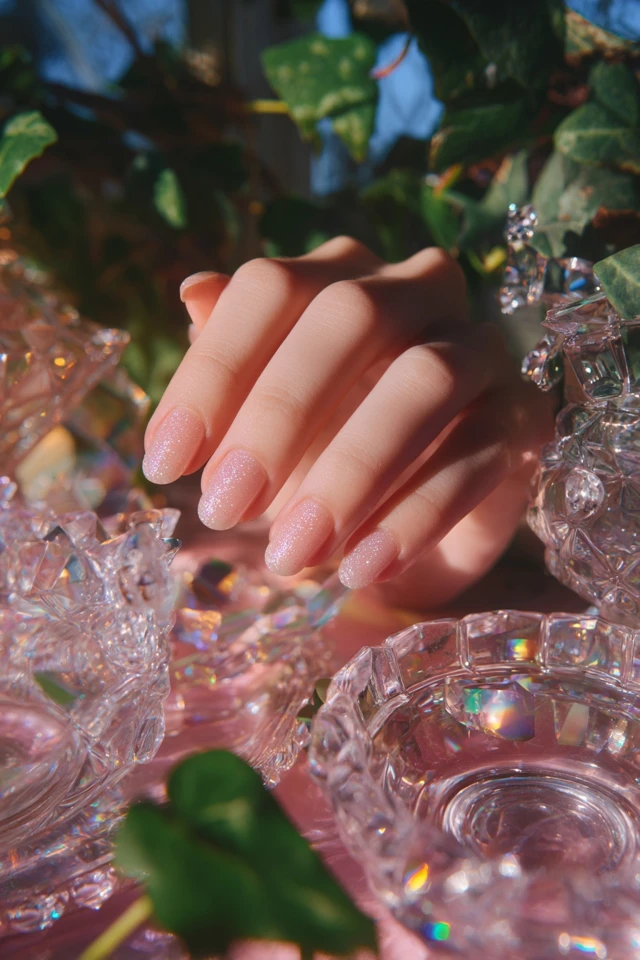
What are the current gel nail trends?
Trends move fast, so treat this as general direction rather than a forecast. Sheer, milky colors, thin French variations and subtle shimmer have been popular for a while, and they are the styles diamond dust fits into most easily. Chunky 3D pieces and heavy embellishment sit at the other end, and they need more skill and a builder gel.
If you are following current gel nail trends, pick one feature, such as the shimmer or the shape, and keep the rest simple. It also grows out more gracefully.
What is the downside of gel nails?
Gel is durable, but there are real trade-offs. The National Institutes of Health's literature review on DIY nail cosmetics reports that allergic contact dermatitis is the most prevalent adverse event, primarily attributed to (meth)acrylates in products like nail glue, gel polish and acrylic nails. If your skin itches or swells around the nails, stop and see a doctor.
Removal is the other weak spot. The Cleveland Clinic notes that removing gel polish carelessly can temporarily damage nails, with cracking and peeling the most common issues. Never peel it off.
How to remove gel polish safely
The American Academy of Dermatology says acetone is the most effective way to remove gel polish at home, and that after wrapping the nails, most or all of the gel should be gone once the wrap has been on for 10 minutes. Dermatologist Shari Lipner also advises, in the AAD's dip powder guidance, "After removing the color, wait one month before getting another one of these manicures." Giving nails a break between sets is a reasonable habit for gel too, and checking your nails closely after removal helps you catch problems early.
Frequently asked questions
Can you do nail art with gel?
Yes. Gel stays workable until you cure it under a lamp, so you can place glitter, draw lines with a liner brush and fix mistakes before sealing with top coat.
What are the current gel nail trends?
Sheer milky shades, thin French tips and soft shimmer are common right now. Heavier 3D designs are also popular but take more skill.
What is the downside of gel nails?
Skin allergies to (meth)acrylates can occur, and careless removal can leave nails cracked or peeling. See a dermatologist if your skin reacts.
Do I need a gel nail art kit to start?
No, but a kit bundles the basics. You need a compatible lamp, base and top coat, a color, your glitter or dust, and a fine brush.
Filed under Nail Design