Galactic Fiberglass Mani
- Words by
- Julio Arco
- Published
- Reading
- 5 min
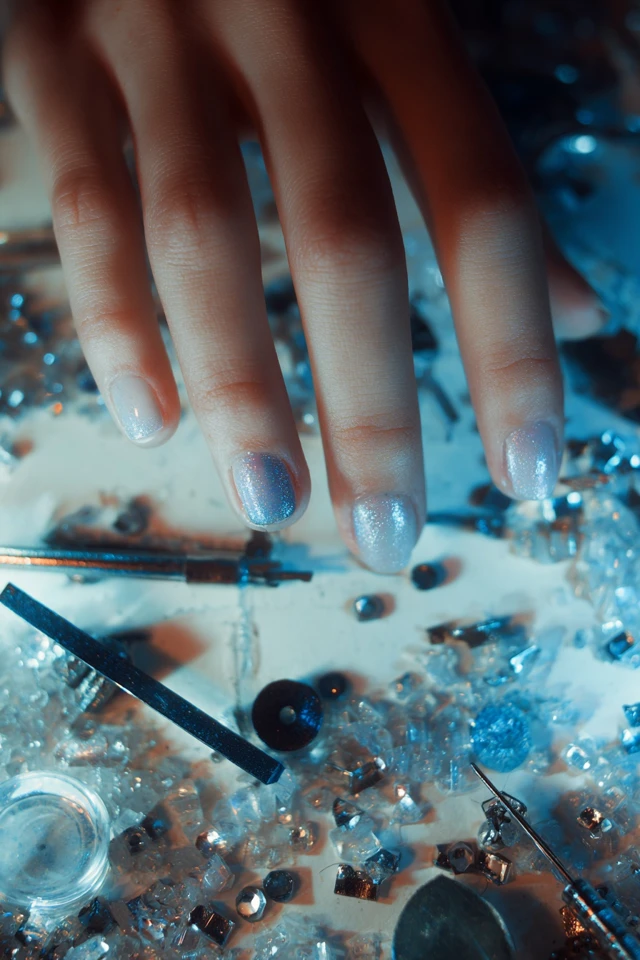
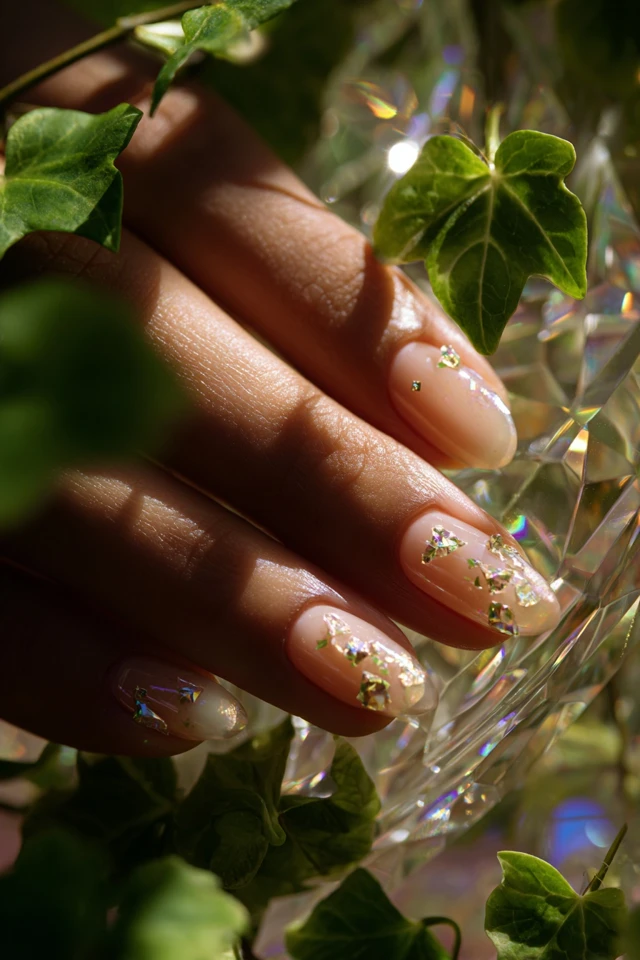
Nail embellishments are small additions set on top of finished color: rhinestones, flat-back gems, pearls, metal charms, foils and glitter. For a galactic look, a few crystals in a silver or deep blue field is usually enough. Fix them with gel or builder gel for a lasting hold, and seal around the edges so nothing snags.
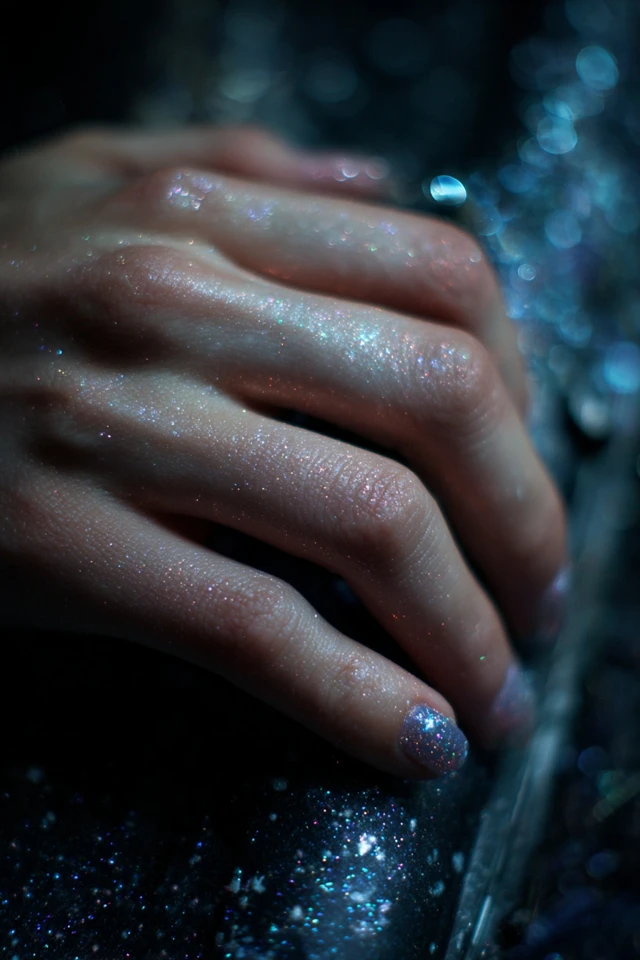
The galactic fiberglass mani is a good base for this. A thin, smooth extension with a shimmery, cosmic color gives you a clean surface where a handful of gems read like stars.
What types of nail embellishments are there?
Rhinestones, gems and crystals
Nail rhinestones and gems are the easiest place to start. They come in flat-back form, so they sit close to the nail, and in sizes from tiny dots to chunky stones. Small stones suit short nails and daily wear. Larger ones work best on one accent nail.
Nail charms and 3D accents
Nail charms and gems with height, such as metal stars, moons or bows, add real dimension. They also catch on hair and knitwear, so keep them to one or two nails and choose a low profile if you type a lot.
Pearls, sequins and foils
Half-pearls look soft and formal. Holographic sequins and foils give the shifting color that suits a galactic theme, because the surface changes color as light moves across it.
What supplies do beginners need?
A short kit for nail art supplies for beginners covers most designs:
- A base coat, a top coat and your color (gel or regular polish, but match the system you use for the whole set)
- Gel or nail glue made for embellishments. Regular polish top coat is weak for anything with height.
- A dotting tool or a wax pencil to pick up tiny stones
- Tweezers and a small brush for nudging stones into place
- An assortment pack of flat-back gems and a few charms
- A lamp, if you are using gel
Buy a mixed pack before committing to a single stone size. You will quickly learn which scale you like.
How to apply nail decorations step by step
- Finish your color and cure or dry it fully, but leave the top layer tacky if you are using gel without a wipe formula.
- Plan the layout on a clean surface first. Odd numbers of stones, placed on a curve or diagonal, usually look more natural than a straight row.
- Dab a small bead of embellishment gel or glue where the stone will go.
- Pick up the stone with the dotting tool and press it down gently. Tilt it slightly to check it is level.
- Cure or let it set, then run a thin line of top coat around the edge of each stone, not over its face, so it keeps its sparkle.
- Check by running a fingertip over the nail. Anything that catches needs another bead of gel at the edge.
How to attach crystals to nails so they last
Adhesion fails most often because of oil, dust or too little glue. Wipe the nail with alcohol before the glue step, use a bead big enough to rise slightly around the stone's base, and avoid putting heavy charms near the free edge where they take the most knocks.
Gel, glue or acrylic for holding embellishments?
Gel is the most forgiving: you control when it sets, so you can adjust placement. Nail glue is quick but permanent the moment it touches. For nail embellishments acrylic, stones are pressed into the product while it is still workable, which holds well but takes practice and a steady hand.
Keep the cost to your natural nail in mind. The American Academy of Dermatology notes that getting acrylic to stick means filing your natural nails until they feel rough, which thins them and makes them weaker. The same page says that if you wear artificial nails for more than a few weeks, you will need touch-ups every 2 to 3 weeks as your nails grow.

How to plan placement and design ideas
Through the lens of evidence-based design, I'd treat the nail like a small composition: the eye lands on the brightest, highest-contrast spot first, so put your stones there and keep everything else quiet.
- One accent nail: a cluster of gems on the ring finger over a smooth cosmic color.
- A cuticle arc: tiny crystals tracing the base of the nail, which also lengthens the look of the finger.
- Scattered stars: three or four small stones of different sizes over a dark shimmery base.
- Pearl and silver: a few half-pearls on a pale, shiny nail for a more formal feel.
Matte and glossy surfaces change how a color reads, so a gloss top coat over the color with matte nothing around the stones keeps the crystals as the focal point. For more galactic looks, see galactic builder gel nails, the reverse French version and galactic stamping art. If you prefer less sparkle, a striking minimalist mani pairs well with a single gem.
How to remove embellishments without damaging nails
Do not pry stones off. Per the AAD, acetone is the most effective way to remove gel polish at home, and after wrapping the nails, most or all of the gel should be gone once the wrap comes off. The Cleveland Clinic adds that removing gel polish carelessly can temporarily damage nails, with cracking and peeling the most common issues.
Board-certified dermatologist Chris Adigun, MD, FAAD, says, "Looking closely at your nails after removing the color helps you spot a problem early." If your nails look unhealthy, check with a dermatologist.
Frequently asked questions
What to get for nail art?
Start with a base and top coat, embellishment gel or nail glue, a dotting tool, tweezers and a mixed pack of flat-back gems. Add a lamp if you use gel.
What is the most elegant nail design?
Elegance is mostly restraint: a smooth, sheer or neutral base with a few small pearls or crystals placed deliberately. One accent nail usually reads more refined than all ten decorated.
How to apply nail decorations?
Finish your color, put a small bead of gel or glue where the stone goes, press the stone in with a dotting tool, then cure or let it set. Seal around the edges with top coat.
Do nail gems damage natural nails?
The gems themselves sit on top, but the gel, acrylic and removal process can weaken nails. Go slowly when removing them and check with a dermatologist if nails stay thin or painful.
Filed under Nail Design