Artful Milk Bath Mani
- Words by
- Julio Arco
- Published
- Reading
- 4 min
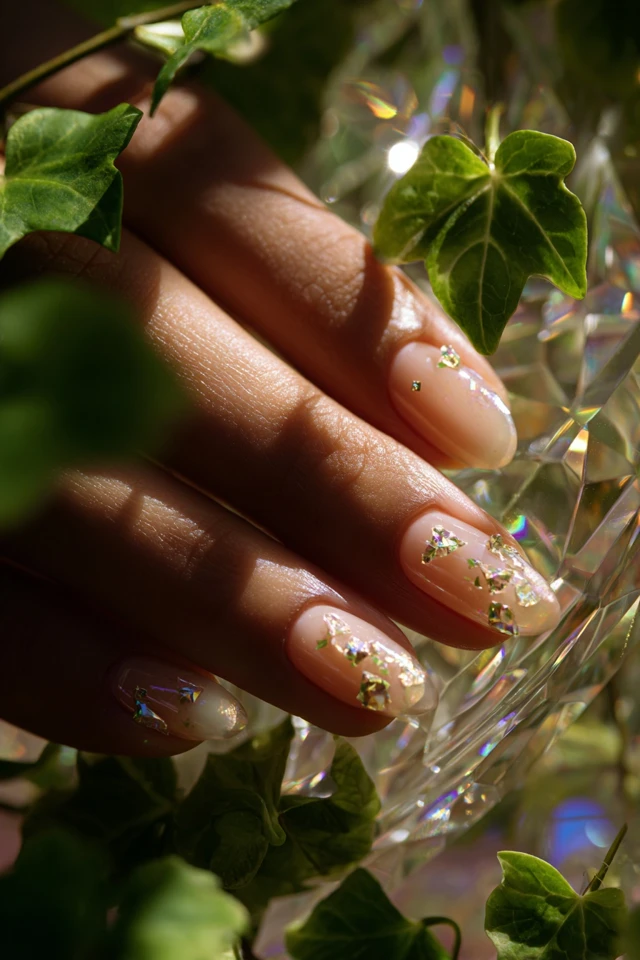
Jelly watercolor nails combine a translucent, glossy base (the jelly) with soft, blurred washes of color on top (the watercolor). The quick recipe: apply a sheer tinted polish or a thin layer of milky white, dab on tiny dots of two or three colors, then blur the edges with a little clear polish or alcohol and seal with a glossy top coat.
You don't need special tools. A toothpick, a makeup sponge or even the polish brush will do, and the result is forgiving, which makes it a good first nail-art project.
What is jelly nail polish?
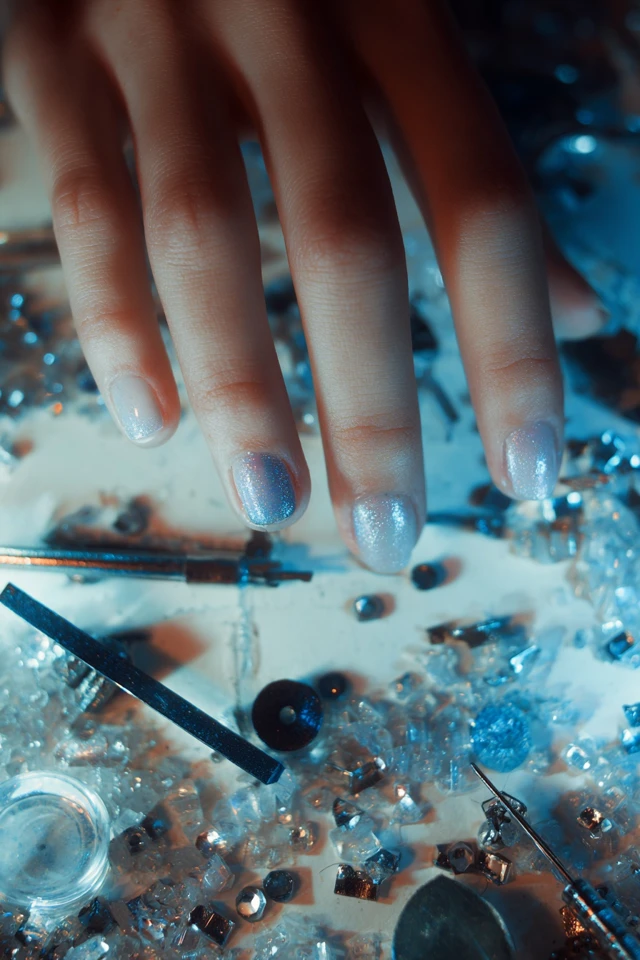
Jelly polish is sheer and see-through, with a squishy, glass-like finish. Instead of covering the nail, it tints it, so you can still see the natural nail underneath. The point is that soft, juicy depth: a layered color that looks lit from within rather than flat.
Through the lens of evidence-based design, I'd start with the surface before the color. A glossy, translucent finish bounces light differently from a solid cream, so the same pink reads lighter and fresher as a jelly.
Which shades work for a jelly and watercolor look?
Pick a base that is sheer and a few washes that sit close together on the color wheel, so they blend instead of turning muddy.
- Base: clear pink, milky white, sheer peach or a pale sheer lilac.
- Washes: baby blue, lavender, soft yellow, blush and mint.
- Pairings that blend well: blue with lavender, peach with yellow, pink with lilac.
Avoid mixing opposites such as orange and blue in the same spot. Where they meet, they tend to turn a dull gray-brown.
What tools and polishes do you need?
- A sheer or milky base polish (gel or regular)
- Two or three polishes in soft colors
- Clear top coat, glossy
- A toothpick, dotting tool or the tip of a thin brush
- A small makeup sponge or a clean fine brush
- A little rubbing alcohol or clear polish for blurring
How to get the watercolor effect on nails
- Prep: push back cuticles, shape the nails and wipe off oil.
- Apply one or two thin coats of your jelly or milky base. Cure it if you are using gel.
- While a clear or tacky layer is still workable, place small dots of color in random spots. Keep them tiny; they spread.
- Blur: tap a clean brush dipped in a little clear polish (or alcohol, for regular polish) on the edge of each dot until it fades into the base.
- Let it settle, then add a second tint in a different place to build depth.
- Seal with a glossy top coat. The gloss is what makes the washes look wet.
For a gel manicure, cure each stage as your lamp instructions say, and use a gel-safe blending method. Alcohol suits regular polish better, so with gel, a clear gel and a clean brush are the safer route.
How to get the jelly effect on nails
Layer thin coats. Two or three sheer coats give more depth than one thick one, and thin coats dry or cure evenly. Finish with a thick, glossy top coat. If you only own opaque polish, mix a drop of it into clear polish on a palette to make your own sheer tint.
Easy tips for beginners
- Start with one accent nail and keep the rest in the plain jelly base.
- Use less color than you think. You can always add more, but you can't remove it from a wet wash.
- Work on one nail at a time so the polish stays blendable.
- Wipe the brush clean between blends.
- If a spot looks harsh, a dab of base color over it softens it.
Alternatives if you lack specific polishes
No jelly polish? Dilute any cream polish with clear polish until it turns see-through. No sponge? Tap the polish with a fingertip covered by a bit of plastic wrap. No dotting tool? A toothpick works well. For a softer, creamier cousin of this look, try the milky styles in Artful Milk Bath Design Nails or Strawberry Milk Nails Extravaganza.
How to ask for jelly nails at a salon
Say you want a sheer, translucent jelly color with soft watercolor washes, and mention the shades you like. A reference photo helps more than any description. Also ask for a glossy finish and a thin, natural-looking shape. If you like a more liquid look, see Artful Aquarium Liquid Mani for another sheer idea, or Artful Minimalist Design Nails if you want something quieter.
Taking it off without hurting your nails
Gel lasts longer, but removal is where nails get hurt. Cleveland Clinic notes that removing gel polish carelessly can temporarily damage nails, with cracking and peeling the most common issues. The American Academy of Dermatology says acetone is the most effective way to remove gel polish at home, and that after about 10 minutes under plastic wrap most or all of it should be gone.
Don't scrape or peel it off. Dermatologist Chris Adigun, MD, FAAD, says in the AAD's dip powder guidance: "Looking closely at your nails after removing the color helps you spot a problem early." If your nails stay weak or look unhealthy, check with a dermatologist.
Frequently asked questions
What is the point of jelly nail polish?
Jelly polish gives a sheer, glossy tint with visible depth, so the color looks fresh and light rather than solid. It is also forgiving, since the translucent finish hides small imperfections better than an opaque cream.
How to ask for jelly nails at a nail salon?
Ask for a sheer, translucent jelly color in your chosen shade with a glossy top coat, and bring a photo. If you want watercolor accents, say you'd like soft, blurred washes of color on top.
How to get a watercolor effect on nails?
Place tiny dots of polish on a tacky or clear layer, then blur the edges with a clean brush and a little clear polish. Seal with a glossy top coat.
How to get jelly effect on nails?
Build two or three thin sheer coats over the nail and finish with a thick glossy top coat. If your polish is opaque, thin it with clear polish.
Filed under Nail Design