Crystal 3-D Jelly Charms Artistry Nails
- Words by
- Julio Arco
- Published
- Reading
- 5 min
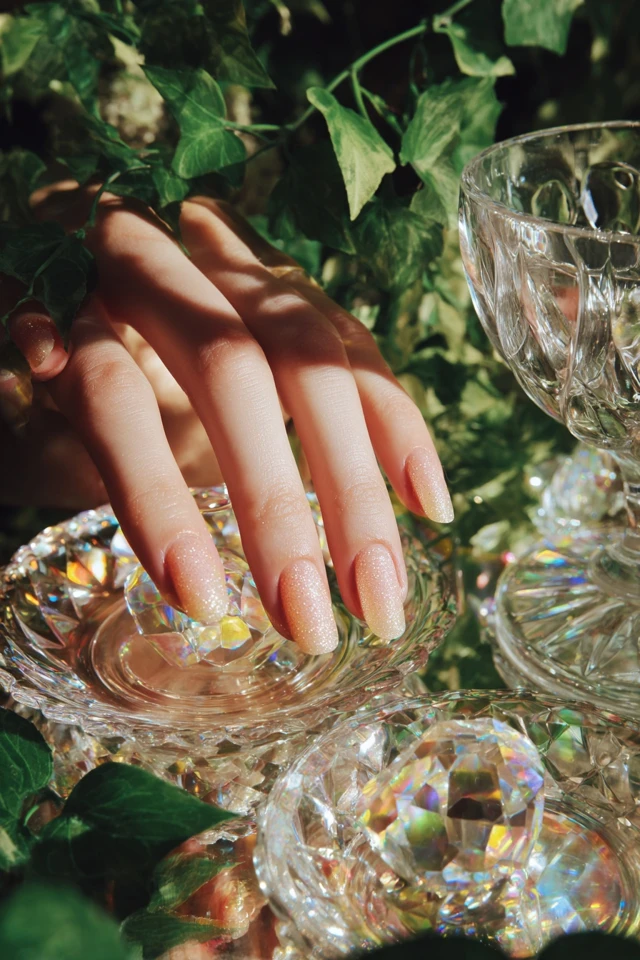
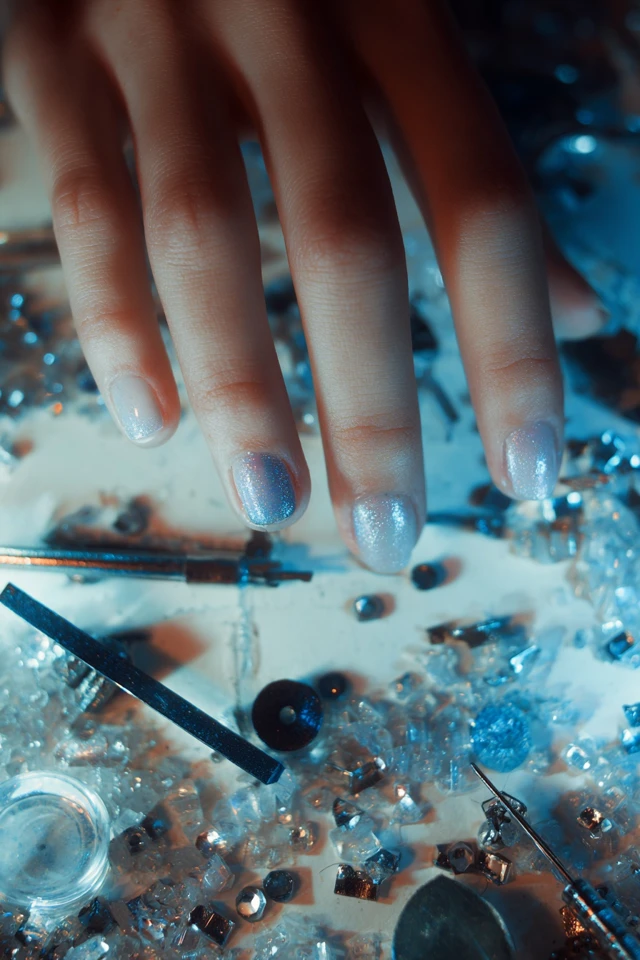
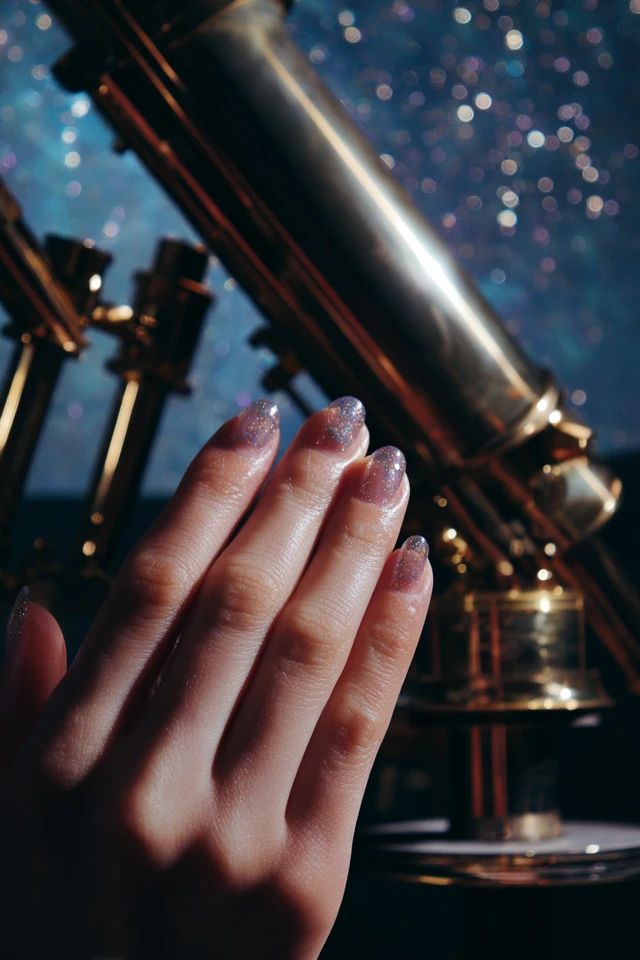
Jelly nails are a sheer, glossy color you can see through, built from thin coats. Watercolor nails are soft, blended color with no hard edges. Combine them and you get a stained-glass look: translucent washes of color over a clear or milky base, finished with a high-shine top coat.
The method is simple enough for a first try. Apply a sheer base, dab on small amounts of color, blend the edges, and seal it. The details below cover polishes, steps and fixes.
What is jelly nail polish?
Jelly polish is translucent rather than opaque. You can see your nail, or the layer under it, through the color. It usually looks wet and glassy, a bit like gummy candy, which is where the name comes from.
Through the lens of evidence-based design, I'd say the appeal is mostly texture. A sheer color lets light pass through and bounce back, so the nail looks deeper than a flat creme of the same shade.
Which jelly and watercolor shades work best?
Start with colors that blend into each other without turning muddy. Neighbors on the color wheel are safest.
- Pink, peach and soft coral for a warm, sunset wash.
- Lilac, periwinkle and baby blue for a cool, cloudy look.
- Mint and pale yellow for a fresh, spring feel.
Sheer shades near your skin tone look the most natural. Deeper jewel tones such as ruby or sapphire read bolder and show the jelly shine more clearly. If you plan to wear them with a crisp white shirt or a black blazer, a single strong jelly shade on a neutral base keeps the outfit balanced.
What tools and polishes do you need?
You need less than you might think.
- A sheer or milky base color (a clear jelly, sheer pink or sheer white).
- Two or three jelly or gel colors in the same family.
- A glossy top coat.
- A small brush, a makeup sponge or a cotton swab for blending.
- Rubbing alcohol or the cleanser your polish line recommends, plus a lamp if you use gel.
For easy watercolor nails with no tools, the bottle brush and a clean fingertip-sized piece of sponge are enough.
How do you get the watercolor effect on nails?
These steps work with regular polish or gel. With gel, cure each layer under the lamp as the product directs.
- Prep: push back cuticles, lightly buff the shine off and wipe the nail clean.
- Apply a thin coat of sheer base and let it dry or cure.
- Place two or three small dots or short strokes of color on the nail, leaving gaps.
- Blend where the colors meet with a dry brush or a barely damp sponge, tapping rather than dragging.
- Add a second thin wash if you want more depth. Keep each layer sheer.
- Seal with a glossy top coat and cap the free edge.
If you are asking how to do watercolor nails with gel polish, the main change is patience: gel stays workable until cured, so you can keep blending until the pattern looks right, then cure once.
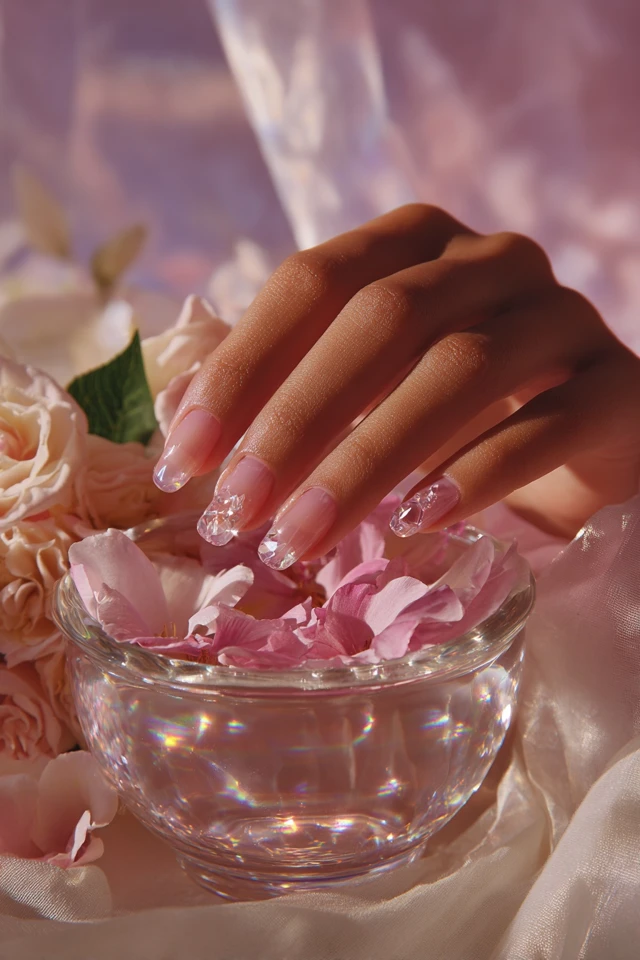
How do you get the jelly effect on nails?
Jelly depth comes from layering, not from one thick coat. Apply two to three thin coats of a sheer color, letting each one dry or cure first. Thick coats stay cloudy, bubble or wrinkle.
A glossy top coat finishes it. A matte top coat will flatten the glassy look completely, so skip it here. For a jelly sandwich, put a little glitter, foil or a tiny charm between two sheer layers and seal over it.
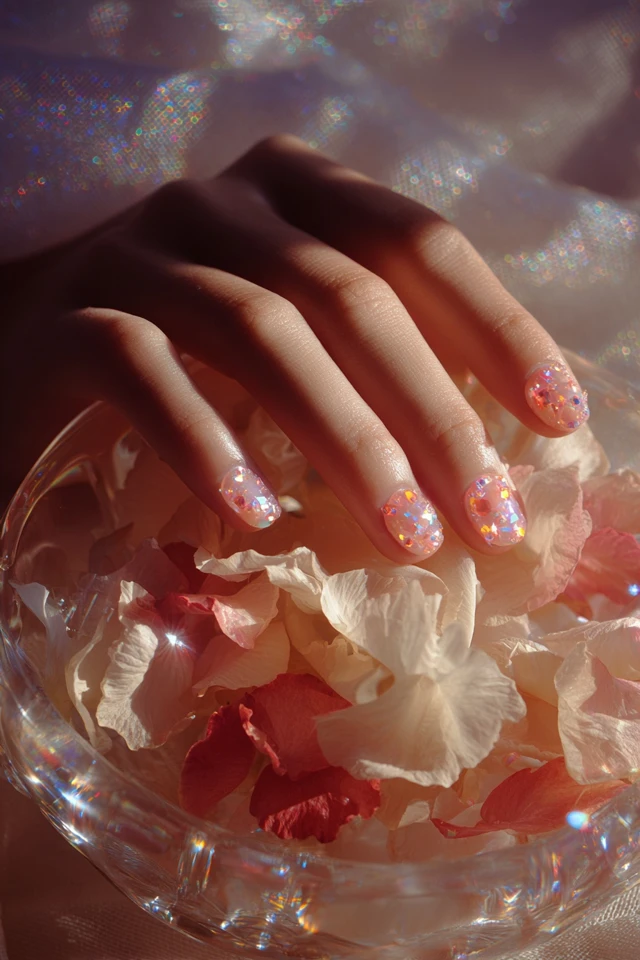
Easy tips for beginners
- Work one nail at a time with gel so nothing cures before you blend.
- Use less color than looks right. You can always add another wash.
- Clean up edges with a small brush and alcohol before curing or top coating.
- Practice on one hand first, or on a nail wheel or swatch stick.
Rounded or short oval nails suit soft washes well, since blended color follows the curve. Square or angular shapes can handle more defined color blocks.
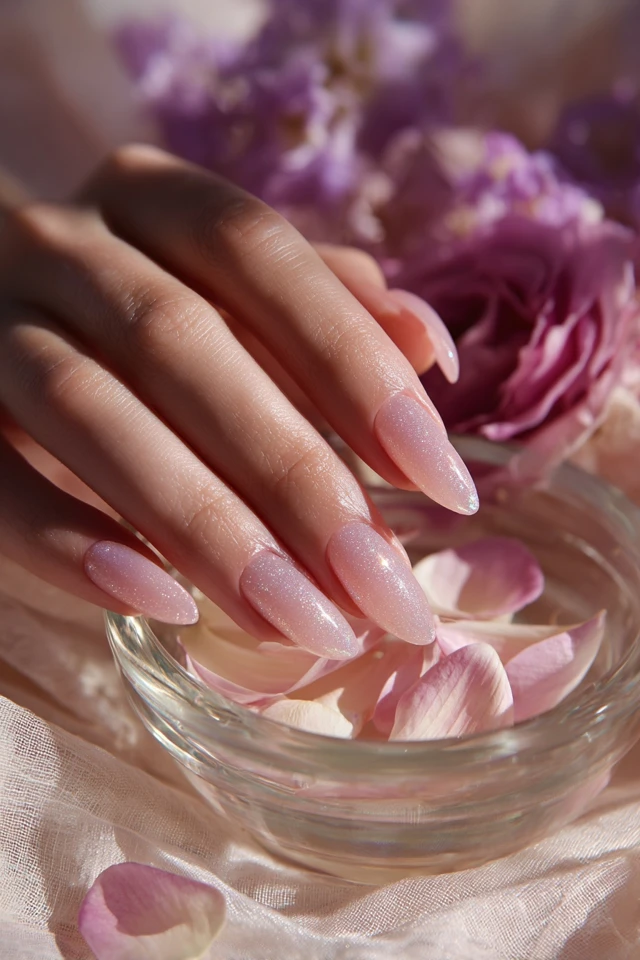
What if you lack specific polishes?
You can fake a jelly base by mixing a drop of regular polish into clear top coat. Test it on a swatch first, since formulas do not always mix well. A sponge dabbed with two polishes also gives a soft blend with no special products.
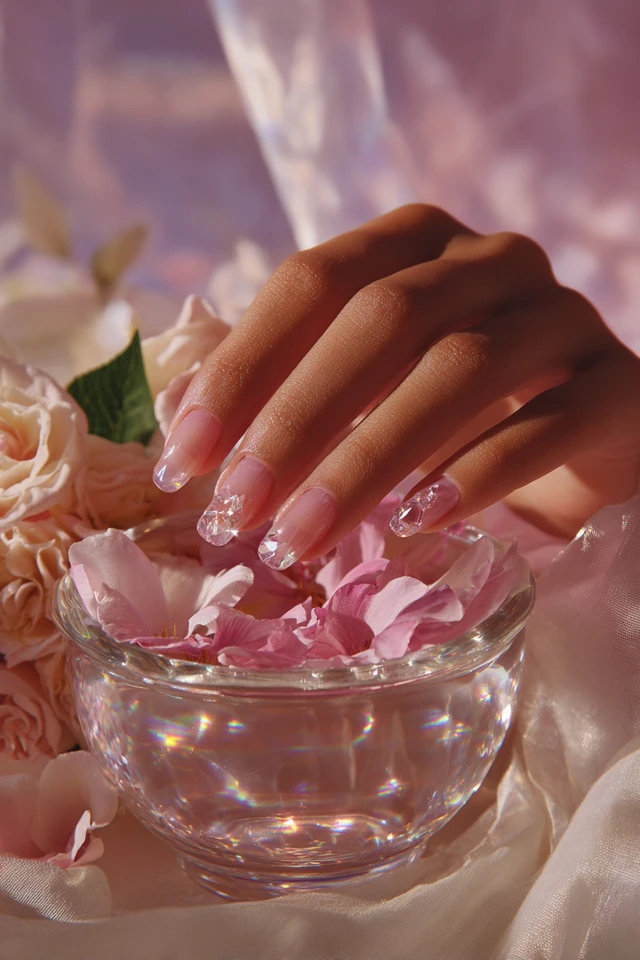
3-D charms are an optional extra. Press small ones into a final layer of builder or top gel, then cure and seal around them. For more ideas, see 3-D jelly charm designs, jelly nail looks and prismatic jelly designs.
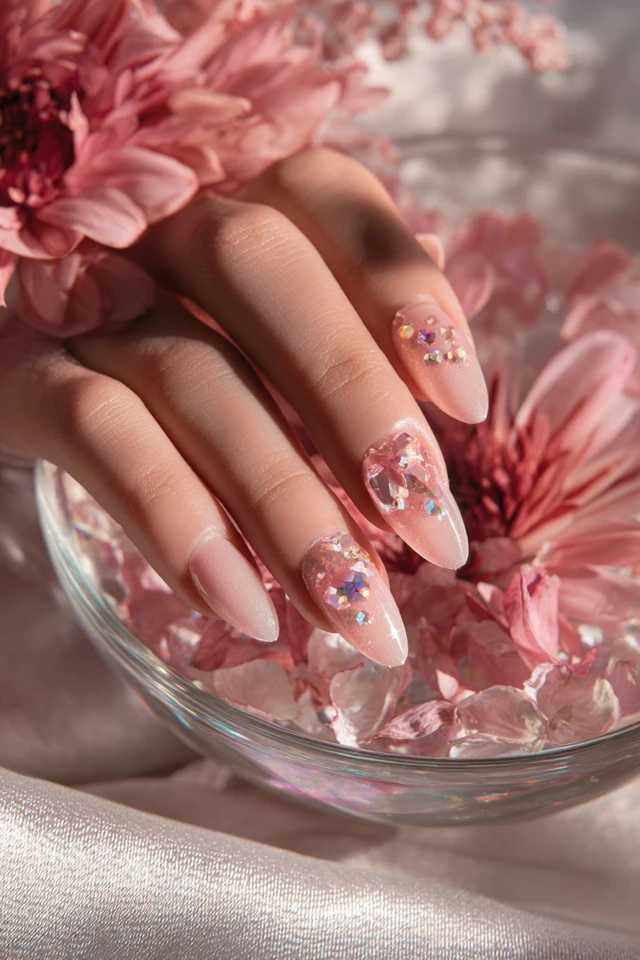
How to ask for jelly nails at a salon
Bring a photo and use plain words: sheer color, built in thin layers, glossy finish. If you want the watercolor look, say soft blended color with no hard lines, and name the shades. Ask whether charms or glitter will be added, since those change the price and the wear time.
Wear and removal
Gel manicures usually need replacing or filling in about every two to three weeks. The American Academy of Dermatology notes that acetone is the most effective way to remove gel polish at home. Cleveland Clinic adds that careless removal can temporarily damage nails, with cracking and peeling the most common issues.
Do not pick or peel gel off. If your nails look thin or sore afterward, check with a dermatologist. Chunkier looks with a lot of texture, like jelly bean joy nails, are worth planning removal for ahead of time.
Frequently asked questions
What is the point of jelly nail polish?
Jelly polish gives a sheer, glossy color with visible depth, so it looks softer and more layered than an opaque creme. It is also forgiving: thin sheer coats hide small imperfections better than a flat solid color.
How to ask for jelly nails at a nail salon?
Show a photo and ask for sheer, translucent color built in thin layers with a glossy top coat. Mention any charms or glitter and confirm the price before you start.
How to get a watercolor effect on nails?
Dab small amounts of two or three nearby shades over a sheer base, then tap the edges where they meet with a sponge or dry brush. Seal with a glossy top coat.
Can I do jelly watercolor nails with regular polish?
Yes. Use thin coats, let each dry fully, and blend while the color is still slightly wet. The finish will usually wear for a shorter time than gel.
Filed under Nail Design