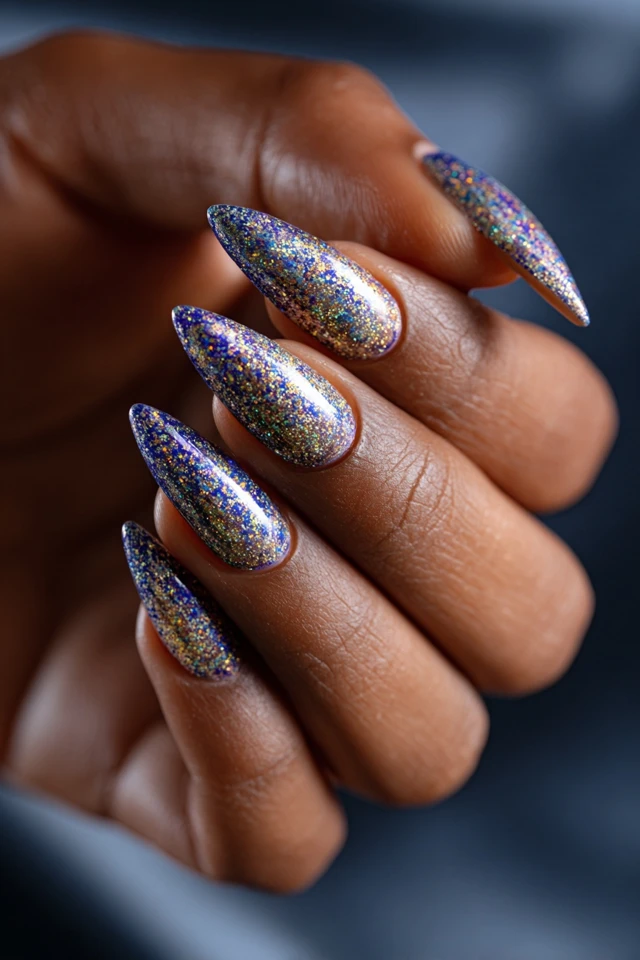
Galaxy and Celestial Nails: Simple, Short and Acrylic
- Words by
- Julio Arco
- Published
- Reading
- 5 min
The easiest way to get galaxy and celestial nails is a deep midnight blue, purple or black base with a few iridescent flakes pressed in and one or two tiny stars or a thin crescent moon on top. Keep the flakes sparse and the rest dark, and the look reads as a night sky instead of glitter.
Below: how to do galaxy nails step by step, which designs suit short nails, and what to know if you want them in acrylic.
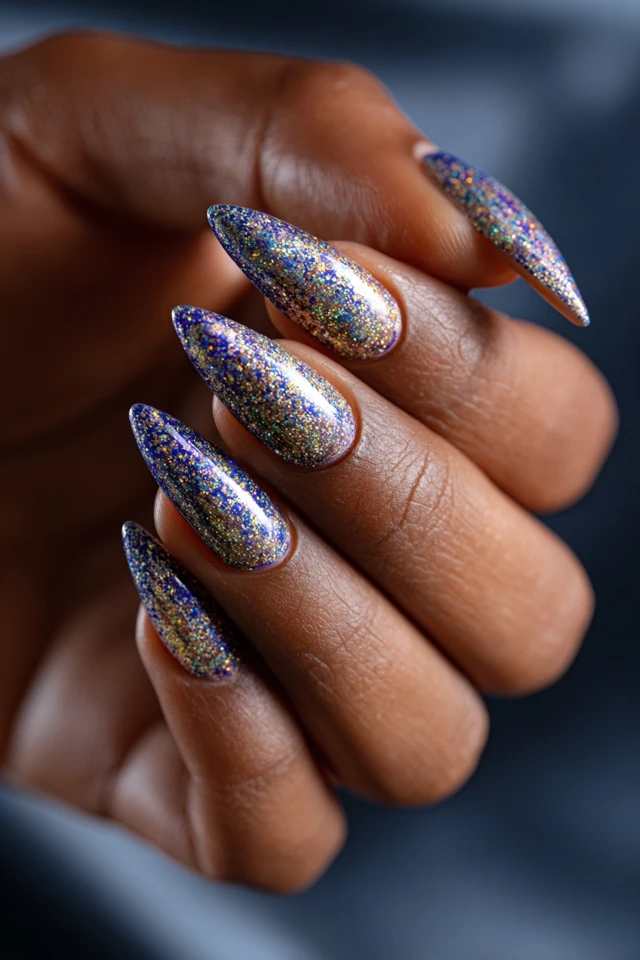
How to do galaxy nails at home
You need a dark base color, a top coat, a few iridescent flakes or fine glitter, and a small sponge or brush. Gel polish needs a lamp; regular polish does not, but it takes longer to dry between steps.
- Apply a base coat, then two thin coats of midnight blue, deep purple or black. Let each coat dry.
- Dab a lighter shade (violet, teal or pink) onto a makeup sponge and tap it on the nail in a loose cloud. Tap, don't swipe.
- Use a dotting tool or the tip of a thin brush to add a few white dots for stars. Vary the sizes.
- Place iridescent flakes with tweezers or a damp brush, mostly near one side of the nail so the rest stays dark.
- Seal with a smooth top coat. Flakes leave a slightly bumpy surface, so a second thin layer of top coat helps.
If your first attempt looks muddy, the usual cause is too much sponge color. Go lighter than you think and build up.
Which base colors work best?
Midnight blue, deep plum and black give the strongest contrast for flakes. Through the lens of evidence-based design, I'd pick the base first because the surface you put flakes on changes how they read: on a dark base the shifting pink, green and gold flashes stand out, while on a pale base they mostly disappear.
A few pairings to try:
- Navy base with silver flakes and white stars for a cool, classic night sky.
- Black base with violet and teal sponged clouds for a more dramatic cosmic look.
- Deep purple base with gold accents if you want warmth against skin.
For skin tone, cooler flakes (lavender, blue, silver) tend to look crisp on fair skin, and warmer ones (gold, peach, rose) sit comfortably on medium skin. Deeper skin tones often handle saturated flakes in amethyst or emerald very well. Hold a swatch against your hand in daylight before you commit.

Simple galaxy and celestial nails for beginners
Simple galaxy and celestial nails need only one idea per nail. Pick a dark base and add a single accent: a few dots, one crescent moon, or a small cluster of flakes near the cuticle.
- Accent nail: flakes on the ring finger only, the rest in plain midnight blue.
- Tiny constellation: three or four dots joined with a hair-thin line in silver or white.
- Crescent moon: one thin gold or silver curve on a dark base.
- Reverse french: a dark curve at the cuticle with flakes along the line. See celestial reverse french nails for that idea.
Short galaxy nail designs
Short nails have less room, so go for fewer, smaller details. A full sponged galaxy can look crowded on a short nail bed, while negative space and a single star keep it clean.
- Keep dots and stars small and leave some of the nail dark and plain.
- Place flakes in a diagonal or along the free edge so the nail looks slightly longer.
- Choose a sheer or jelly-style base if you like a softer look. Celestial jelly nails show how that works.
- Skip chunky glitter, which can feel heavy on a small surface.
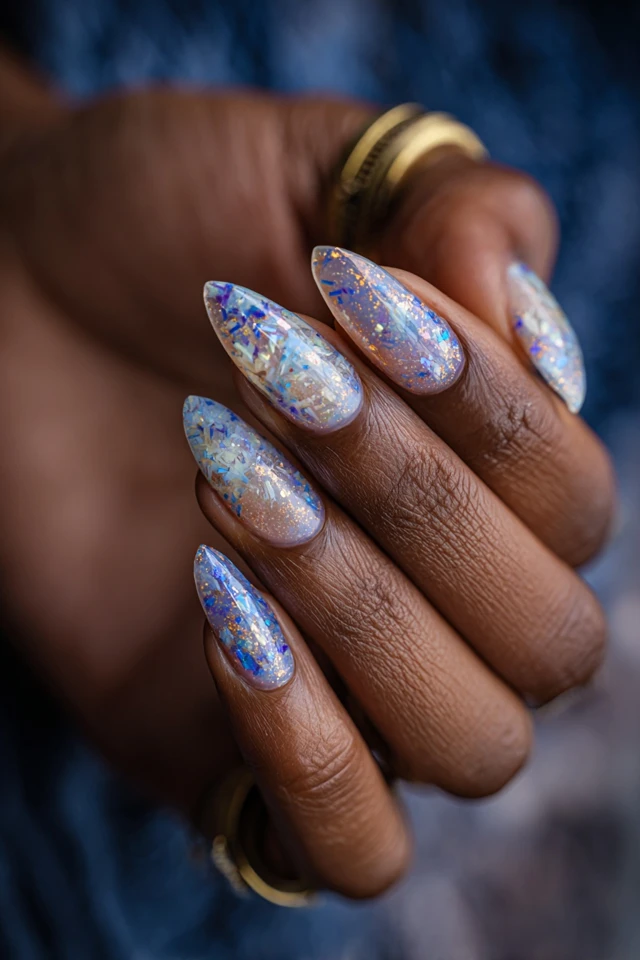
Moons, stars and metallic accents
Crescent moons and stars are the easiest motifs to repeat. Thin lines in gold or silver foil look sharper than paint when the nail is small. If you like the moon motif, celestial moon nail ideas has more variations.
For a more textured finish, flake-heavy looks such as celestial galaxy flake nails and the ultra galaxy flake mani go further than the sparse version above. A fine, sandy look is covered in celestial sugar effect nails.
Galaxy and celestial nails in acrylic
Acrylic gives you length and a sturdy canvas, and flakes can be sealed under a clear layer for a smooth surface. Press-ons are an alternative if you want the look without the prep; see celestial press-on nails.
It helps to know the trade-offs. The American Academy of Dermatology notes that to get acrylic nails to stick, the surface of your natural nails must be filed until they feel rough, which thins them and makes them weaker. The same page says that if you wear artificial nails for more than a few weeks, you'll need touch-ups every 2 to 3 weeks as your nails grow.
If you are showing a nail tech a design, bring a photo and say how dense you want the flakes. Sparse and dense versions look very different.
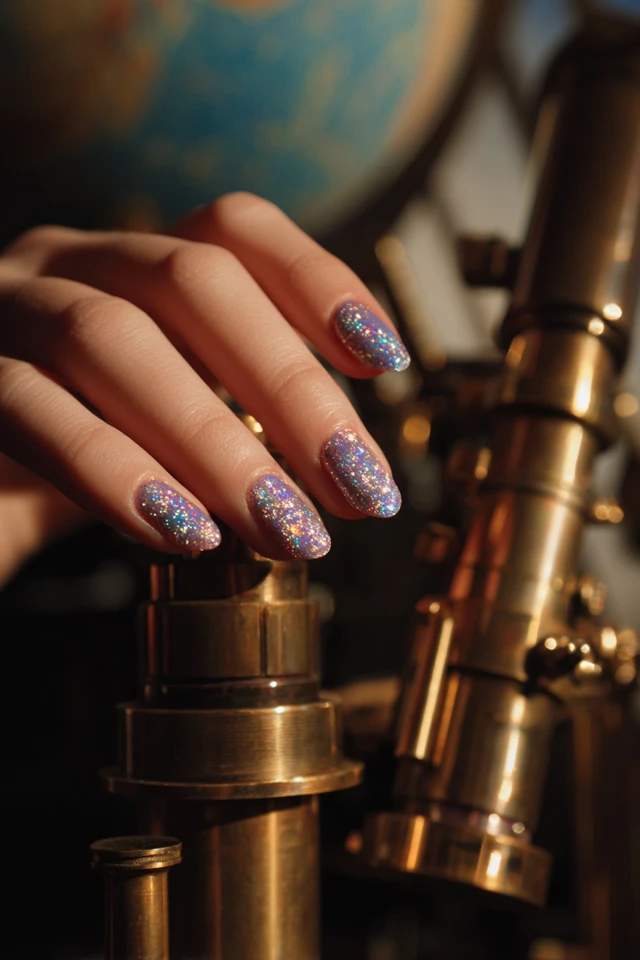
Removing gel and dip galaxy nails safely
Flakes and glitter are stubborn, so removal is where nails get damaged. According to the AAD, acetone is the most effective way to remove gel polish at home, and after soaking with plastic wrap for 10 minutes, most or all of the gel should be gone. The Cleveland Clinic adds that careless removal can temporarily damage nails, with cracking and peeling the most common issues.
For dip powder, board-certified dermatologist Shari Lipner, MD, PhD, says on the AAD site: "After removing the color, wait one month before getting another one of these manicures." If your nails look weak or painful, check with a dermatologist.
Want more flake looks to compare? Try chic iridescent flake nails.
Frequently asked questions
How to do Galaxy Nails?
Paint a dark base, sponge on one or two lighter colors, add dots for stars and a few iridescent flakes, then seal with top coat. Keep each layer thin and let it dry.
Are galaxy nails suitable for short nails?
Yes. Use small stars, a few flakes and some plain dark space so the design doesn't crowd the nail.
What colors make a galaxy nail design?
Midnight blue, black and deep purple make the best bases. Add violet, teal or pink clouds and silver, white or gold details.
Filed under Nail Design