Gel Nail Art: Ombre Airbrush Looks and How to Do Them
- Words by
- Julio Arco
- Published
- Reading
- 5 min
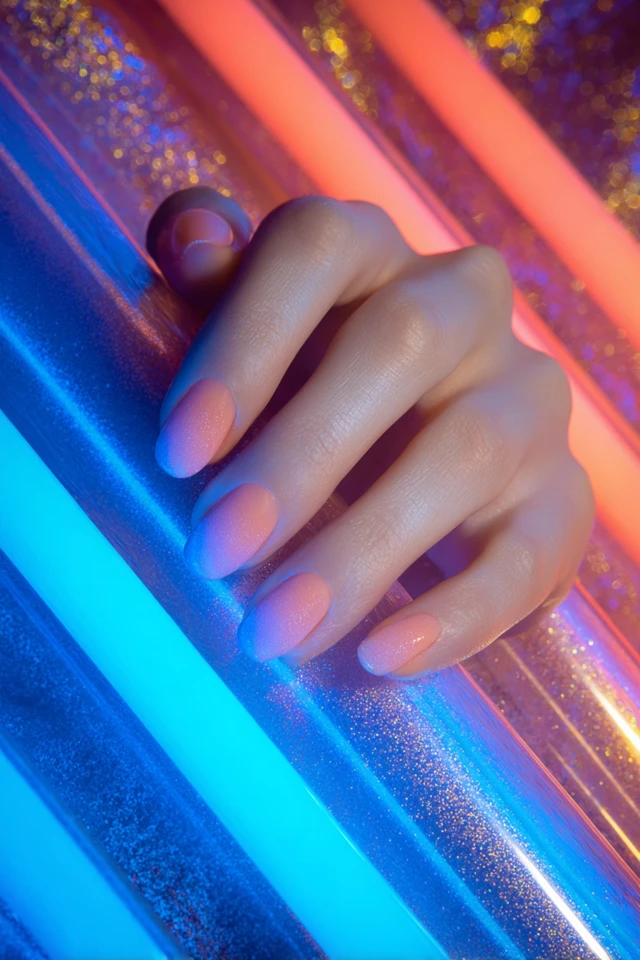
Yes, you can do gel nail art at home, and an ombre gradient is one of the friendlier designs to start with. You paint two or three gel shades side by side, blend the seam, cure, and seal with a top coat. An airbrush gives the smoothest fade, but a sponge or a soft brush gets close.
Below: how to build the gradient, what to buy, color pairings that read well, and how to take it off without wrecking your nails.
Can you do nail art with gel?
You can. Gel polish stays workable until you cure it under a lamp, which is exactly why it suits blending. You can nudge a gradient for as long as you need, then lock it in. Regular polish dries in minutes and leaves hard edges in the middle of a fade.
Airbrush ombre adds a compressor and a small spray tool, so the color mists on in fine layers. It looks very even, but it is optional. Plenty of good gradients are made with a makeup sponge.

What gel nail art supplies do you need?
A gel nail art kit is the easy way to start, but you can also buy pieces one at a time. Whatever route you take, the list of gel nail art supplies is short for ombre:
- A UV/LED lamp that suits your gel brand
- Base coat and a no-wipe or standard top coat
- Two or three gel colors, plus white if you want pastels
- A flat makeup sponge or a fine airbrush setup
- A thin gel nail art liner brush for details and edges
- Lint-free wipes and cleanser, if your gel leaves a sticky layer
- A file and a cuticle pusher
Thin gel paints with strong pigment are easier to blend than thick ones. Brands differ, so read the cure time on the bottle rather than guessing.
How do you make an ombre gradient with gel?
- Apply base coat and cure it.
- Paint a light, even base color and cure it, so the gradient has a clean background.
- Dab two shades side by side on a sponge, touching in the middle. Press the sponge onto the nail in small taps, moving slightly each time.
- Build in thin layers. Two light passes blend better than one heavy one.
- Cure, then repeat if the fade looks patchy.
- Seal with top coat, cap the free edge, and cure again.
If you use an airbrush, hold it a few inches from the nail and spray from the tip up, letting the second color overlap the first. Practice on a swatch first, because the spray is quick to overdo.
Which color pairings work best?
Through the lens of evidence-based design, I'd pick pairings by value (how light or dark each shade is) before hue. Two colors with similar lightness blend into a soft, calm fade. A big jump in lightness gives a more graphic result.
- Soft lilac into deep plum: reads polished next to charcoal and black.
- Yellow into red: a sunset look that suits linen and earth tones.
- Pale blue into white: crisp with denim and white shirts.
- Nude into rose: the easiest option for an office or a formal event.
For skin tones, cooler undertones usually look good with blues, purples and emerald. Warmer undertones tend to suit peach, coral and gold. These are starting points, not rules, so test a swatch against your hand in daylight.
Gel nail art ideas and current gel nail trends
Trends move quickly, so treat this as a list of directions rather than a forecast. Neon fades such as lime into violet have a 90s feel and look best with a plain outfit. Soft neutrals stay popular because they go with everything. Metallic tips or a thin line of gold add a small update to a classic gradient.
For more gel nail art ideas in the same family, see stellar ombre airbrush glam nails, glittering ombre airbrush artistry and textured ombre palette nails. If you prefer a quieter mood, serene ombre nails are worth a look.
Using a liner brush for detail
A fine liner brush lets you add a hairline stripe, a french edge or a small outline over a cured gradient. Wipe the brush often, keep the gel thin, and cure between steps so lines do not drag.
How do you finish and care for gel nails?
Top coat protects the gradient and adds shine. Cap the tip of the nail with it so the color does not chip at the edge. Gloves for dishes and cleaning help the manicure last.
Plan on a touch-up or removal within a few weeks. The American Academy of Dermatology notes that if you wear artificial nails for more than a few weeks, you'll need touch-ups every 2 to 3 weeks to fill in the gaps as your nails grow.
What is the downside of gel nails?
Removal is where most damage happens. The Cleveland Clinic says that removing gel polish, if not done carefully, can temporarily damage your nails, with cracking and peeling the most common issues. So do not pick or peel it off.
The AAD says acetone is the most effective way to remove gel polish at home. Soak cotton, wrap each nail in foil or plastic, and check after about 10 minutes.
There is also a skin concern. A literature review from the National Institutes of Health found that allergic contact dermatitis is the most common adverse event, mainly linked to (meth)acrylates in nail glue, gel polish and acrylic nails. If your skin itches, swells or reddens around the nails, stop and check with a dermatologist.
Give your nails breaks, too. Dermatologist Chris Adigun, MD, FAAD, says: "Looking closely at your nails after removing the color helps you spot a problem early."
Frequently asked questions
What are the current gel nail trends?
Soft neutral gradients, neon fades and metallic accents on tips are all common right now. Trends shift fast, so pick the one that suits your outfits and skin tone.
Can you do nail art with gel?
Yes. Gel stays wet until you cure it, so you have time to blend, add liner details and fix mistakes. Cure each layer under a compatible lamp.
Do I need an airbrush for ombre gel nails?
No. A makeup sponge with two shades dabbed side by side gives a good gradient. An airbrush only makes the fade a little finer.
How long should I leave a gel manicure on?
Many people refresh or remove it within 2 to 3 weeks as the nail grows out. Ask your nail technician or dermatologist if your nails feel thin or sore.
Filed under Nail Design