Ultra Candy Hard Gel Vision Nails
- Words by
- Julio Arco
- Published
- Reading
- 4 min
Nail embellishments are small add-ons pressed into or stuck onto the nail: rhinestones, gems, pearls, metal charms and 3D accents. On glossy candy-colored hard gel, one or two well-placed pieces are usually enough. A cluster at the cuticle or a single accent nail looks deliberate, while a fully covered hand can read as busy.
Below: which types exist, what you need to start, how to attach them so they stay, and where to put them.
What types of nail embellishments are there?
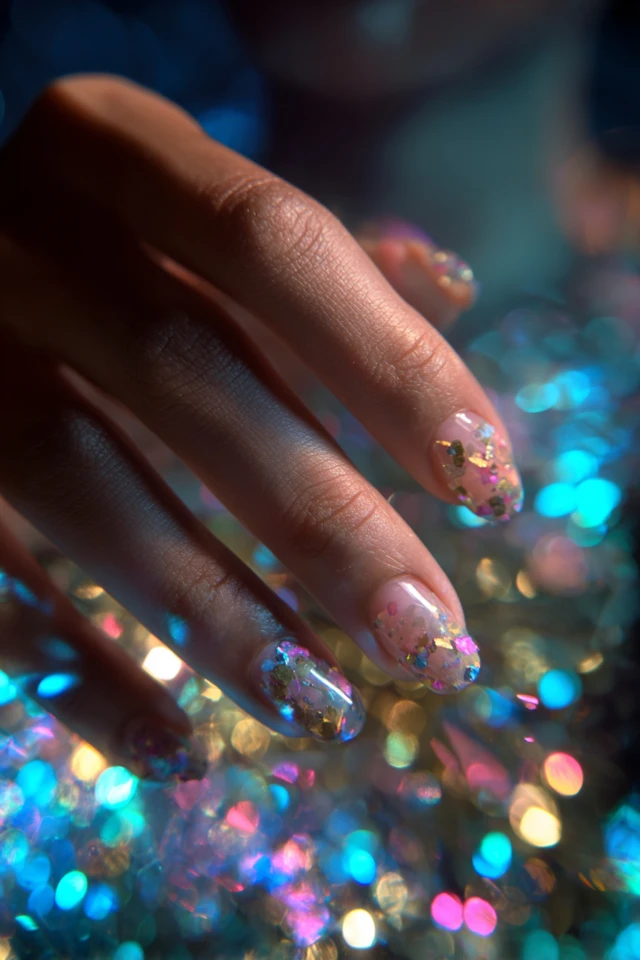
Rhinestones, gems and crystals
Nail rhinestones and gems are the easiest place to begin. They come in flat-back form, which sits flush on the nail, and in many sizes. Small stones (about 1-2 mm) work as dots or lines. Larger ones become a focal point. Flat-backs suit short nails because they do not snag on knits.
Nail charms and 3D accents
Nail charms and gems differ in height: charms are metal or resin shapes such as bows, hearts and stars, and they stand up from the surface. They look great on candy pink or lilac, but they catch on hair and sleeves. I'd keep them to one or two nails and skip them if you type all day or have long hair.
Pearls and sequins
Half-pearls give a softer shine than crystals. Sequins and foil flakes are nearly flat, so they are the lowest-risk way to add sparkle if you are worried about snagging.
What do you need to get started?
For nail art supplies for beginners, a short list covers it:
- A gel top coat that cures hard (no-wipe is fine, but a thicker builder-style top coat holds stones better)
- A small tub of embellishment gel or a dedicated nail glue
- A dotting tool or a wax pencil for picking up stones
- Fine tweezers
- An LED/UV lamp that suits your gel
- A mixed pack of flat-back stones and a few charms
Buy a mixed assortment first. Brand matters less than whether the product cures properly with your lamp, so read the instructions on the pot you choose.
How to apply nail decorations
This works on a finished hard gel manicure with the color already cured.
- Cure your color coat and wipe off the sticky layer if your gel leaves one.
- Plan the layout on a paper towel first. Place the stones in the pattern you want before touching the nail.
- Apply a small bead of embellishment gel or a thin layer of top coat only where the pieces will sit.
- Pick up each stone with the dotting tool or wax pencil and press it gently into place. Move the largest piece first.
- Cure for the time your product states.
- Seal around the edges (not over the face of the crystal, which dulls it) with a thin line of top coat, then cure again.
How to attach crystals to nails so they stay
Lifting usually comes from too little adhesive, too much oil on the nail, or stones placed too near the free edge. Keep pieces away from the tip, where nails take the most knocks, and make sure the base layer is fully cured before adding anything.
Easy crystal nail embellishments are the flat, small ones set in the middle of the nail. Tall charms need more gel around the base, and should be skipped on very short or thin nails.
Planning placement and design ideas
Through the lens of evidence-based design, I'd treat the placement like a focal point on a page: the eye goes first to the brightest, most contrasting thing. A single crystal against a matte or glossy candy shade gets read before anything else, so choose where you want attention to land.
- One accent nail, usually the ring finger, with a small cluster of stones.
- A line of tiny stones along the cuticle for a clean, elegant finish.
- Pearls on a pale pink or sheer base, which is the most elegant look of the set.
- One charm per hand, on a pastel color, for something playful.
For color inspiration, see cotton candy nails, candy heart nails or star candy nails. If you want a longer shape to carry the embellishments, tapered coffin nails give a lot of room.
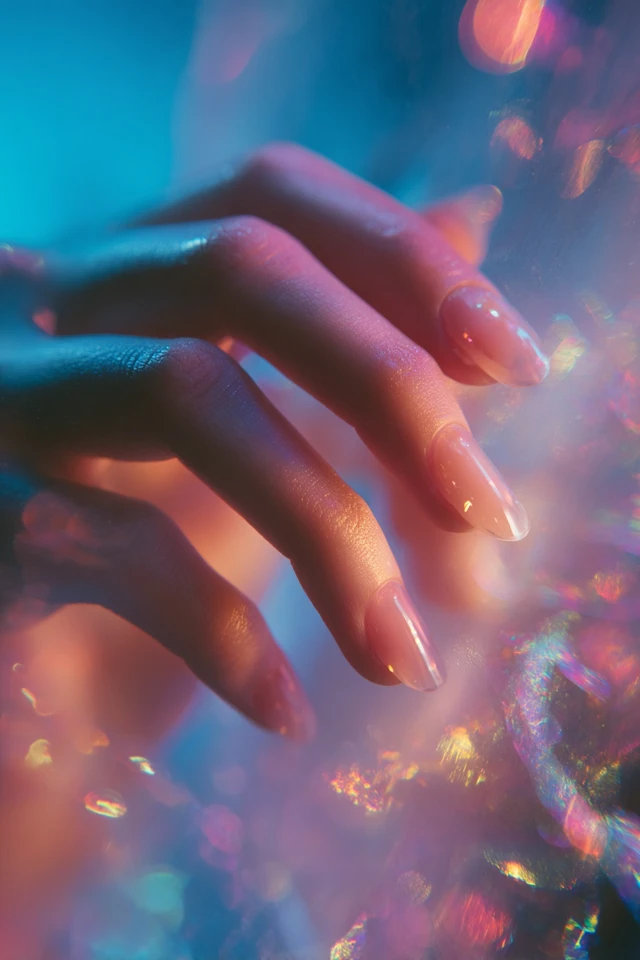
Metallic tones matter too. Silver and clear crystals look cooler and crisper against icy pinks and lilacs, while gold-toned charms suit warmer corals and peaches.
Wear time, removal and nail health
Embellished gel needs the same care as any gel manicure. The American Academy of Dermatology notes that artificial nails need touch-ups every 2 to 3 weeks to fill gaps as your nails grow. That is also a good time to replace any lost stones.
For removal, the AAD says acetone is the most effective way to remove gel polish at home. Cleveland Clinic adds that removing gel carelessly can temporarily damage nails, with cracking and peeling the most common issues. Do not pry off stones or charms, as that takes layers of nail with them. If your nails feel thin, painful or look changed, check with a dermatologist or nail professional.
Frequently asked questions
What to get for nail art?
A top coat, embellishment gel or nail glue, tweezers, a dotting tool, a lamp for gel, and a mixed pack of flat-back rhinestones and pearls. Add charms later once you are comfortable.
What is the most elegant nail design?
A sheer or pale base with a few small pearls or a fine line of crystals near the cuticle is usually read as the most refined look. Restraint is what makes it work.
How to apply nail decorations?
Plan the layout, place a small amount of gel or glue, press each piece in with a wax pencil or tweezers, cure, and seal the edges with top coat. Keep pieces away from the free edge.
Can I put embellishments on regular nail polish?
Yes, on fully dry polish with a glue made for nails, but they usually last less time than on cured gel. Expect to replace stones more often.
Filed under Nail Design