Pattern Nail Art: Quilt-Style Ideas You Can Do at Home
- Words by
- Julio Arco
- Published
- Reading
- 4 min
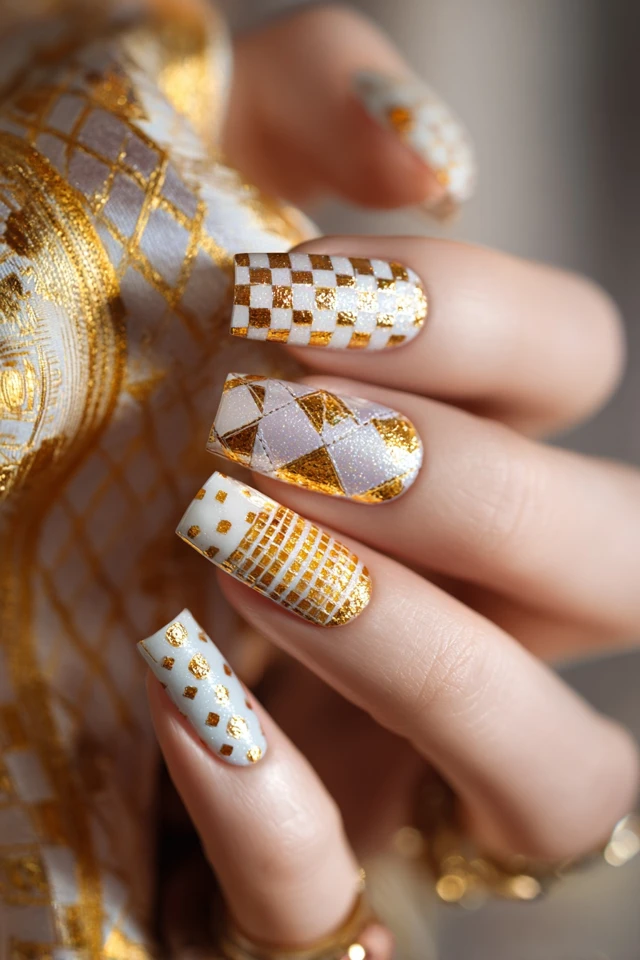
Quilt pattern nails are pattern nail art built from small patches: squares, triangles and stripes in two to four related colors, often with a different finish on each patch. The simplest version is a single accent nail with a grid of patches, with the other nails left in a plain base shade.
Below you'll find the main patchwork styles, how to choose colors, a beginner method that works at home, and what to know before removing gel or dip color.

What makes a nail design look like a quilt?
A quilt look comes from three things: a grid or repeating shape, patches that touch or are separated by thin lines, and a restrained palette. Think of it as a tiny patchwork square on each fingertip. Because a nail is small, six to nine patches on a nail is plenty. More than that and the pattern turns into noise.
Through the lens of evidence-based design, I'd look at contrast first. Patches with very different darkness (navy next to cream) read clearly from a distance. Patches of similar darkness blur together into one soft color, which can be lovely but loses the quilt effect.
Easy quilt nail ideas for beginners
These are easy nail art designs for beginners because they rely on straight lines and flat color, not freehand detail.
Single accent patchwork nail
Paint all nails in one neutral, then add a patchwork grid on the ring finger only. It's one of the simplest nail designs to do at home and it looks deliberate rather than busy.
Two-tone checker patches
Alternate a base color and one accent in a checkerboard. Tape or striping tape keeps the edges crisp. This is the classic starting point for a classy simple nail design.
Stitch lines
Draw thin dashed lines along the patch edges with a fine brush or a dotting tool. The dashes suggest stitching and make even a plain block of color feel handmade.
Stripes, dots and plaid in one patchwork
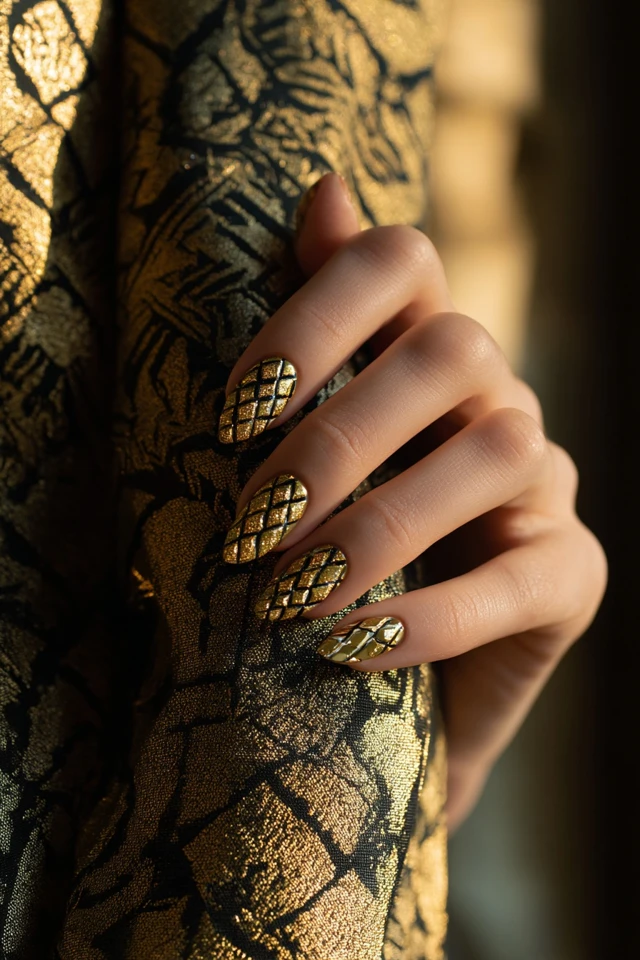
Patchwork pairs well with other patterns. Try a striped patch beside a solid one, a dotted patch beside a plaid one, or a diagonal line across a whole square. Keep one pattern bold and the others quiet. Two loud patches side by side compete for attention.
The same rule applies to clothing, and it's worth reading how to combine textures and patterns when layering if you want your nails and outfit to agree. If your outfit already has a strong print, a calmer nail is usually the better call.
Which colors suit quilt nails?
For trendy simple nail designs, stay with a palette of three or four colors that share an undertone. Some combinations that work:
- Cream, sage and terracotta for a soft, earthy patchwork.
- Navy, white and a pale blue for a crisp, tailored look.
- Blush, dusty rose and a deeper berry for a warmer, romantic version.
- Black, white and one metallic patch for a sharper edge.
As an architect trained in evidence-based design, I'd also vary the finish. A matte patch next to a glossy one changes how the same color reads, because the surface changes how light reaches your eye. It adds depth without needing another shade.
How to do quilt nails at home
- Start with clean, dry nails and a base coat.
- Paint two coats of your base color and let them dry fully.
- Place thin tape or striping tape to mark the grid, pressing the edges down.
- Paint the alternate patches, then peel the tape while the polish is still slightly tacky.
- Add stitch lines or a small dot in the corners if you like.
- Seal with a top coat, running the brush slightly over the free edge of the nail.
Stamping plates and small stickers are a good shortcut if your hand isn't steady yet. For a more graphic cousin of this look, see mandala nails, which use repeating shapes in a similar way.
Do quilt nails suit every nail length and setting?
Short and medium nails handle patchwork well if you keep the patches small and the palette muted. Long nails give more room, so larger patches and bolder color blocks work. For an office, choose soft neutrals and one accent nail. For an evening out, add a metallic patch or a little glitter.
Removing gel and dip color without wrecking your nails
Intricate patchwork lasts longer in gel, but removal matters. The American Academy of Dermatology says acetone is the most effective way to remove gel polish at home, and that after leaving the wrap on for 10 minutes, most or all of the gel should be gone. The Cleveland Clinic notes that careless removal can temporarily damage nails, with cracking and peeling the most common issues.
For dip powder, board-certified dermatologist Shari Lipner, MD, PhD, says: "After removing the color, wait one month before getting another one of these manicures." If you notice changes in your nails afterward, check with a dermatologist.
Frequently asked questions
What are some nail design inspirations?
Patchwork grids, stripes, polka dots and plaid are all easy places to start. Pick one pattern for an accent nail and keep the rest in a matching solid.
What are the 5 basic nail designs?
There's no official list, but the most common basics are solid color, French tips, stripes, dots and simple accent nails. Quilt patchwork combines several of these on a small grid.
Can I do quilt pattern nails without professional help?
Yes. A fine brush, striping tape and a dotting tool are enough for a basic grid. Practice on one accent nail first.
Are quilt nails appropriate for work?
They can be. Use muted colors and keep the pattern to one or two nails.
Filed under Nail Design